


Slowly, slowly redoing our kitchen
lilion
10 years ago
last modified: 10 years ago

Featured Answer
Sort by:Oldest
Comments (9)
Related Stories
LANDSCAPE DESIGNLandscaping Tricks to Manage Stormwater Runoff
Help rainwater absorb slowly back into the earth with paving grids, gravel beds and other porous systems
Full Story
KITCHEN DESIGNSweet Ideas and a Truffle Recipe from a Chocolatier's Test Kitchen
A $2,100 budget didn't mean a half-baked kitchen redo; this confectioner just rolled up her sleeves and rolled out the improvements
Full Story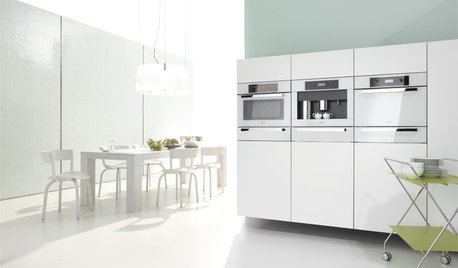
KITCHEN DESIGNWhite Appliances Find the Limelight
White is becoming a clear star across a broad range of kitchen styles and with all manner of appliances
Full Story
KITCHEN DESIGNExpert Panel: Kitchen Color
Bright kitchen or sedate? Colorful or muted? Get expert insight from pro designers on choosing the right color look for your cooking space
Full Story
KITCHEN DESIGNKitchen of the Week: Quirky Texas Remodel
Playful Remodel Amps Up the Personality of 130-Year-Old Kitchen
Full Story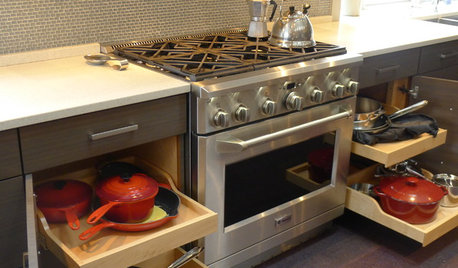
KITCHEN STORAGEKitchen of the Week: Bamboo Cabinets Hide Impressive Storage
This serene kitchen opens up to reveal well-organized storage areas for a family that likes to cook and entertain
Full Story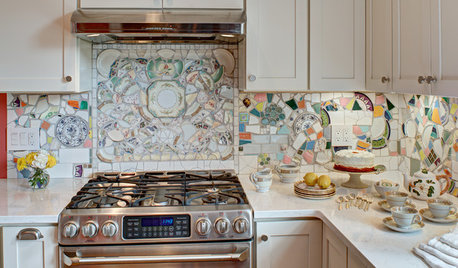
MOST POPULARKitchen of the Week: Broken China Makes a Splash in This Kitchen
When life handed this homeowner a smashed plate, her designer delivered a one-of-a-kind wall covering to fit the cheerful new room
Full Story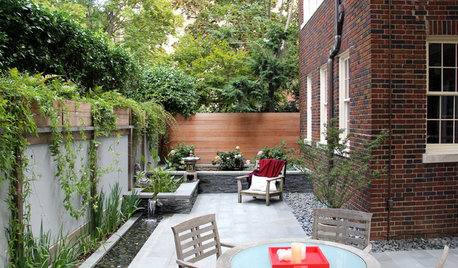
PATIOSPatio Details: Dog Won’t Trample the Plants With This Design
An Asian-inspired backyard redo adds clean lines, a new water feature and a sense of spaciousness — with room for a large beloved dog
Full Story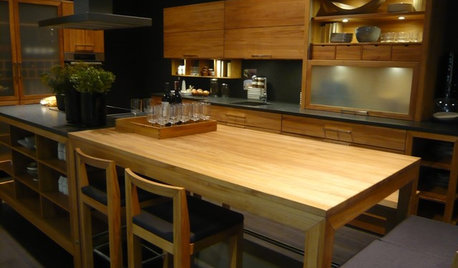
KITCHEN DESIGNSpecial Report: Kitchen News from Cologne
Blended Kitchen-Living Rooms, Super-Skinny Counters and Hidden Appliances Are Headed This Way
Full Story
KITCHEN DESIGNKitchen of the Week: Double Trouble and a Happy Ending
Burst pipes result in back-to-back kitchen renovations. The second time around, this interior designer gets her kitchen just right
Full Story

Dytecture