


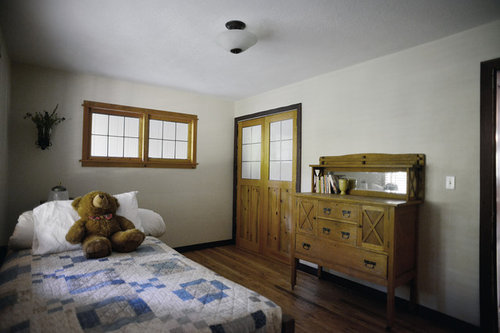
Salvaged hardwood flooring and trim to new floors and installed trim.
summilux
9 years ago


Featured Answer
Sort by:Oldest
Comments (15)
 PRO
PROSelect Hardwood Floor Co.
9 years agolast modified: 9 years agosummilux thanked Select Hardwood Floor Co. PRO
PROMural Art - Wall Murals and Custom Paintings
9 years agosummilux thanked Mural Art - Wall Murals and Custom Paintings PRO
PROGilmans Kitchens and Baths
9 years agolast modified: 9 years agosummilux thanked Gilmans Kitchens and Baths
summilux
8 years ago


Related Stories
GREEN BUILDINGHouzz Call: What Have You Salvaged for Home Use?
If your floors, furniture, exterior materials or other home elements have a past life, we'd like to hear the story
Full Story
MATERIALSWhat to Ask Before Choosing a Hardwood Floor
We give you the details on cost, installation, wood varieties and more to help you pick the right hardwood flooring
Full Story
WALL TREATMENTSBeadboard Panels Offer a Shortcut to a Classic Style
Traditional touch: Change up plain bathroom walls with beaded hardwood planks and trim you can install yourself
Full Story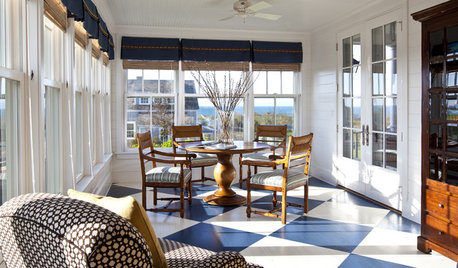
FLOORSHow to Paint Your Hardwood Floors
Know how to apply nail polish? Then you can give your wooden floors a brand-new look
Full Story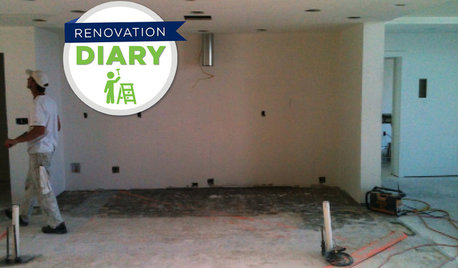
REMODELING GUIDESRanch House Remodel: Installing the Interior Finishes
Renovation Diary, Part 5: Check in on a Florida remodel as the bamboo flooring is laid, the bathroom tiles are set and more
Full Story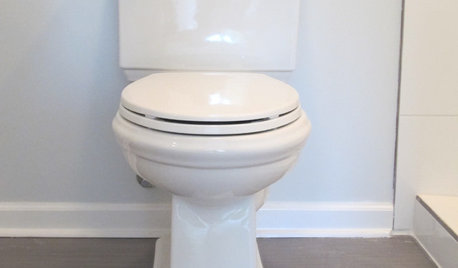
BATHROOM DESIGNHow to Install a Toilet in an Hour
Putting a new commode in a bathroom or powder room yourself saves plumber fees, and it's less scary than you might expect
Full Story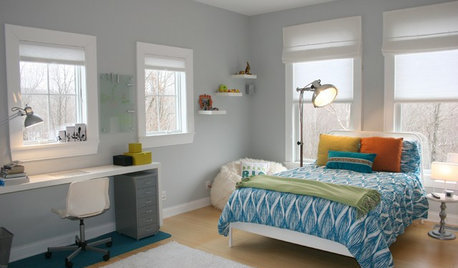
TRIMTrim Color Tips: Get Your White Trim Right
Set off wood tones, highlight architectural features, go minimalist ... white trim is anything but standard when you know how to use it
Full Story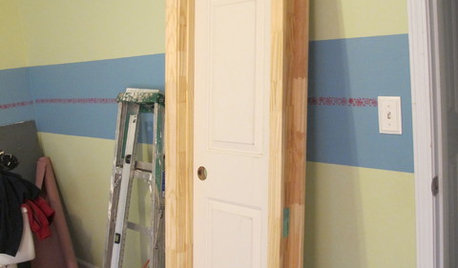
REMODELING GUIDESDIY: How to Install a Door
Homeowners who aren't afraid of nail guns can tackle their own pre-hung door project in a couple of hours
Full Story
HOUZZ TOURSMy Houzz: Salvage Finds and DIY Love in Rhode Island
A Providence couple layers on meaningful mementos and hands-on style for a personalized interior palette
Full Story
DIY PROJECTSReinvent It: Salvage Savvy Keeps an Urban-Farmhouse Bath on Budget
See how resourceful shopping and repurposing gave a homeowner the new bathroom she wanted at the right price
Full Story


mepowell