


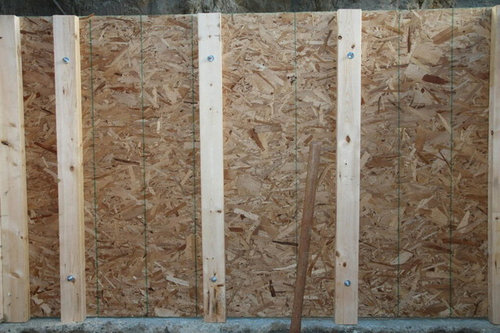
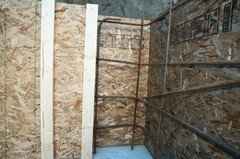
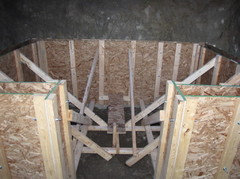
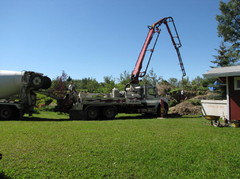
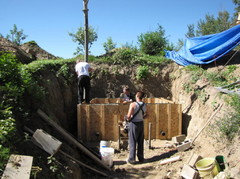
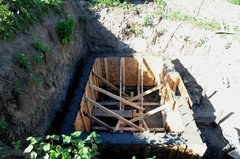
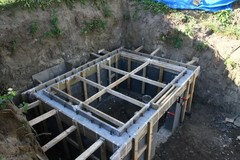
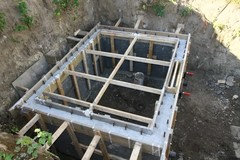
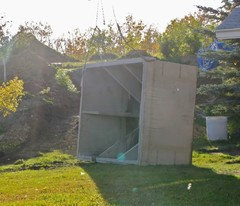
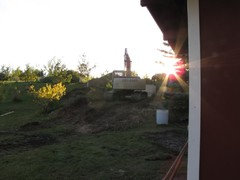
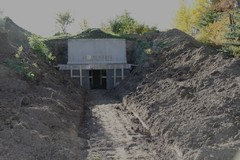
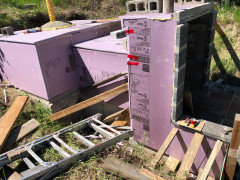
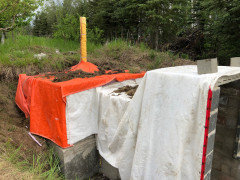
Are my concrete forms holding the concrete?
Konrad___far_north
13 years ago
Featured Answer
Sort by:Oldest
Comments (39)

manhattan42
13 years agoKonrad___far_north
13 years agoRelated Professionals
Fort Lewis Architects & Building Designers · Nanticoke Architects & Building Designers · Broadlands Home Builders · Miami Home Builders · Puyallup Home Builders · West Jordan Home Builders · Yorkville Home Builders · Hainesport General Contractors · Galena Park General Contractors · Arizona City General Contractors · Chillicothe General Contractors · Corsicana General Contractors · Hamilton Square General Contractors · Kemp Mill General Contractors · Sauk Village General Contractorsmanhattan42
13 years agosierraeast
13 years agoKonrad___far_north
13 years agosierraeast
13 years agogalore2112
13 years agosierraeast
13 years agosue36
13 years agosierraeast
13 years ago
worthy
13 years agosierraeast
13 years agoKonrad___far_north
13 years agomacv
13 years agosierraeast
13 years agoKonrad___far_north
13 years agosierraeast
13 years agoKonrad___far_north
13 years agosierraeast
13 years agoKonrad___far_north
13 years agosierraeast
13 years agomariend
13 years agoKonrad___far_north
13 years agomacv
13 years agoKonrad___far_north
13 years agoKonrad___far_north
13 years agoKonrad___far_north
13 years ago PRO
PROMark Bischak, Architect
last year- PRO
Mark Bischak, Architect
last year worthy
last yearlast modified: last year
3onthetree
last year3onthetree
last yearL Clark (zone 4 WY)
last year
Ryan Skiffington
8 months ago
Konrad..just outside of Edmonton Alberta
8 months ago


Related Stories
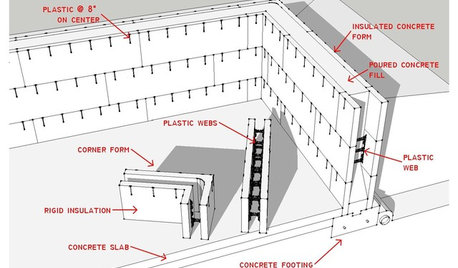
KNOW YOUR HOUSEKnow Your House: The Basics of Insulated Concrete Form Construction
Get peace and quiet inside and energy efficiency all around with this heavy-duty alternative to wood-frame construction
Full Story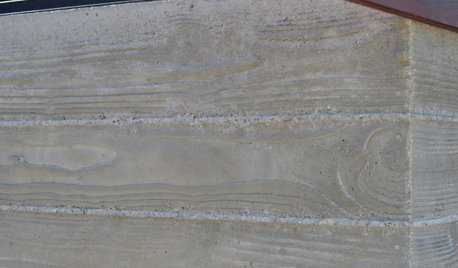
DESIGN DICTIONARYBoard-Formed Concrete
Pouring concrete the old-school way leaves attractive wood-grain textural imprints
Full Story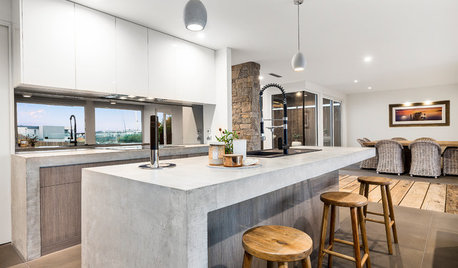
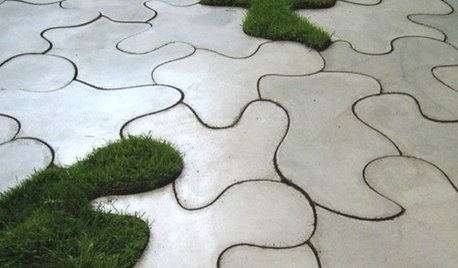
CONCRETE10 Solid Ways to Feature Concrete in Your Home
See how this versatile material holds up as countertops, fireplace surrounds, floors and more
Full Story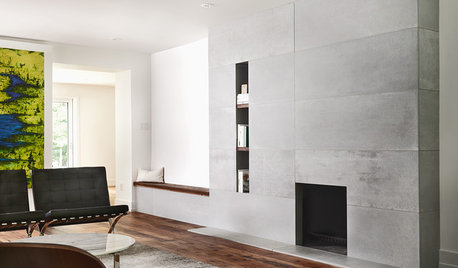
FIREPLACESConcrete Panels Create a Stylish Modern Fireplace
A dozen distressed custom panels form a cohesive look without the mass that can sometimes lead to cracking
Full Story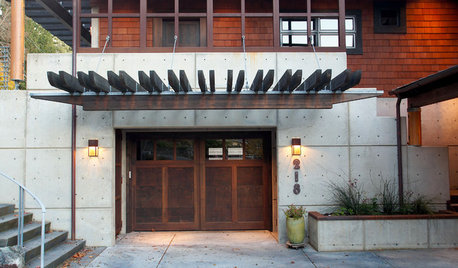
DESIGN DICTIONARYPoured Concrete
No longer just for foundations, poured concrete is taking center stage in homes and gardens
Full Story
MODERN ARCHITECTUREHouzz Tour: A Concrete Box Home With Japanese Style
A love of Japan’s minimalistic style and the use of concrete make for a mystical experience in this Houston home
Full Story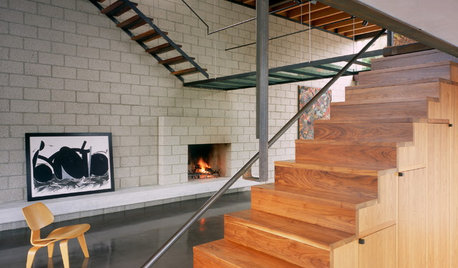
CONCRETEConcrete Block Style
Industrial flair: See why concrete brick isn't just for retaining walls anymore
Full Story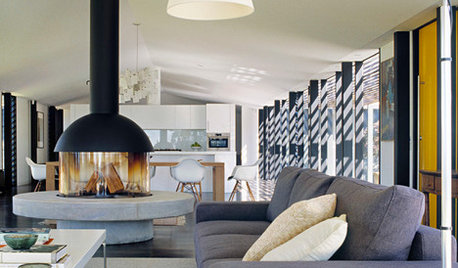
MATERIALS10 Cool Things to Do With Concrete in Your House
Humble concrete is being reinvented in everything from bathroom fixtures to lampshades
Full Story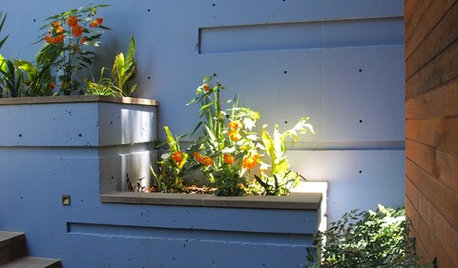
DESIGN DICTIONARYPrecast Concrete
Made offsite, precast concrete increases quality and decreases installation time
Full Story0
PRODUCT PICKSGuest Picks: Concrete Ideas for Patios and Decks
Look to lightweight fiber cement for functional outdoor furniture and accessories that are heavy on style
Full StoryMore Discussions
res2architect