


Cleanest way of cutting sheetrock?
rudysmallfry
17 years ago
Sort by:Oldest
Comments (8)
Related Stories

HOME OFFICESQuiet, Please! How to Cut Noise Pollution at Home
Leaf blowers, trucks or noisy neighbors driving you berserk? These sound-reduction strategies can help you hush things up
Full Story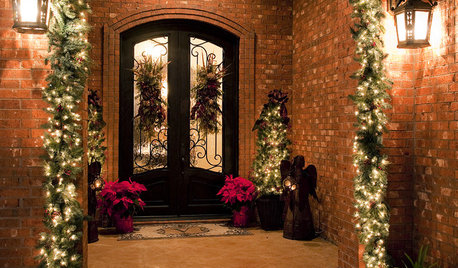
MOST POPULARA Contractor's Secrets to Hanging Holiday Decor
Hang a wreath or garland on brick, concrete, Sheetrock or wood the professional way — and avoid the potential pitfalls
Full Story
HOUSEKEEPINGThe Best Way to Get Your Windows Spotlessly Clean
Learn the pros’ tips and tricks for cleaning windows and getting them streak-free
Full Story
FEEL-GOOD HOME21 Ways to Waste Less at Home
Whether it's herbs rotting in the fridge or clothes that never get worn, most of us waste too much. Here are ways to make a change
Full Story
DESIGN DETAILSDesign Workshop: The Modern Wall Base, 4 Ways
Do you really need baseboards? Contemporary design provides minimalist alternatives to the common intersection of floor and wall
Full Story
KITCHEN DESIGN9 Ways to Save on Your Kitchen Remodel
A designer shares key areas where you can economize — and still get the kitchen of your dreams
Full Story
BUDGET DECORATING8 Cost-Effective Ways to Get a High-End Look
Don’t discount that expensive material yet. By using a small amount in a strategic way, you can get a luxurious look without the expense
Full Story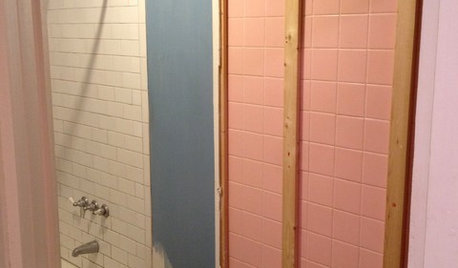
REMODELING GUIDES5 Ways DIY Remodels Get Derailed — and How to Deal
Keep your remodel on track by knowing the potential pitfalls ahead of time
Full Story
FIREPLACESDesign Workshop: Smart Ways to Store Wood Outdoors
Consider size, location, protection, air circulation and, of course, style for storing your firewood
Full Story
MOST POPULARThe Right Way to Test Paint Colors
Here are 5 key steps to take to ensure you're happy with your wall paint color
Full StorySponsored
Custom Craftsmanship & Construction Solutions in Franklin County
More Discussions


sombreuil_mongrel
User
Related Professionals
Brownsville Kitchen & Bathroom Designers · Henderson Kitchen & Bathroom Designers · St. Louis Kitchen & Bathroom Designers · Saint Charles Kitchen & Bathroom Designers · South Farmingdale Kitchen & Bathroom Designers · 20781 Kitchen & Bathroom Remodelers · Sioux Falls Kitchen & Bathroom Remodelers · Glenbrook Interior Designers & Decorators · Havelock General Contractors · Henderson General Contractors · Jacinto City General Contractors · Muskogee General Contractors · Newington General Contractors · North Highlands General Contractors · North Lauderdale General Contractorssnoonyb
rudysmallfryOriginal Author
sombreuil_mongrel
rudysmallfryOriginal Author
snoonyb
drywall_diy_guy