


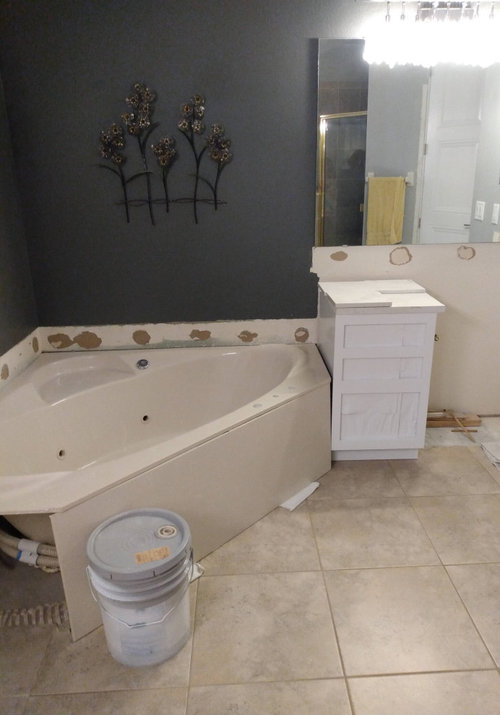
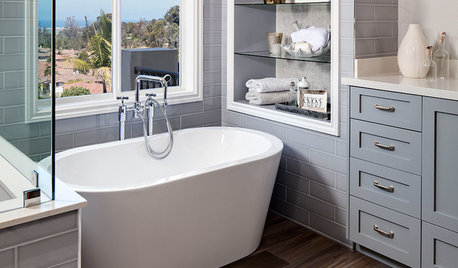
Corner tub and countertops
Ryan
2 years ago
Featured Answer
Comments (22)
 PRO
PROPatricia Colwell Consulting
2 years agoemilyam819
2 years agoRelated Professionals
Mount Vernon Interior Designers & Decorators · Bronx Furniture & Accessories · Jacksonville Furniture & Accessories · Carpinteria Furniture & Accessories · Abington General Contractors · Florida City General Contractors · Beachwood Kitchen & Bathroom Remodelers · Channahon Kitchen & Bathroom Remodelers · Placerville Kitchen & Bathroom Remodelers · Wheat Ridge Cabinets & Cabinetry · Wildomar Cabinets & Cabinetry · Charlotte Furniture & Accessories · Discovery Bay Furniture & Accessories · Kansas City Furniture & Accessories · San Rafael Window Treatmentsfelizlady
2 years agokandrewspa
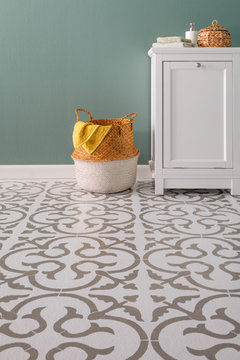
2 years agoSusan
2 years agoSusan
2 years agoSusan
2 years agoSusan
2 years agoSusan
2 years agoRyan
2 years ago
Denise Marchand
2 years agoDenise Marchand
2 years agoDenise Marchand
2 years ago
sunshine_31
2 years agoHU-168617020
2 years agoDenise Marchand
2 years ago
Olychick
2 years ago
Verbo
2 years agoDenise Marchand
2 years ago
Sigrid
2 years ago PRO
PROJoseph Corlett, LLC
2 years ago


Related Stories
BATHROOM MAKEOVERSA Smaller Tub Makes Room for a Larger Shower
Tall homeowners find room everything in their new master bathroom, including ample storage and extra-high countertops
Full Story
KITCHEN DESIGNSmooth Solutions to Kitchen Counter Corners
The designers of these kitchens found creative ways to ease the transition from counter to walking zone
Full Story
BATHROOM MAKEOVERSBefore and After: Tub-Shower Combo Gets a Major Update
A mother-daughter bathroom in Toronto now has function and style, thanks to clean design and custom storage
Full Story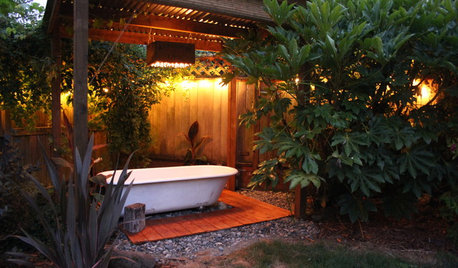
GARDENING AND LANDSCAPINGSee a Soothing Backyard Bathhouse Born From a Salvaged Tub
Creative thinking and DIY skills give a Portland couple a pergola-covered 'hot tub' under the stars
Full Story
SHOWERSConvert Your Tub Space Into a Shower — Choosing Accessories
Step 5 in swapping your tub for a sleek new shower: Pick the right niches, benches and bars for the best showering experience
Full Story
BATHTUBSBefore and After: 6 Dream Bathrooms That Free the Tub
Freestanding tubs replace bulky built-ins in these beautiful bathroom remodels
Full Story
BEFORE AND AFTERSBefore and After: 6 Bathrooms That Said Goodbye to the Tub
Sleek showers replaced tub-shower combos in these bathroom remodels. Could this be an option for you?
Full Story
KITCHEN DESIGNIs a Kitchen Corner Sink Right for You?
We cover all the angles of the kitchen corner, from savvy storage to traffic issues, so you can make a smart decision about your sink
Full Story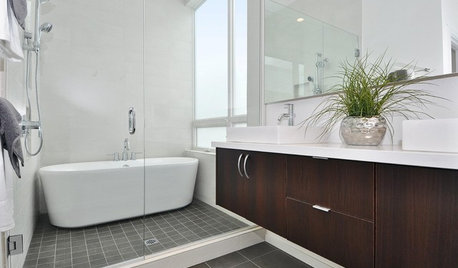
BATHROOM DESIGNWhy You Might Want to Put Your Tub in the Shower
Save space, cleanup time and maybe even a little money with a shower-bathtub combo. These examples show how to do it right
Full StoryBATHROOM MAKEOVERSBefore and After: 5 Bathroom Remodels That Free the Tub
Replacing bulky built-in tubs with streamlined freestanding ones rejuvenates these bathrooms
Full Story


Verbo