


Houzz TV: How to Paint Perfect Wall Stripes
Watch this video to see how to paint clean, professional-looking stripes wherever you want some pizazz
Brenna Malmberg
March 14, 2017
Painted stripes can quickly and economically add a lot of style to a room. In this episode of Houzz TV, watch as decorative artist and paint expert Shauna Gallagher demonstrates how to paint stripes on a wall. She uses a sample wall to show how to plan, prep and paint stripes on any wall in your home.
Watch: How to Paint Stripes on a Wall
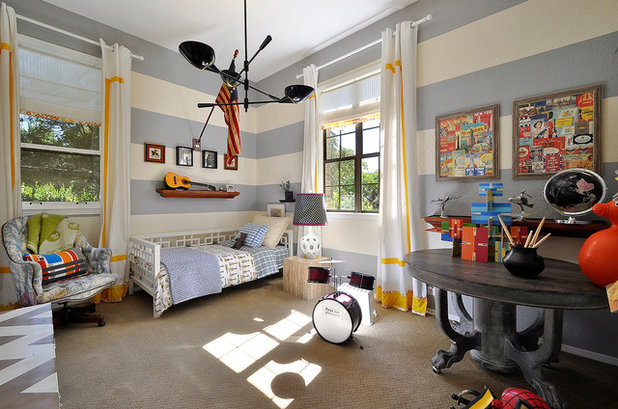
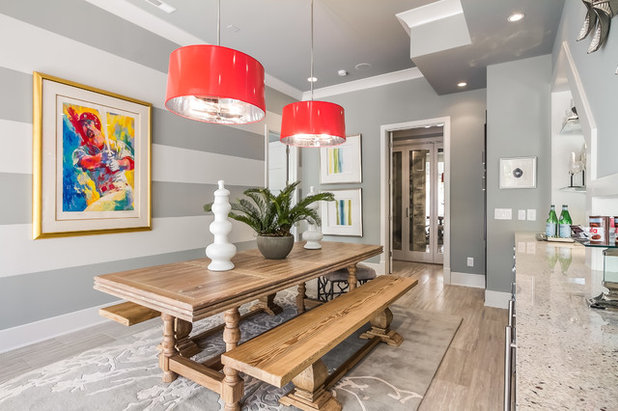
Stripes of paint can be used all the way around a room or on a focal wall, Gallagher says. Either way, they add impact to a room.
Stripes of paint can be used all the way around a room or on a focal wall, Gallagher says. Either way, they add impact to a room.
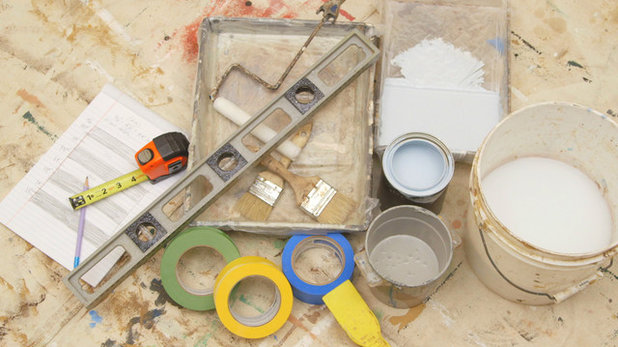
Tools and Materials
- Measuring tape
- Pencil
- Level
- Masking tape or painters tape
- Putty knife
- Mini roller
- Paint pan (trays)
- Chip brush
- Paint
Plan Out Your Stripes
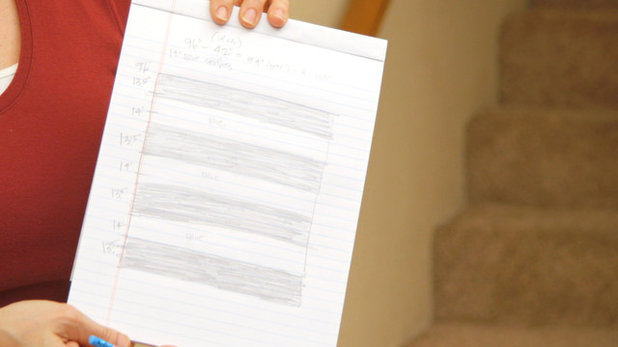
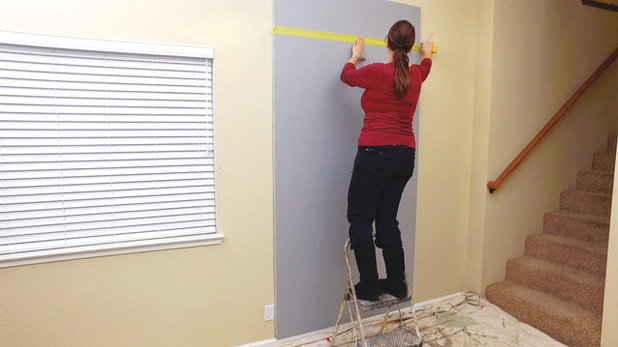
Before you can start planning, you need to measure the wall with a measuring tape. Next, you need to decide how deep or wide you want your stripes to be. Gallagher likes the look of 14-inch stripes. She also likes to keep the base wall color at the top and the bottom of the final design. In this case, the base color is taupe and the stripes will be light blue.
With this in mind, she does the math and decides that she will paint three 14-inch stripes on her 96-inch wall. The bands of wall left unpainted will be 13½ inches deep. She says it’s good to make the two colors of stripes different sizes. “If they are exactly the same size, it can create a vertigo effect,” she says.
Create Your Painting Guide on the Wall
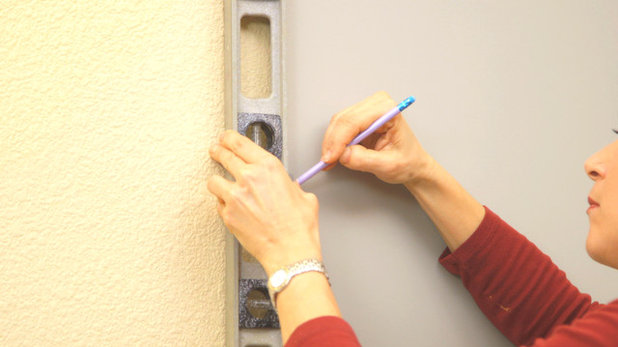
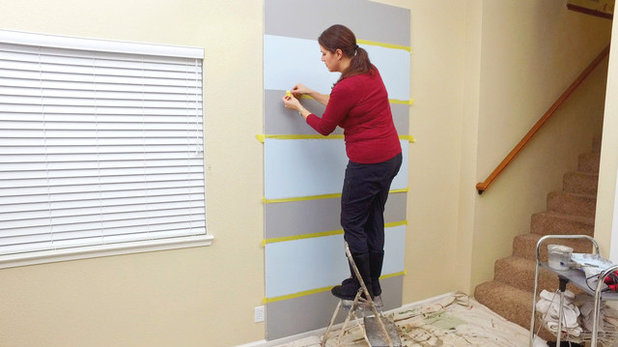
1. Measure down: Mark your stripes down the wall using a pencil and a level. On Gallagher’s sample wall, she measures down 13½ inches and then 14 inches, alternating as she goes. You will want to do this step about every 4 feet across the area you are painting.
1. Measure down: Mark your stripes down the wall using a pencil and a level. On Gallagher’s sample wall, she measures down 13½ inches and then 14 inches, alternating as she goes. You will want to do this step about every 4 feet across the area you are painting.
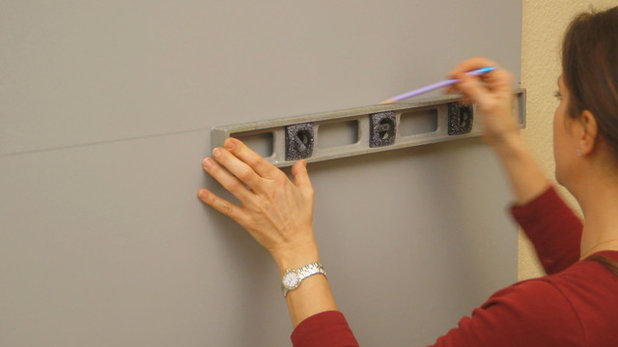
2. Connect the dots: Draw lines from point to point with a pencil. This creates an easy taping guide.
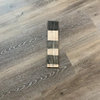
Gallagher demonstrates her technique on a piece of sample board
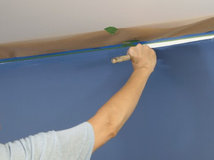
3. Tape your lines: Add tape along your pencil lines. When you do this, make sure you place the tape above and below each line according to which space is being painted. Do this carefully to be sure you’re placing the tape on the side of the line that’s not being painted. “It’s really easy to make a mistake on this, so double-check your work so you don’t end up with a stripe that’s the wrong width,” she says.
3. Tape your lines: Add tape along your pencil lines. When you do this, make sure you place the tape above and below each line according to which space is being painted. Do this carefully to be sure you’re placing the tape on the side of the line that’s not being painted. “It’s really easy to make a mistake on this, so double-check your work so you don’t end up with a stripe that’s the wrong width,” she says.
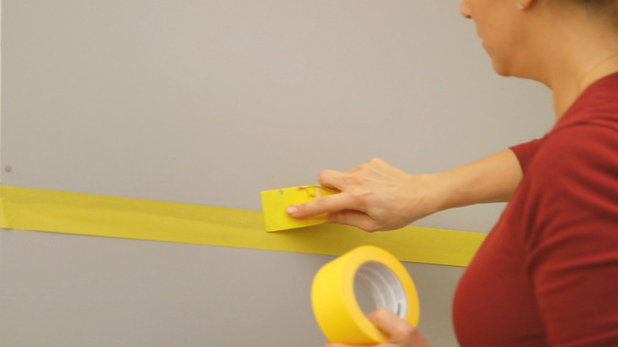
4. Seal the edge of the tape: Run a putty knife along the edge of the tape that will be painted. You want to press down only one side of the tape, Gallagher says. This helps prevent the base coat from pulling off when you remove the tape.
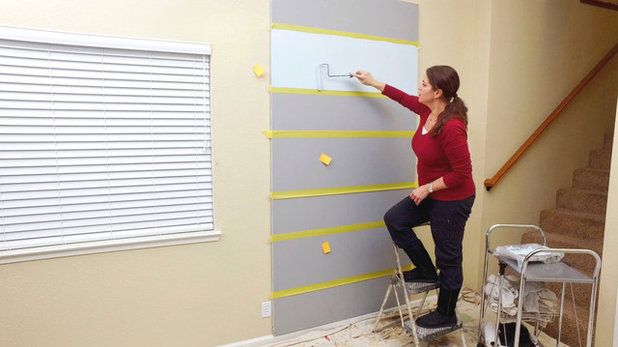
As you tape the wall, you may find it helpful to mark which areas you are going to paint with a sticky note. That way, you won’t lose track of which areas you are painting and which ones you aren’t.
As you tape the wall, you may find it helpful to mark which areas you are going to paint with a sticky note. That way, you won’t lose track of which areas you are painting and which ones you aren’t.
Paint Your Stripes
“The easy part of stripes is actually painting them,” she says. “It’s 90 percent prep work.”
Gallagher likes to use a mini roller to paint the stripes because it allows for better control of placement and paint load.
“The easy part of stripes is actually painting them,” she says. “It’s 90 percent prep work.”
Gallagher likes to use a mini roller to paint the stripes because it allows for better control of placement and paint load.
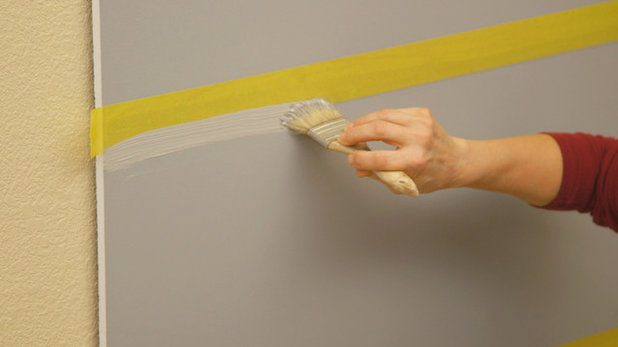
Tip: If you have textured walls, before painting your stripes, take an extra step to ensure crisper lines. Tape off your stripes, then in the section you will be painting your stripe color, use a brush to swipe the base color along the edge of the tape. This will seal any gaps between the wall and the tape before you paint in the stripe color.
Reveal Your Striped Wall
You should be ready to remove your tape about an hour after you finish painting. After an hour, the paint should be cool and dry to the touch.
As you remove the paint, Gallagher recommends holding your hands close to where you are pulling up the tape. She also likes to roll the tape as she goes so that it doesn’t stick to anything else.
You can apply this technique to any room. “Imagine this on a focal-point wall or wrapping an entire room,” she says. “It just shows you how impactful stripes can be.”
Watch: How to Paint Stripes on a Wall
More Houzz TV: How to Paint a Wall Like a Pro | How to Paint a Wall Faster
Watch: How to Paint Stripes on a Wall
More Houzz TV: How to Paint a Wall Like a Pro | How to Paint a Wall Faster


We offer custom and semi custom kitchens, bathrooms, room addition, garage additions, tear down / rebuild and new... Read More
Related Products
Scott Davidson founded Davidson Builders in 1998. Scott graduated from Michigan State with a BS in Construction... Read More
Related Stories
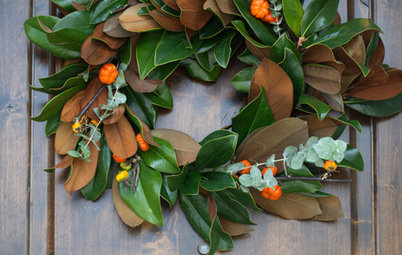
Fall and Thanksgiving
DIY: Make a Fresh Magnolia Wreath
Learn how to add a statement piece to your front door with these easy-to-find evergreens
Full Story
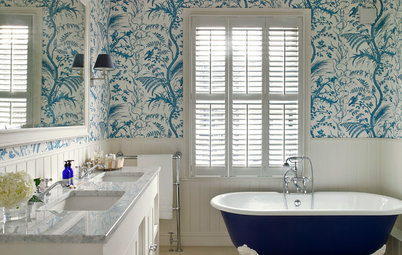
Bathtubs
10 Times When Painting a Claw-Foot Tub Refreshed a Bathroom
See how designers and homeowners use colorful paint to give tubs and bathrooms a fresh look
Full Story
Decorating Projects
6 Fun Ways to Decorate With ... Tape?
By Janet Paik
Add a new accent wall, a midcentury closet detail and more with this budget-friendly, multipurpose wonder
Full Story
Decorating Guides
How to Hang a Heavy Mirror
By Erin Carlyle
Here’s what to know about your mirror, wall and hanging hardware to do it right
Full Story
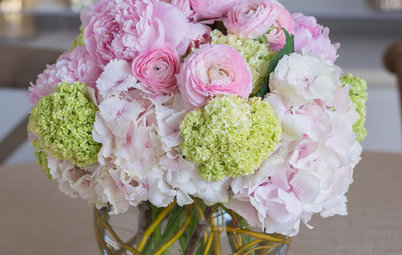
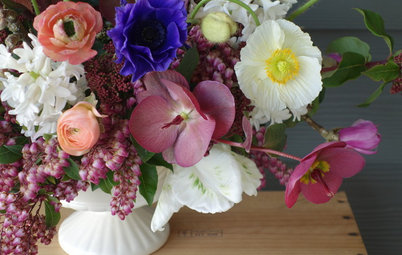
Mother’s Day
Surprise Mom With an Elegant DIY Bouquet
For Mother’s Day, use flowers and branches from your local market or backyard to create this pastel beauty
Full Story
Decorating Projects
12 Projects to Indulge Your Spring Fever
Get busy beautifying your home with one of these budget-friendly DIY decorating projects
Full Story

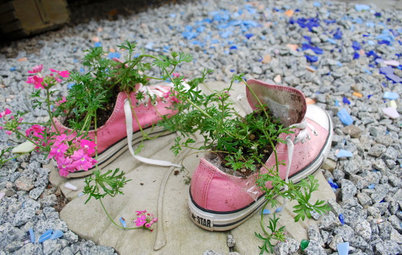
Entryways
DIY: Corral Your Boots With This Handy Entryway Tray
By Faith Towers
Follow along to make this easy and chic tray to protect your floors when it’s soggy outside
Full Story
Valentine’s Day
Put Together a Romantic and Whimsical Valentine’s Day Bouquet
By Becky Harris
Use American-grown branches and blooms for a truly individual way to show your love
Full Story
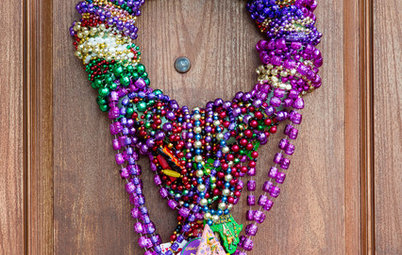
Crafts
Create a Festive, Colorful Mardi Gras Bead Wreath
Reuse collected beads from parades for an easy-to-make front door accent
Full Story
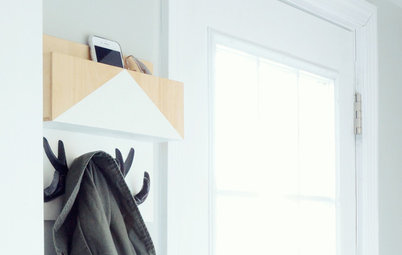
Organizing
DIY: Make a Wooden Wall Organizer to Curb Entryway Clutter
By Faith Towers
Create a hanging catchall for hats, coats, keys and phones
Full Story
Shauna,
Thank you for the tips. Here is my design that I was able to make with the help of your instructions.