


8 Easy Halloween Decorating Ideas
Get in the spooky spirit with simple ideas for your entry, mantel and table. Then repurpose your pumpkins in the garden
Becky Harris
October 18, 2017
Houzz Contributor. Hi there! I live in a 1940s cottage in Atlanta that I'll describe as "collected."
I got into design via Landscape Architecture, which I studied at the University of Virginia.
Houzz Contributor. Hi there! I live in a 1940s cottage in Atlanta that I'll describe... More
I don’t know about your neighborhood, but in mine people go all-out with their Halloween decorating. Houses and yards are covered in giant spiders, gravestones, skeletons and more. If that all sounds intimidating, don’t fret — Halloween can be fun and easy to decorate for without having to involve a crew of set decorators. Here are a few cheap and easy moves for getting your home in the spirit.
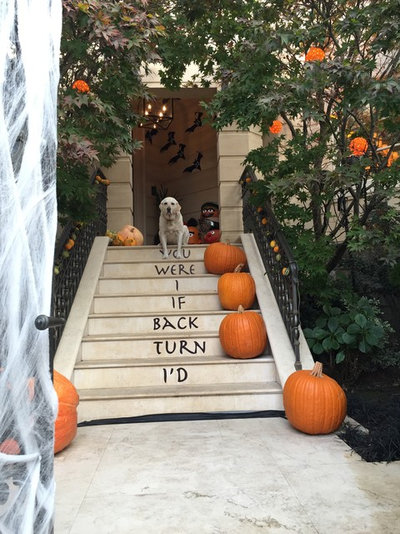
1. Spell it out. Inexpensive vinyl decals let you compose a spooky message on a wall, window or staircase — though it’s kind of hard to take the warning on these stairs too seriously with that darling dog sitting at the top.
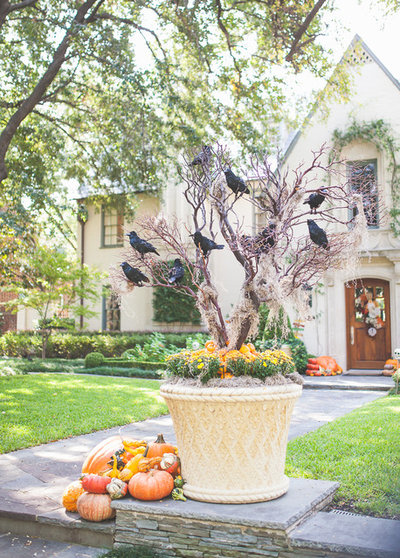
2. Go for birds. What is it that’s so spooky about black birds? Well, crows can represent mystery, magic, intelligence, luck and death, among other things. And ravens have that whole macabre Edgar Allan Poe thing going on.
Outfitting a denuded branch with a grouping of black birds is a good way to create an ominous vibe at an entryway.
Outfitting a denuded branch with a grouping of black birds is a good way to create an ominous vibe at an entryway.
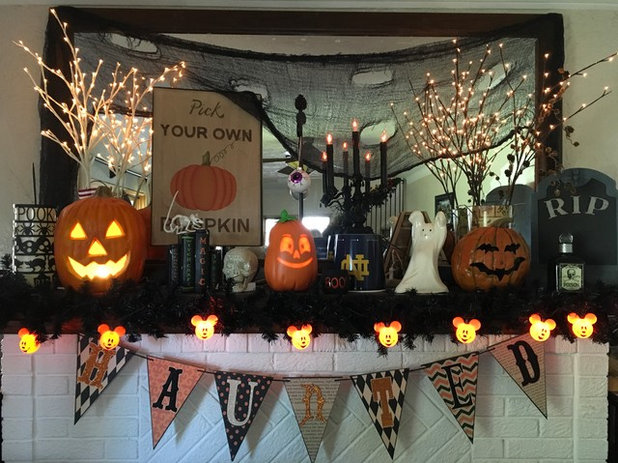
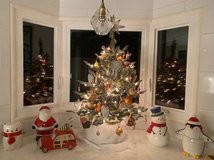
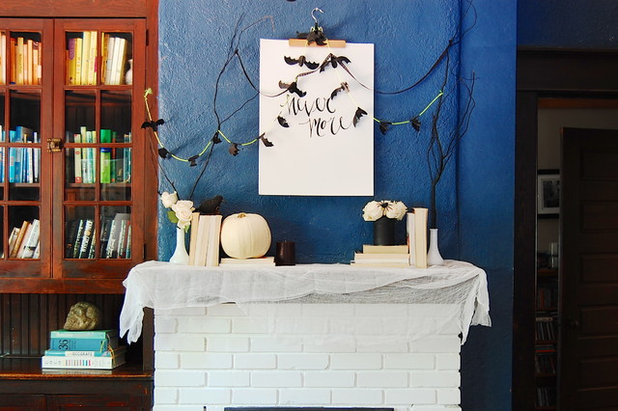
3. Give your mantel some swag. Hang a garland or two, place a few pumpkins and steal a few twinkle lights or branches from your Christmas decor stash. Garlands are simple to make, whether you string together ghosts made of paper towels, cut out letters that spell out “B-O-O-!” or whip up construction paper witch hats.
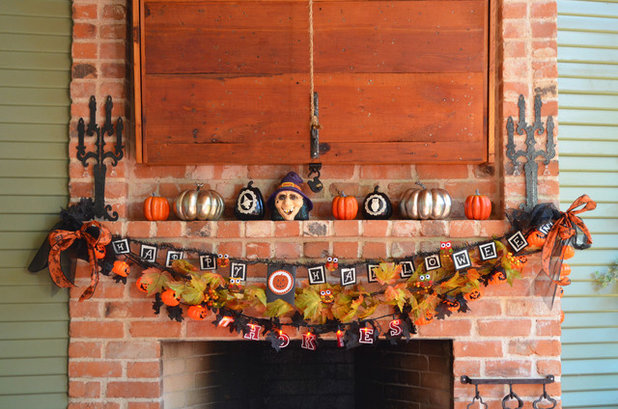
You can layer several strings of garlands and lights across a mantel. This one has an overall Halloween look because of the colors, but it actually combines three garlands for different things — “Happy Halloween,” fall leaves and the name of a favorite football team (the game-day TV is hidden behind that lift-up door.) It’s all good — they look good together.

A Halloween-card garland is an easy one you can have fun making with kids. Get out the school glue, mount cards to slightly larger pieces of construction paper and add a glitter border.
Clip the pieces to some twine or raffia with tiny binder clips. Or, as was done here, punch a hole in the top of each card and pop it right over an LED string-light bulb.
Clip the pieces to some twine or raffia with tiny binder clips. Or, as was done here, punch a hole in the top of each card and pop it right over an LED string-light bulb.
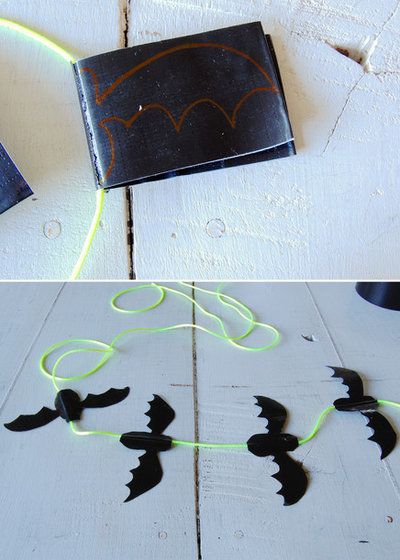
Houzz contributor Corynne Pless wrote a step-by-step guide to creating garlands from things you probably already have. In this case, all you need is duct tape, a ruler, scissors and some twine or ribbon.
Here are Pless’ instructions:
Here are Pless’ instructions:
- Cut 12-inch strips of duct tape and lay them out, sticky side up, about 2 inches apart.
- Place a piece of string down the center of each piece as shown.
- Fold each side of the tape in half toward the string in the middle, with each end overlapping a little at the center string line. Press to seal. (There should be no sticky sides remaining now.)
- Fold in half again (as shown) and trace the outline of one half of a simple bat design. Cut along the lines through both sides of the tape. Unfold to reveal complete bat shapes.
The result is a charming little garland. Check out the extra step she took of spray-painting a few branches black, putting them in vases and stringing the flying bats up high between them.
See the full step-by-step here
See the full step-by-step here
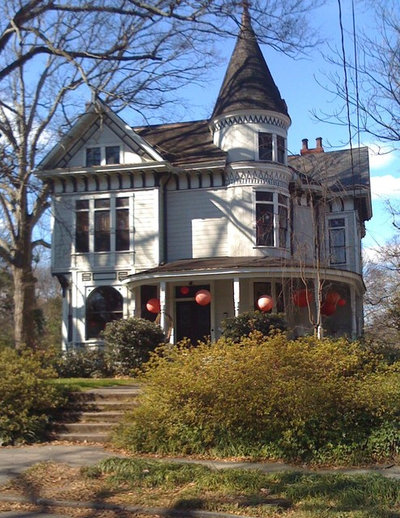
4. Hang paper lanterns. This incredible Victorian house doesn’t even really need any decorations, as it already has some serious Addams Family-esque architecture going on.
But the way the homeowners hung simple, inexpensive paper lanterns along the porch makes the house more festive and welcoming to wee trick-or-treaters.
But the way the homeowners hung simple, inexpensive paper lanterns along the porch makes the house more festive and welcoming to wee trick-or-treaters.
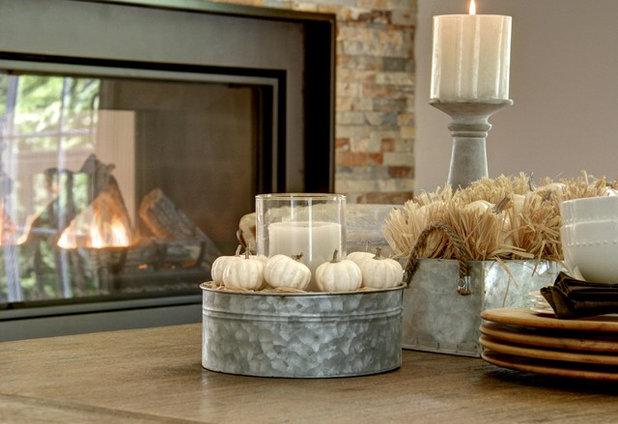
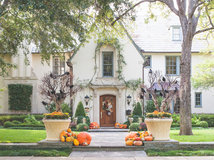
5. Make a pumpkin centerpiece. Put a hurricane in the center of a tub, terra-cotta pot or bucket and surround it with small pumpkins, gourds or both. Using a white candle and galvanized tin tub, as seen here, results in a versatile centerpiece that can be used all season. You could amp up the Halloween spirit by using orange pumpkins and a black candle.
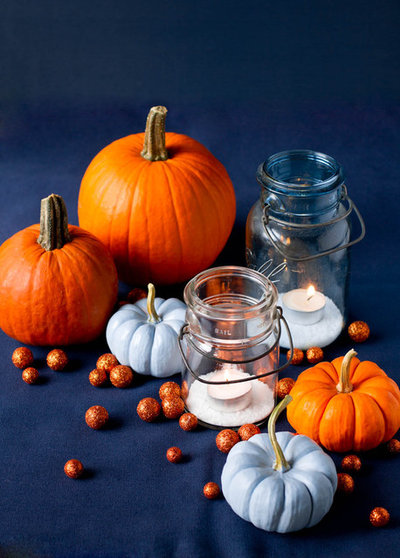
6. A festive smattering of pumpkins, Mason jars outfitted with votive candles and some scattered Halloween candies take about 10 minutes to throw together.
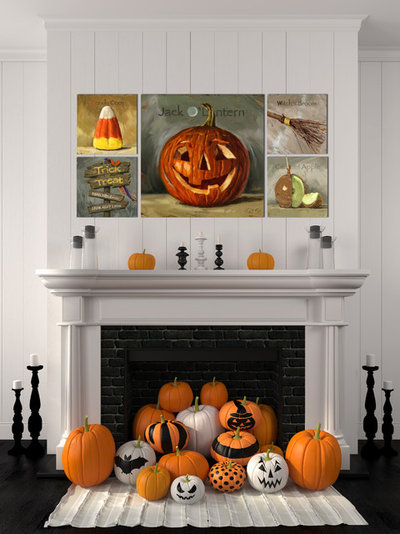
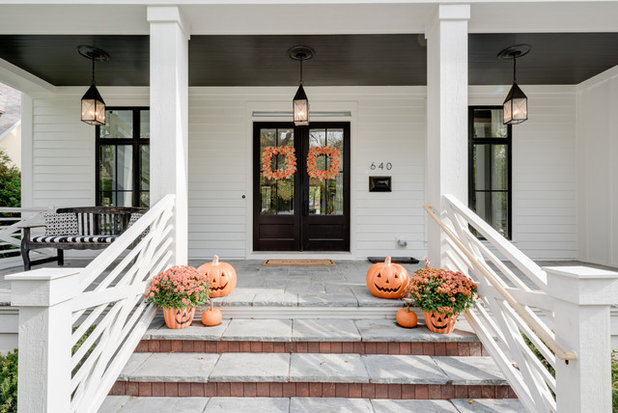
7. Pile your pumpkins. Fun new painting and stenciling ideas for decorating pumpkins are much less time-consuming than taking out all of that pumpkin goop and carving. Arrange a fun pile of pumpkins in various sizes, shapes and colors in your fireplace or on your front stoop.
Try a Scandinavian-style pumpkin paint job
Try a Scandinavian-style pumpkin paint job
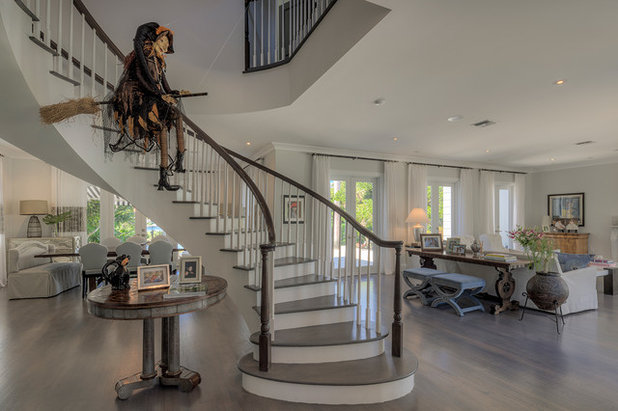
8. Think up a new pose. If you’re the serious Halloween-decoration type, switch up the way you display your regular cast of characters. Putting the witch and her broom in a sliding-down-the-staircase pose shows off her playful side.
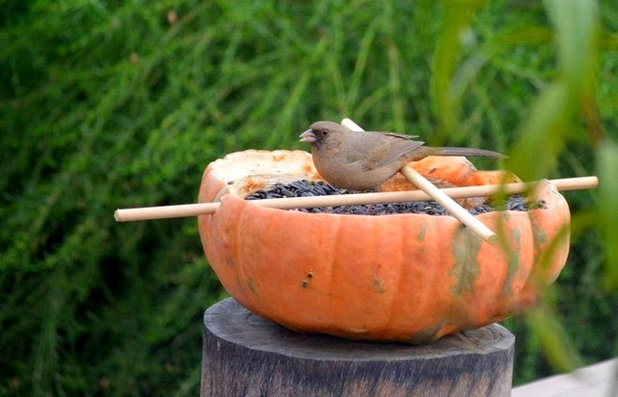
Postholiday repurposing. After your jack-o’-lantern candle has burned out and you’ve toasted up all the pumpkin seeds, give your pumpkin another use. Carve a few notches to hold a simple perch made of chopsticks or dowels, fill the pumpkin with birdseed and set it out on a post, woodpile or garden stool. Who knows? A crow may come by and bring you good luck. After your pumpkin has finished its stint as a bird feeder, you can compost it by placing it in the dirt and putting leaves on top of it.
What’s your favorite part of decorating for Halloween? Please share your ideas and photos with us in the Comments.
More
Your Easiest Fall Decorating Ever
Halloween DIYs
Ideas for Fall and Thanksgiving
More
Your Easiest Fall Decorating Ever
Halloween DIYs
Ideas for Fall and Thanksgiving


Scott Davidson founded Davidson Builders in 1998. Scott graduated from Michigan State with a BS in Construction... Read More
What are you working on?
Related Products

We believe that the transition of a house into a home is a sense of history and a piece of the future. It tells... Read More
Related Stories
Fall and Thanksgiving
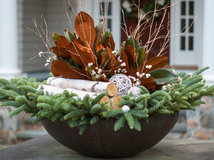
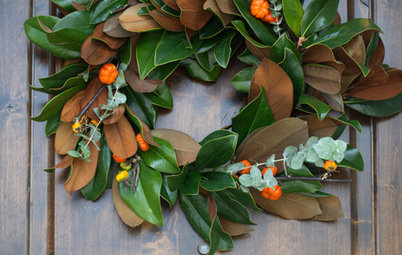
DIY: Make a Fresh Magnolia Wreath
Learn how to add a statement piece to your front door with these easy-to-find evergreens
Full Story

Bathtubs
10 Times When Painting a Claw-Foot Tub Refreshed a Bathroom
See how designers and homeowners use colorful paint to give tubs and bathrooms a fresh look
Full Story
Decorating Projects
6 Fun Ways to Decorate With ... Tape?
By Janet Paik
Add a new accent wall, a midcentury closet detail and more with this budget-friendly, multipurpose wonder
Full Story

Decorating Guides
How to Hang a Heavy Mirror
By Erin Carlyle
Here’s what to know about your mirror, wall and hanging hardware to do it right
Full Story
Mother’s Day
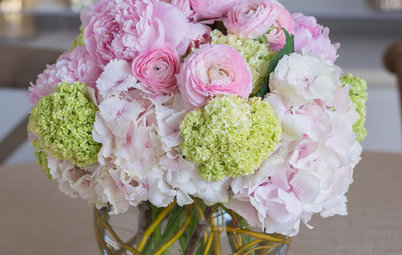
Surprise Mom With an Elegant DIY Bouquet
For Mother’s Day, use flowers and branches from your local market or backyard to create this pastel beauty
Full Story
Decorating Projects
12 Projects to Indulge Your Spring Fever
Get busy beautifying your home with one of these budget-friendly DIY decorating projects
Full Story

Entryways
DIY: Corral Your Boots With This Handy Entryway Tray
By Faith Towers
Follow along to make this easy and chic tray to protect your floors when it’s soggy outside
Full Story
Valentine’s Day
Put Together a Romantic and Whimsical Valentine’s Day Bouquet
By Becky Harris
Use American-grown branches and blooms for a truly individual way to show your love
Full Story

Crafts
Create a Festive, Colorful Mardi Gras Bead Wreath
Reuse collected beads from parades for an easy-to-make front door accent
Full Story

Organizing
DIY: Make a Wooden Wall Organizer to Curb Entryway Clutter
By Faith Towers
Create a hanging catchall for hats, coats, keys and phones
Full Story
Fun article Becky! I love the bird feeder idea...may have to try it this winter!