


How to Dust Your Home the Right Way
Learn the most efficient dusting methods for a spotless home
Jo Simmons
November 17, 2020
Houzz UK Contributor. I have been an interiors journalist since 1995, writing several books on design and numerous features for glossy homes mags over the years. For Houzz, I cover decorating ideas and trends and interview designers and professionals for their insights. My favourite pieces to write, though, are Houzz Tours, as I love exploring and learning about real homes. Call me curious — or nosy!
Houzz UK Contributor. I have been an interiors journalist since 1995, writing several... More
It’s rarely anyone’s favorite job, but dusting will always sit at the top of any domestic cleaning to-do list. That’s because, with so much dust in the environment, it builds up on surfaces surprisingly quickly, demanding regular attention. The dust itself is a cocktail of tiny particles, including plant pollen, human and animal hairs, textile and paper fibers, human skin cells and even burnt meteorite particles! No wonder we like to get rid of it.
A dust-free home is more pleasant to live in, especially for those with allergies, but there’s more to dusting than just flicking a cloth around. In fact, a poor dusting technique or the wrong equipment could actually sabotage your efforts to clear it. Read on for general dusting advice and expert tips, and enjoy a dust-free home for longer.
A dust-free home is more pleasant to live in, especially for those with allergies, but there’s more to dusting than just flicking a cloth around. In fact, a poor dusting technique or the wrong equipment could actually sabotage your efforts to clear it. Read on for general dusting advice and expert tips, and enjoy a dust-free home for longer.

Start at the Top
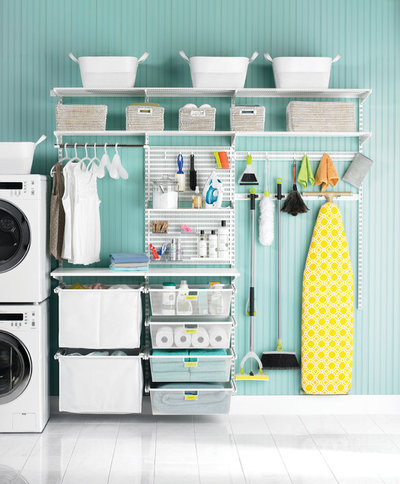
Work from the top down: Tackle the ceiling, picture rails and high shelves first, then work toward the floor. A vacuum cleaner with a long hose and multiple attachments is the most efficient tool, as it will suck up the dust before it can settle on the furniture below.
For really high spots, be prepared to get out the stepladder once in a while. Rather than dangerously balance a vacuum cleaner on it, track down a nifty flexible-wand duster with a good reach. This will get to awkward and small spaces, trapping the dust on its high-pile sleeve.
If your vacuum cleaner’s nozzle doesn’t fit in narrow spaces, such as sliding door tracks, try sliding on a cardboard tube from a roll of paper towels. You can crush, fold and mold it to handle tricky spaces.
Shop for vacuums on Houzz
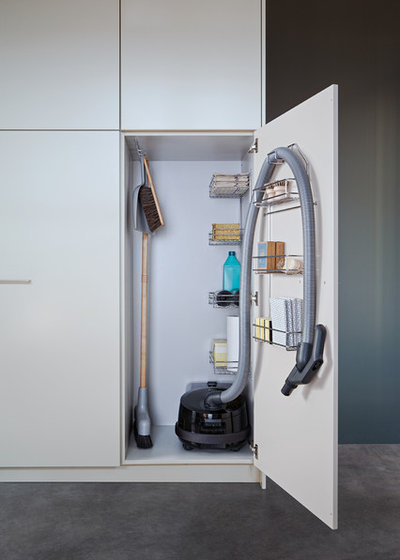
Invest in the Right Tools
It’s important to use the right form of duster. A feather design will only move dust particles around, sending them into the air to land again right after you’ve finished cleaning. You want to trap your dust, not simply relocate it! So get hold of a microfiber or electrostatic duster, which will holds on to the particles. Make sure you wash or replace it once dirty.
Find dusters and other cleaning supplies
Don’t Dry Up
In addition to using a suitable cloth, avoid dusting dry. When dust is dry, it can easily become airborne, making it harder to trap. Spritz dusters and cloths with a dusting spray or polish, or even a fine mist of water, for more efficient cleaning and better results. Use sparingly to avoid smear marks.
If you’re using furniture polish, always spray it onto the duster as well, rather than directly onto the furniture, which can lead to thick and unevenly distributed build-ups of polish that are hard to wipe away.
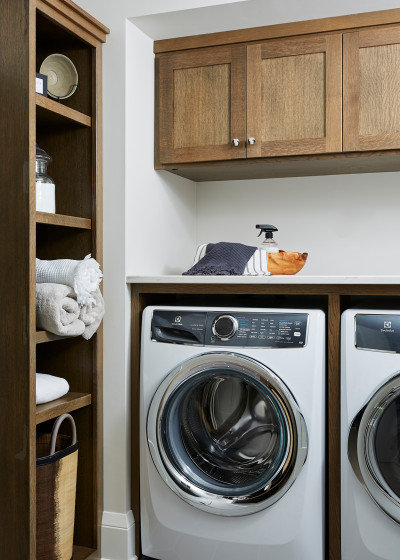
Freshen Your Vacuum Filters
The filter on your vacuum cleaner is designed to capture the fine dust and particles the machine sucks up. Filters that are clogged may fail to trap this dust and could even blast it back into the air. So aim to replace or wash any filters as often as your model’s manufacturer recommends.
The filter on your vacuum cleaner is designed to capture the fine dust and particles the machine sucks up. Filters that are clogged may fail to trap this dust and could even blast it back into the air. So aim to replace or wash any filters as often as your model’s manufacturer recommends.

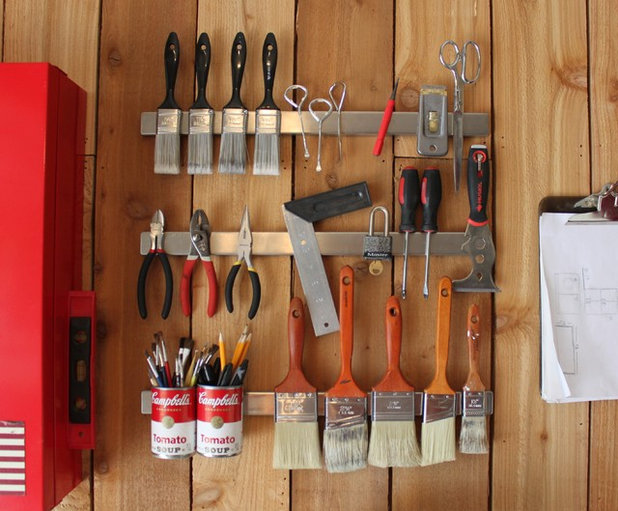
Tackle Displays
Displays of beautiful objects really enhance a room, but each individual piece will collect dust. From time to time, take the objects off their shelves, dust the shelf with a microfiber cloth and carefully wipe down each piece. To get at dust trapped in tiny nooks and intricate corners, use a clean natural-bristle paintbrush or makeup brush, then wipe.
Displays of beautiful objects really enhance a room, but each individual piece will collect dust. From time to time, take the objects off their shelves, dust the shelf with a microfiber cloth and carefully wipe down each piece. To get at dust trapped in tiny nooks and intricate corners, use a clean natural-bristle paintbrush or makeup brush, then wipe.

Sort Out Soft Toys
Some teddy bears and soft toys are machine-washable, but you can also put those that aren’t too big into a big plastic bag with a cup of baking soda. Secure the top, then take it outside and shake well. The baking soda and static will draw out the dust.
Take out each soft toy one by one. Shake it thoroughly so any baking soda clumps fall off, then vacuum any large soft toys that are not at risk of being sucked up the nozzle. Small toys might benefit from a brush with a medium-stiff brush.
See more eco-friendly tips and tricks for cleaning your home

Double Up on Blinds
Removing dust from the individual slats on a blind is a laborious task. Make it a little easier by using kitchen tongs. Fix a microfiber duster to each tip with rubber bands, then close the tongs, gripping a slat, and simply pull across. This way, both sides of the slat get cleaned thoroughly.
For an even more low-tech version, use an old sports sock as a kind of sock-puppet cleaning mitt, making sure you rinse it in a detergent solution as you go.

Treat Your Tech Well
TVs, Wi-Fi routers, DVD players, printers and computers are real dust magnets, but keeping them dust-free is crucial for them to run well.
Unplug the equipment before cleaning and then wipe down gently with a microfiber cloth. Next, be sure to vacuum dust and pet hair from around cords and vents, because it can clog machines.
Reinvigorate Your Vents
Window vents and bathroom fans can easily get dusty too — and you don’t want them to be circulating fresh air mixed with dust. Avoid this by using a paintbrush to clean the vents. You might need to do a deeper clean if your fan has become noisy, as there could be dust inside the motor.
After disconnecting the fan from the power supply, you can take off the cover and use cotton swabs to remove deep-seated dust. If the dust has begun to turn to greasy grime, use a damp cloth and an all-purpose or window cleaner to wipe the blades, then wash the cover well in soapy water.

Tell us: Do you have any savvy dusting tips? Please share them in the Comments.
More on Houzz
Read more cleaning stories
Find home pros
Shop for products
More on Houzz
Read more cleaning stories
Find home pros
Shop for products
We specialize in custom cabinetry, but we also do interior trim & millwork. The quality of our work, the look of... Read More
What are you working on?

Related Products

Our team is a small group of energetic individuals and talented professionals available to guide you through the... Read More
Related Stories

Windows
How to Clean Your Windows and Keep Them Streak-Free
Try these tips, tricks and tools to wash your windows so they’re crystal clear
Full Story

Decluttering
Choose Your Own Spring Cleaning Plan
Instead of trying to do it all, pick one of these six cleaning approaches that’s right for you now
Full Story
Decluttering
10 Decluttering Projects You Can Do in 15 Minutes or Less
Try these ideas to get organized at home one small step at a time
Full Story

Monthly Home Checklists
To-Dos: Your February Home Checklist
Keep your home fresh and organized this month while you plan for warmer days ahead
Full Story

Feel-Good Home
10 Ways to Make Your Home a Haven
By Jo Simmons
Set up a comfortable environment that encourages relaxation and rejuvenation
Full Story

Most Popular
Your Guide to a Sparkling Clean Kitchen
Tackle food messes with this comprehensive collection of targeted and tested cleaning methods
Full Story

Monthly Home Checklists
Your Checklist for Quick Houseguest Prep
Follow these steps to get your home ready in a hurry for overnight visitors
Full Story

Cleaning
A Clean Home for the Holidays in 5 Days
Follow this guide to get your house clean before the festivities begin and your guests arrive
Full Story

Monthly Home Checklists
Your Winter Home Maintenance Checklist
Keep your home and yard safe and running smoothly as temperatures drop and activity moves indoors
Full Story

Monthly Home Checklists
To-Dos: Your December Home Checklist
Spruce up your home for days and nights spent indoors and close to home this holiday season
Full Story
I use a damp paper towel wrapped around a yardstick to clean under the refrigerator (too close to the floor for the vacuum wand.). Then I just toss the paper towel.
If I don't move anything then I don't notice the dust.
What I do is wet a microfiber cloth and wring it out. It picks up the dust fantastically. I rinse it out frequently then keep on dusting. No.chemicals required.