How to Issue an Invoice
Once you have created an invoice and finalized it with your client, you can easily issue your invoice.
Issuing an invoice is an accounting best practice to lock the document from further edits. An issued invoice will automatically sync with QuickBooks (if integrated), but there are other ways to sync an invoice even before it's issued.
An invoice will sync automatically to QuickBooks once it is sent or when a payment is logged manually or automatically on the invoice. An invoice can also be manually synced from the sync dashboard.
When to Issue an Invoice
We recommend you issue an invoice after your client has reviewed it and any necessary edits have been made. You can't edit an issued invoice because of accounting documentation, so you want to make sure it's approved and finalized before taking this step.
That being said, if you would prefer to issue the invoice when you send it to your client, you have the option to do this as well.
Issue an Invoice Without Sending
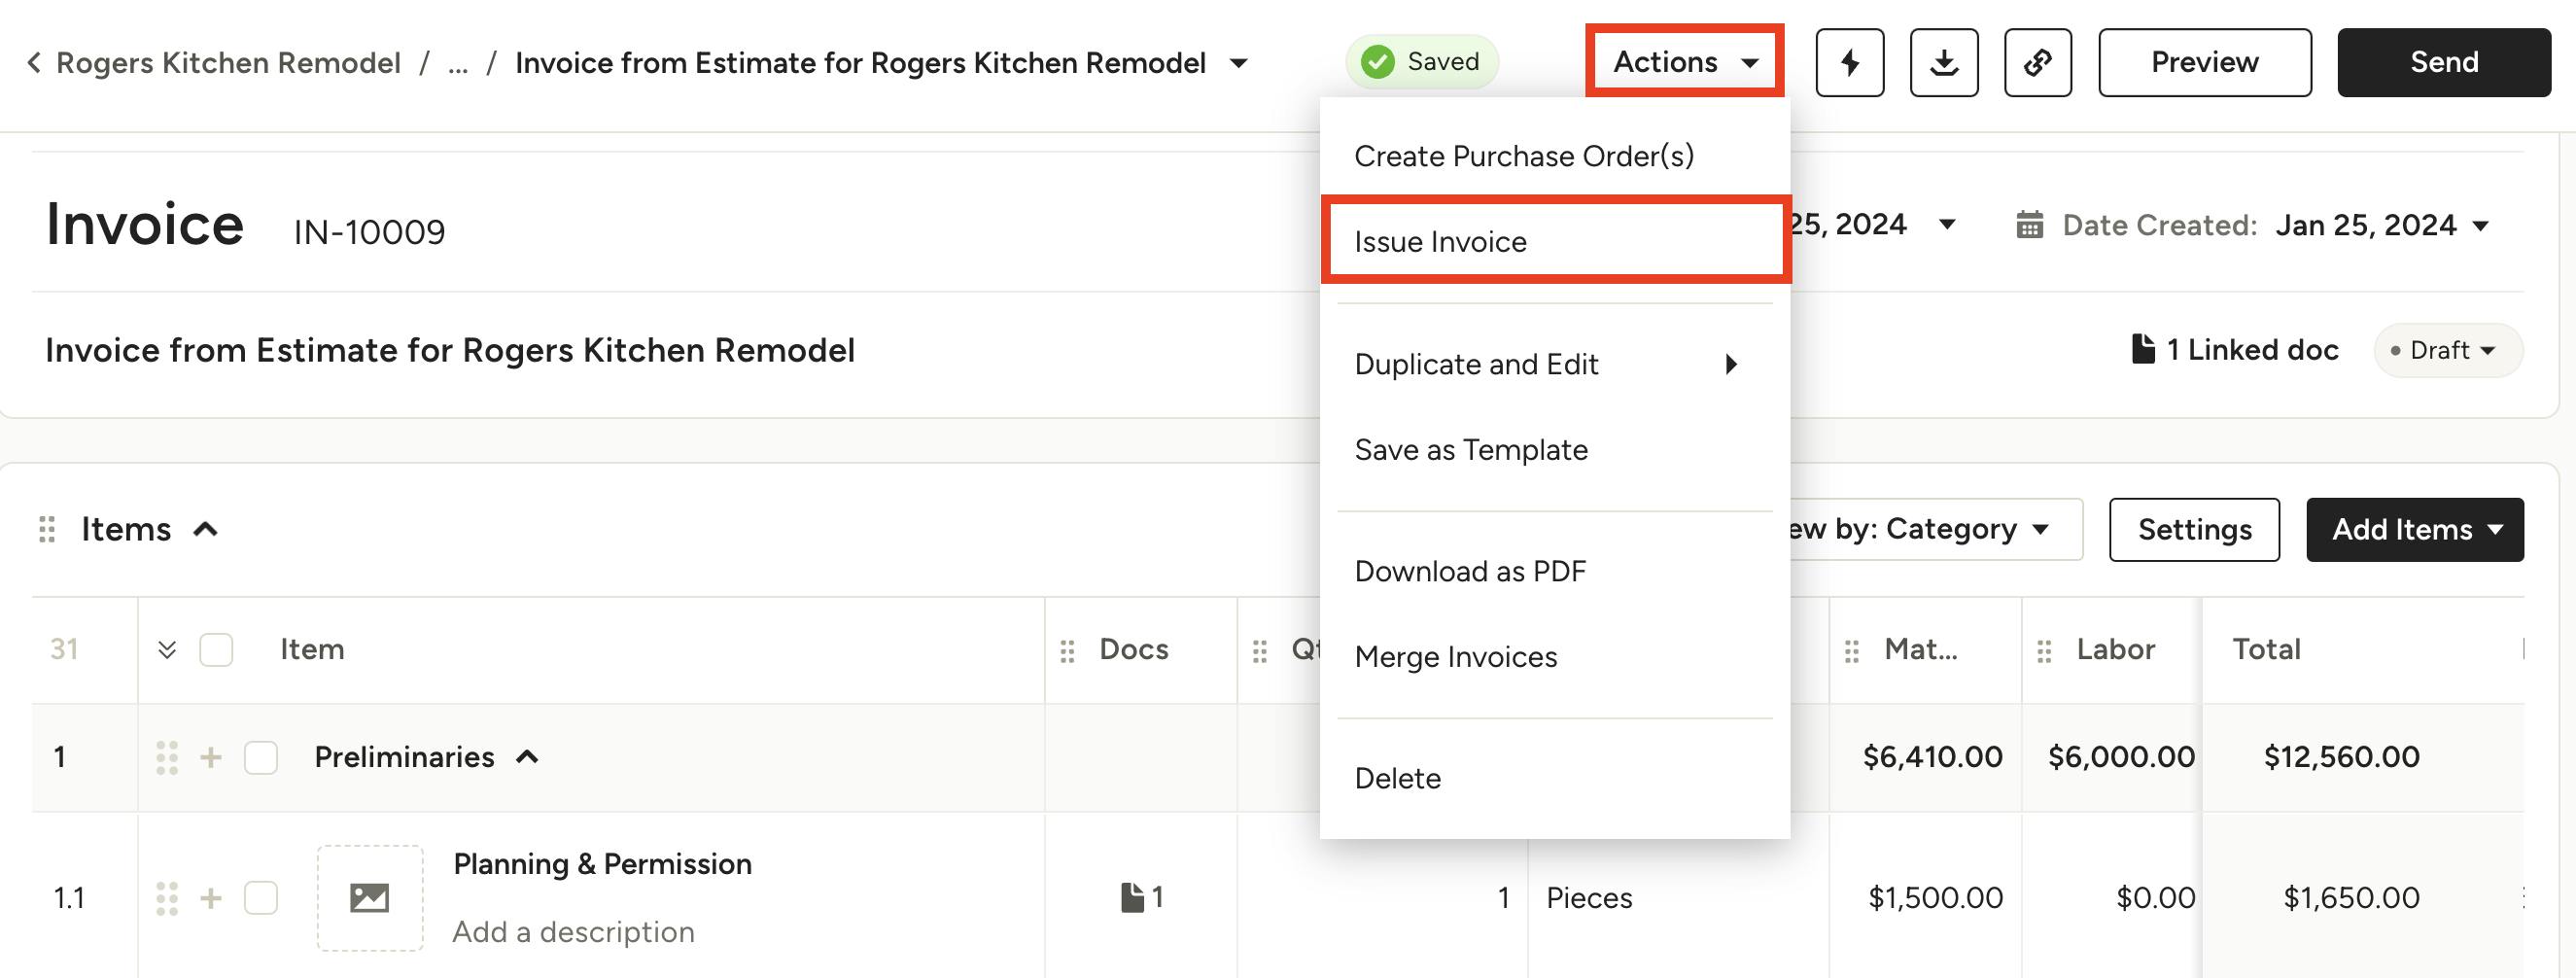
When you have a finalized invoice and want to issue the document without sending it to your client, you can easily do this by selecting Issue Invoice from the Actions dropdown.
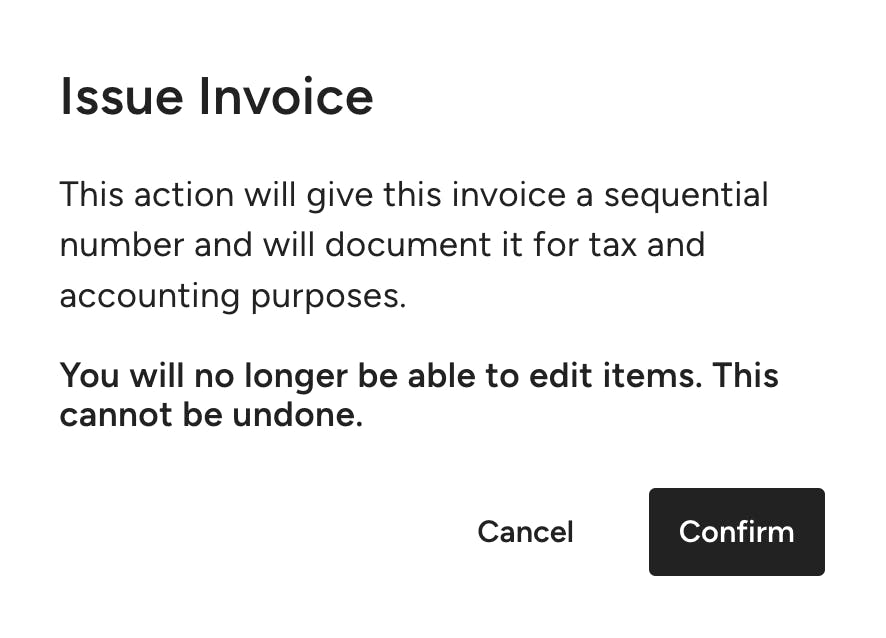
A screen will appear reminding you that you are unable to edit an issued invoice. If you would still like to continue, press Confirm.
Once complete, your issued invoice will now sync with Quickbooks (if you have Quickbooks integrated).
Issue an Invoice When Sending
If you would prefer to issue the invoice as you are sharing it with a client, you can do this as well.
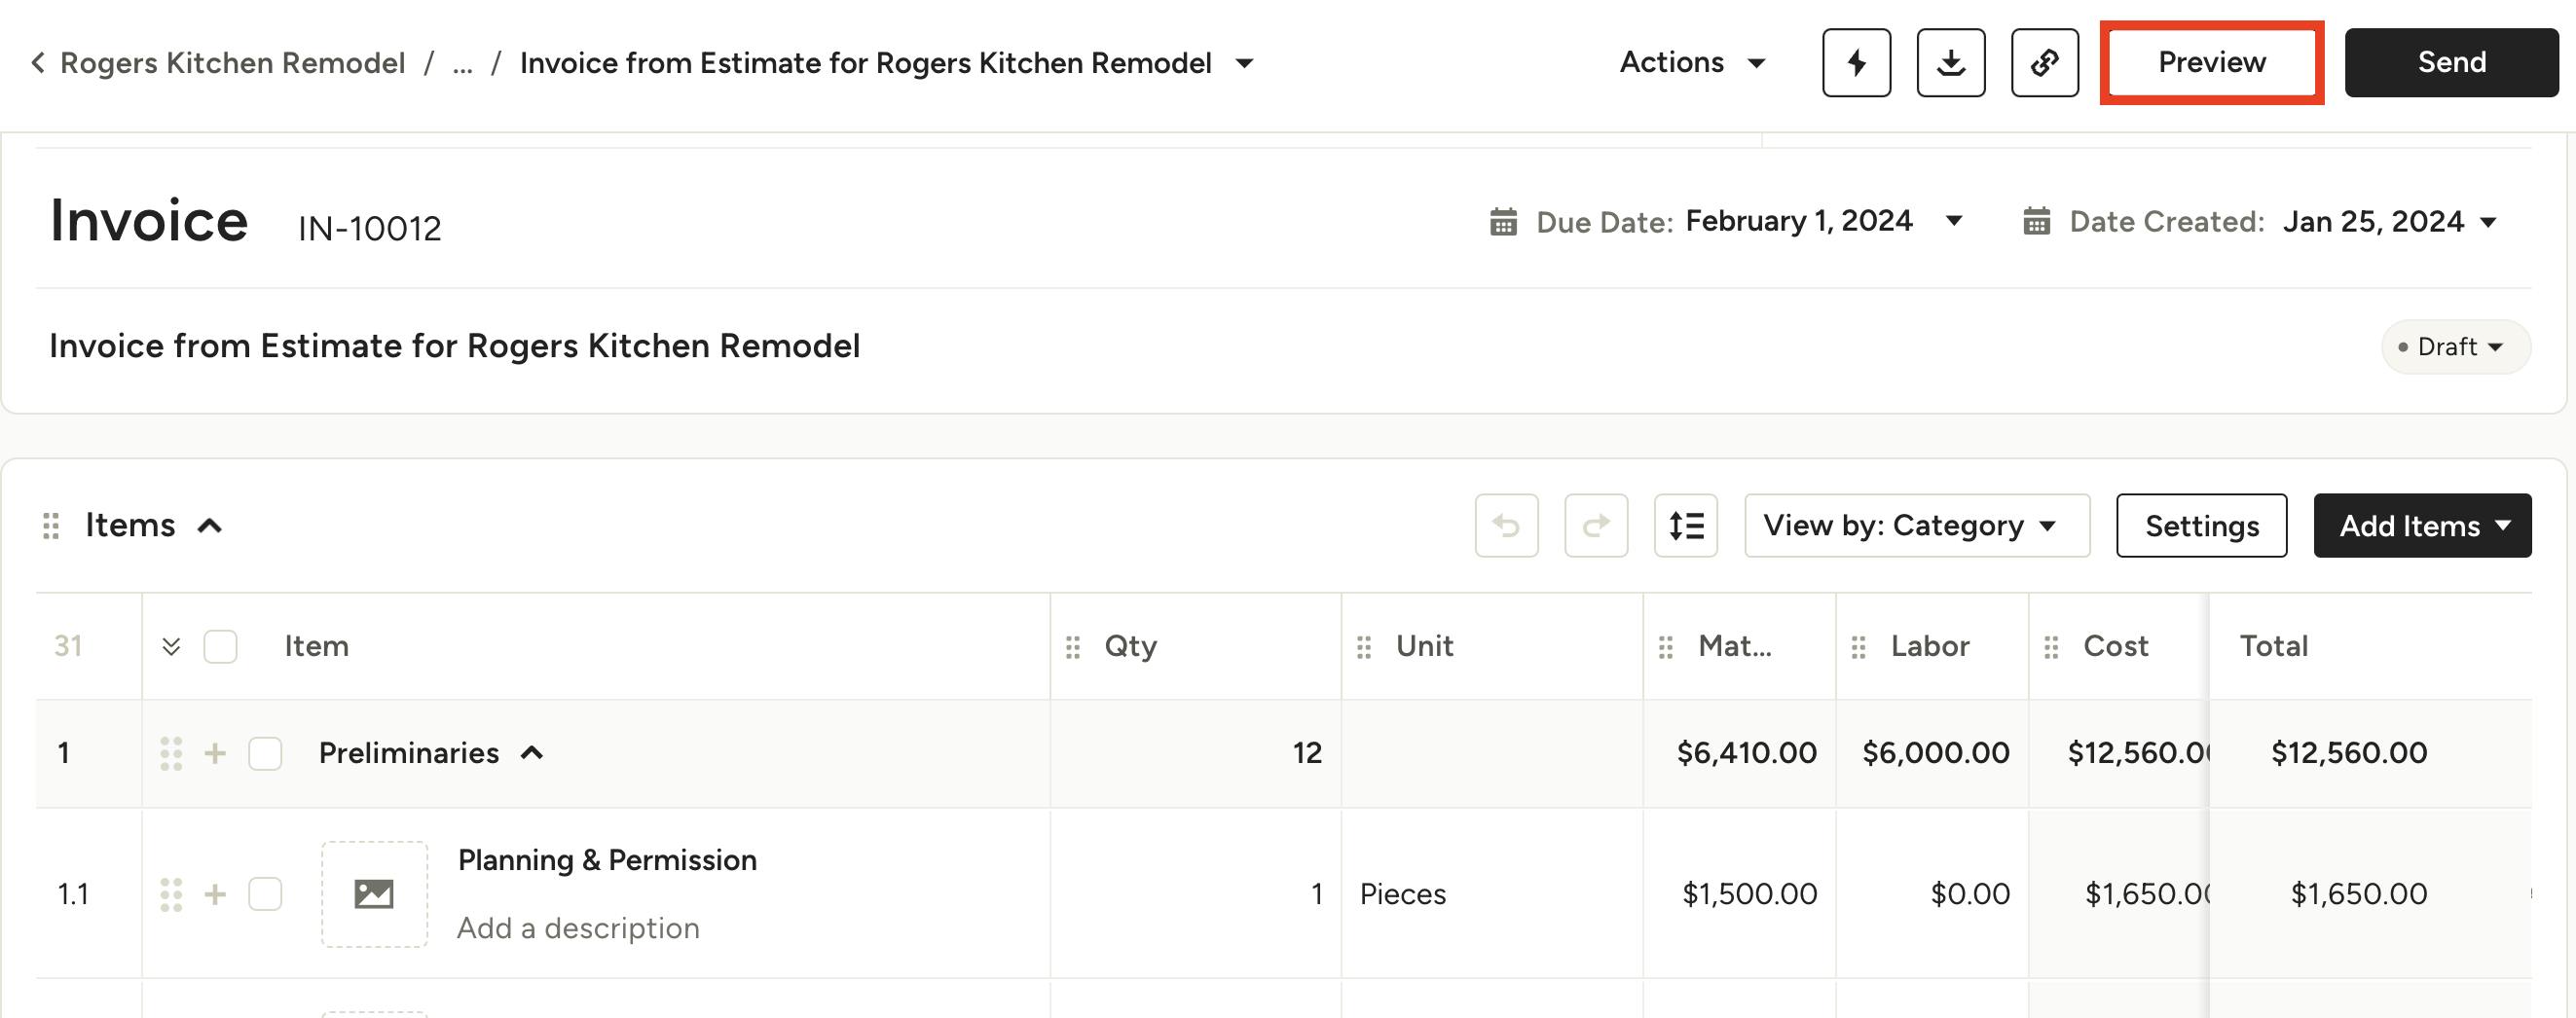
Within your invoice, select the Preview button at the top of your screen.
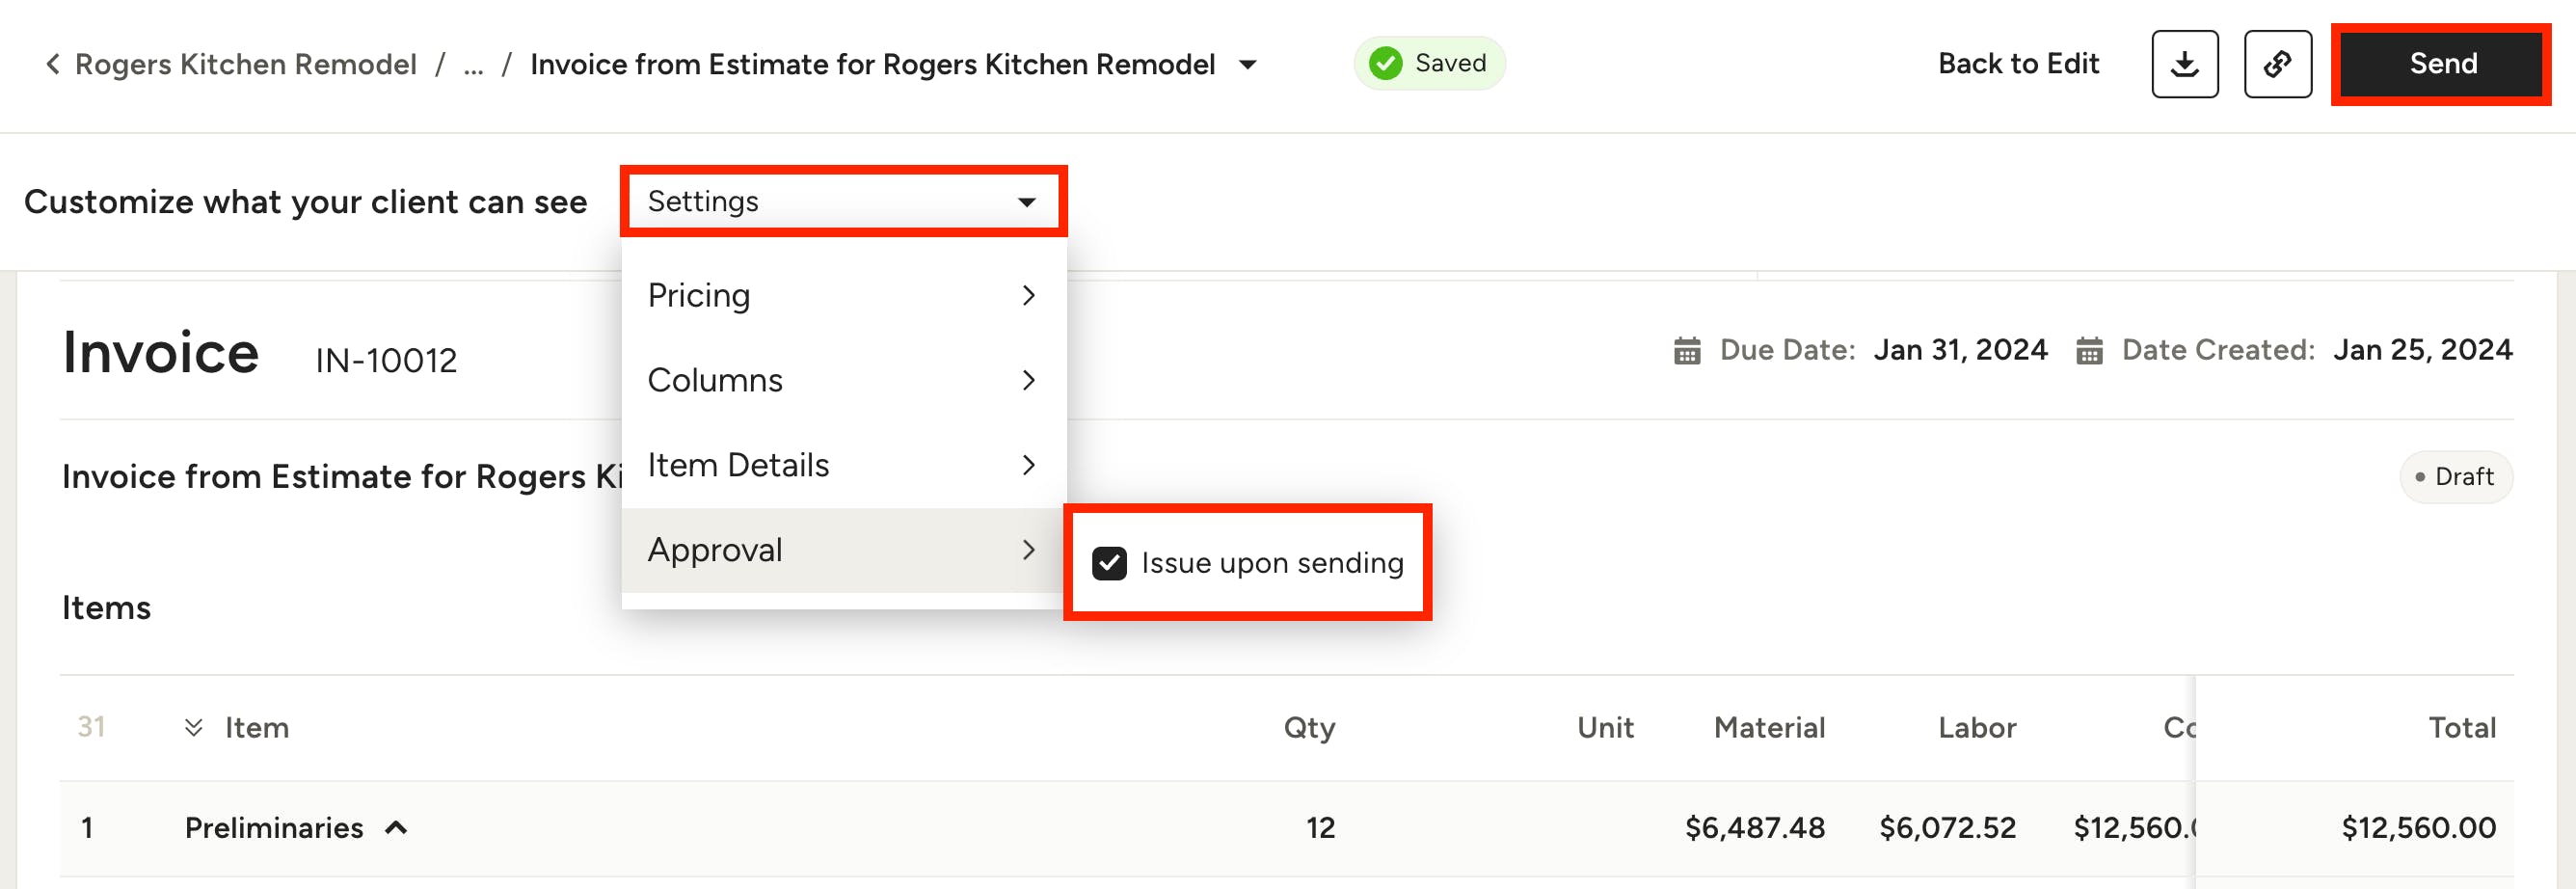
Within preview mode, you are able to customize what your client sees when you send the invoice. In the Settings dropdown, hover over Approval and select Issue Upon Sending. When this box is checked, that means the invoice will be issued once you share it with your client.
When you are ready to share, click the Send button in the top right.
An email will appear where you can customize the message, subject line, and attach a PDF if needed. Once complete, click Send.
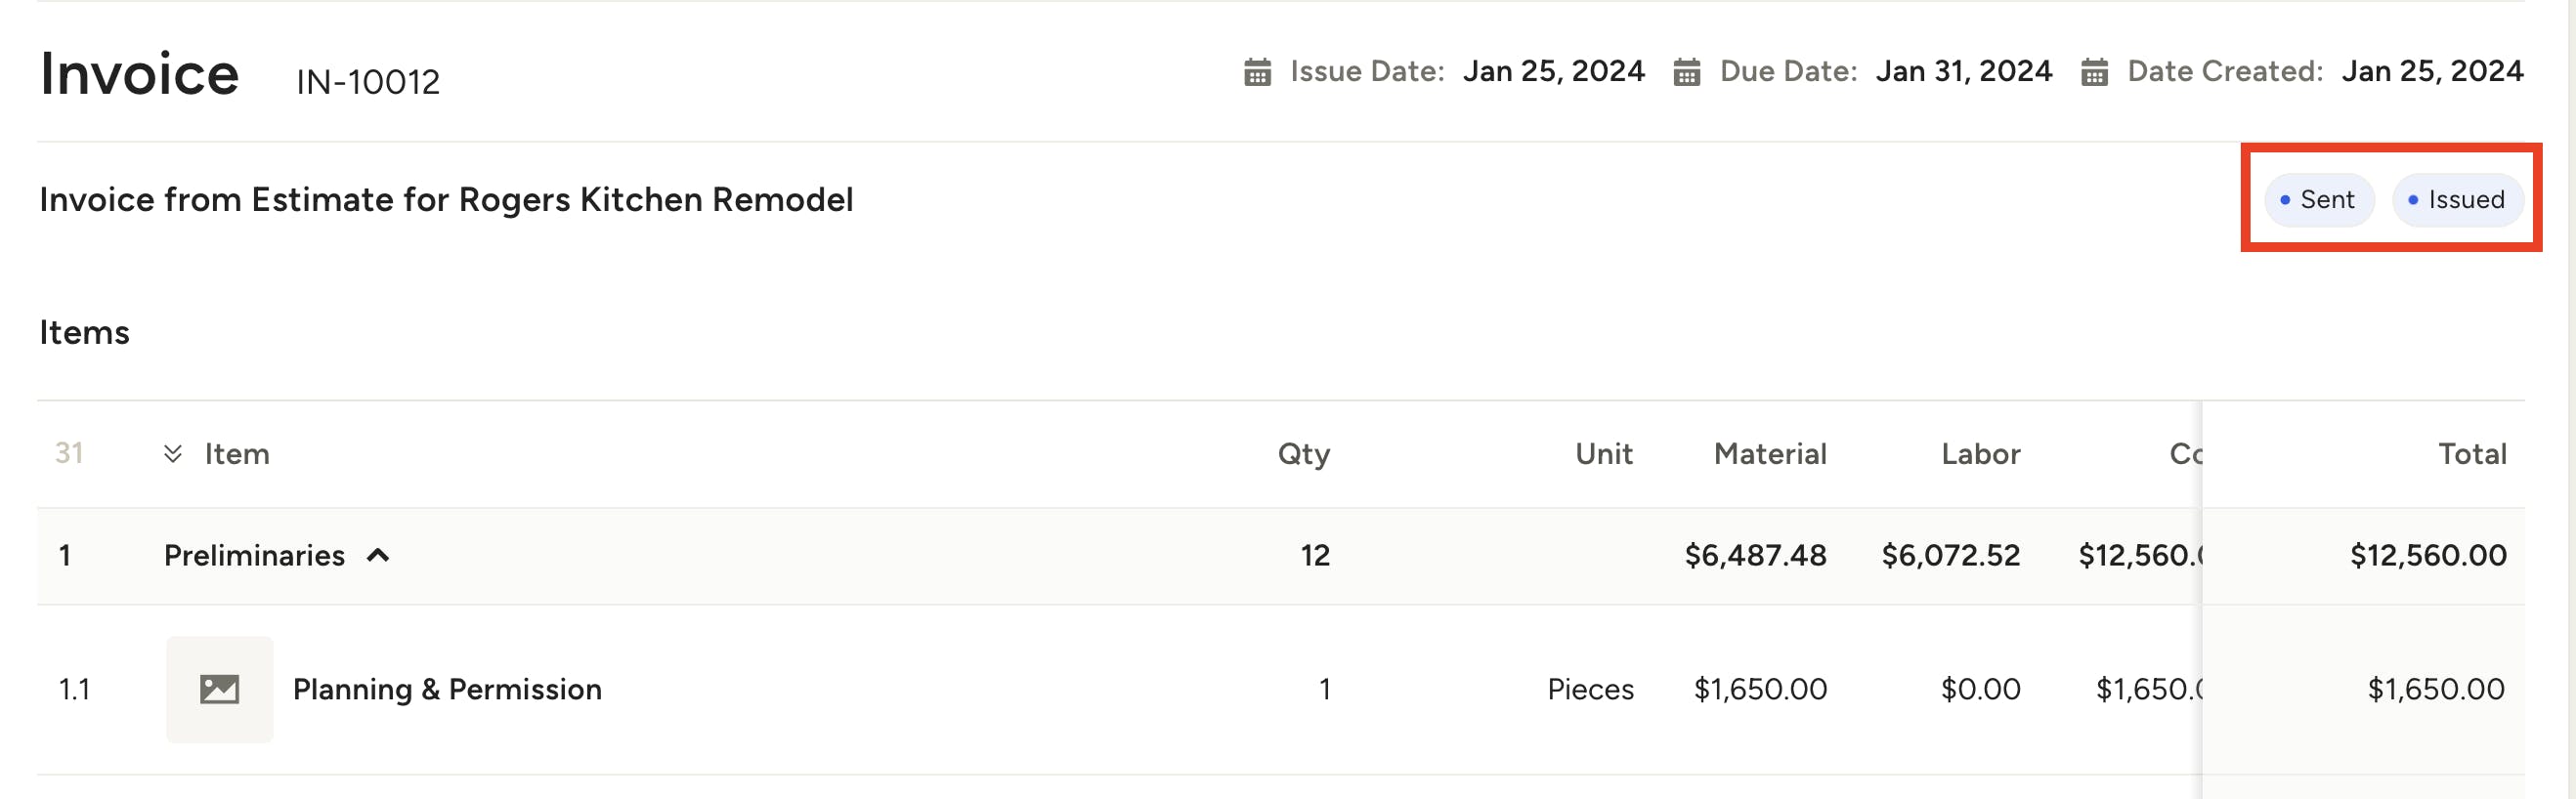
Your client will now be sent an email to view the invoice. If you selected Issue Upon Sending, your invoice will now show as issued in the top right of the document.
How to Log Payments on Issued Invoices
Even though you can't edit an issued invoice, you are able to log a payment if needed.
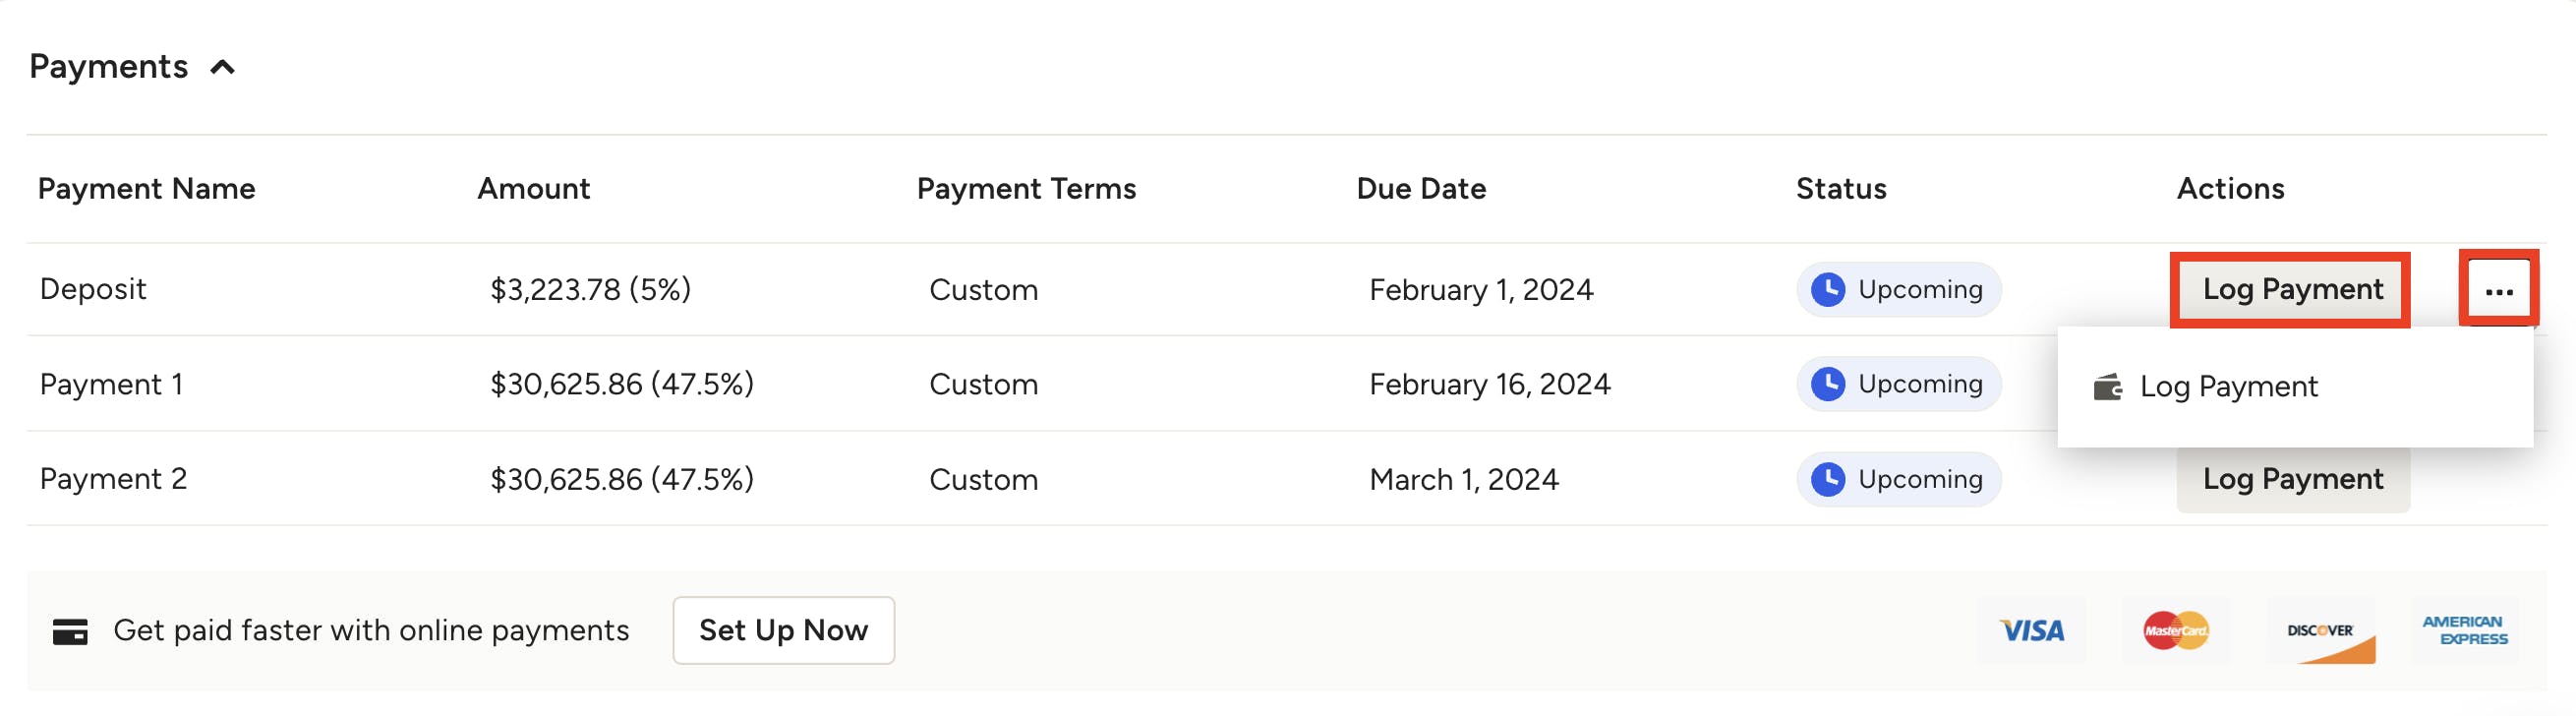
To do this, scroll down to the payments section of your document. You can either select the Log Payment button, or select the three dots and click on Log Payment from the menu.
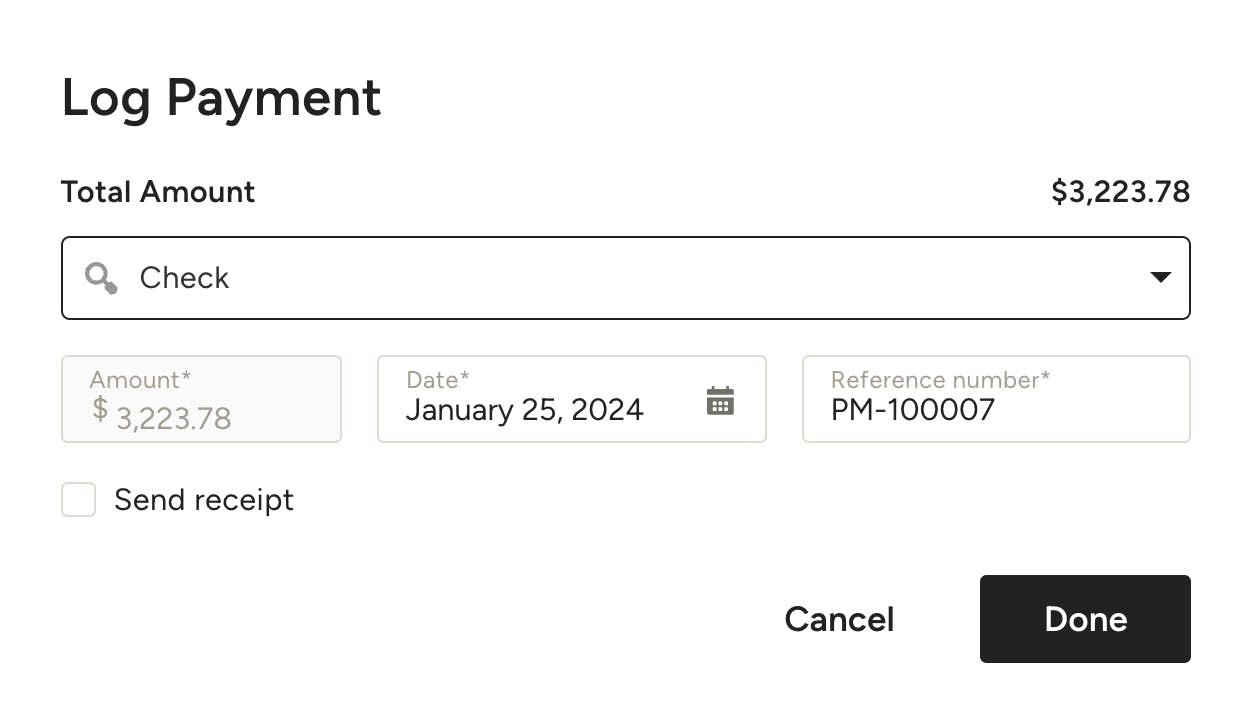
Input the relevant payment information. This includes payment method, payment date, and reference number if needed. Payment methods listed include ACH/bank transfer, cash, check, credit card, Venmo and Zelle.
Click Done once complete. Your payment will now show as paid in the invoice payment schedule.
To learn more about invoices, read these helpful articles: