How to Add Content to Your Houzz Website — Basic
With Houzz Website Services, you have the ability to fully customize your website, from doing small text changes to creating a brand new section or pages.
This article will go over all the basic customization options you have to create your professional business website. Read this article to see more advanced editing options: How to Add Content to Your Houzz Website — Advanced
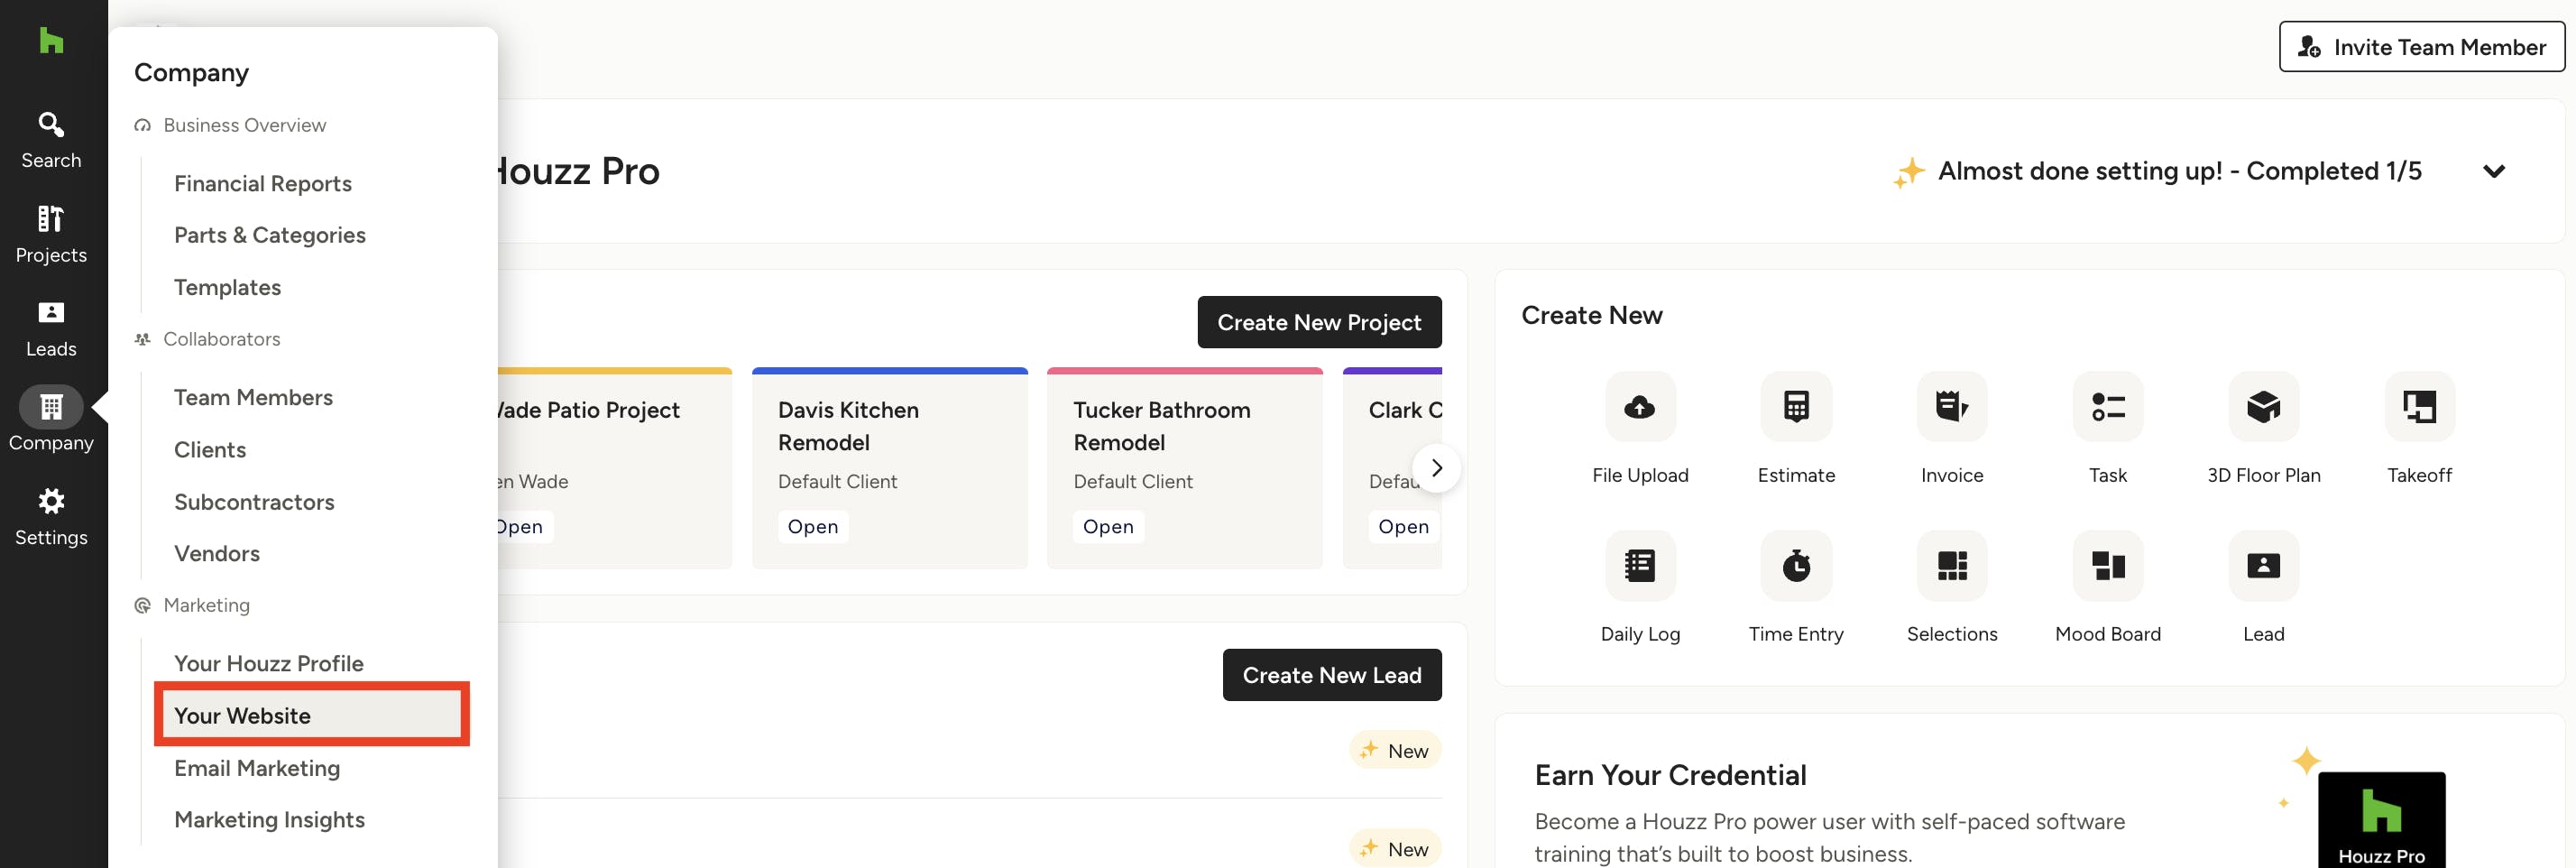
To access your website:
1. In the Company section of the navigation, select Your Website or click here.

2. Click on the Edit Site button.
3. You will now be redirected to your site editor. Your site editor will open with a preview of your website, and a palette of tools on the left side.

Add a New Page
If you are wanting to add a new page to your Houzz website, please follow the steps below:
1. Once in the Your Website section, select Edit Site.
2. In the left-hand navigation, on the Pages tab, select the + sign, then select the page template that best suits your needs.
3. Carefully review the options to include the Title of your page as well as the URL.
4. Click Save. You are ready to edit your new page!

Add a New Section
If you are wanting to add a new section or block to your Houzz website, please follow the steps below:
1. Once in the Your Website section, select Edit Site.
2. Click on the area where you would like to insert the section, and select the large black + sign.
3. The Sections dialogue box will appear where you can select from a menu of pre-designed sections.
4. You can edit the content blocks in the new section, or delete them and start fresh.

Add a Section Background
To add a new section background to your Houzz website, please follow the steps below:
1. Once in the Your Website section, select Edit Site.
2. Click on the page where you wish to make changes, and find the section where you would like to update or change the background image. Click Edit Section.

3. Once selected, click Background in the dialogue box to make any changes. You can select a specific color for a background, a specific image, or no background at all.
4. Click Save, and then Publish Changes in the upper right-hand corner.

Add New Projects
To add new projects to your Houzz website, please follow the steps below:
1. Once in the Your Website section, select Edit Site.
2. In the left-hand menu under Site Pages, select the page where your projects appear.
3. Click on the Projects block and select Edit Projects.

4. Once selected, you will be prompted to add in projects that are loaded to your Houzz Profile. If you have not yet loaded any projects, you will be prompted to Upload Projects to your profile first.
5. Click Save. Select Publish Changes in the upper right corner.
Please Note: If you make changes to your Houzz profile, it will not automatically update on your website. For example, if you have selected specific photos or projects to appear on your home page, these will not change on your website unless you edit them in Website Services.

Edit a Header
To edit a header to your Houzz website, please follow the steps below:
1. Once in the Your Website section, select Edit Site.
2. Click the header, and then click the Edit button in the top right-hand corner.

3. Here, you will have the option to adjust your logo, rearrange your navigation menu, adjust the layout, and enable a promotional banner if you choose.
4. Once you make any changes, be sure to select Save.
5. Then select Publish Changes in the upper right corner.

Change Fonts
To change the fonts on your Houzz Website, follow the steps below:
1. Once in the Your Website section, select Edit Site.
2. On the left-hand side, toward the top of the screen — select Styles.
3. Select Typography. Here, you will see a list of all of the typography and font settings for every text block on your site. To edit a font selection, simply click on it.

4. Make any adjustments to the font family, font weight, font size, letter spacing or line height.
Changes will be applied to any text block on the site currently using that category. For example, changing Title 1 will change every Title 1 text block across the site.
Once complete, be sure to click Publish Changes in the upper right corner.

Change Your Logo
To change your logo on your Houzz Website, please follow the steps below:
1. Once in the Your Website section, select Edit Site.
2. Click on the Header, and select Edit Header in the upper right.
3. Navigate to Logo Settings, select Use an Image, and upload the file.
4. Adjust the size accordingly, and click Save.
5. Select Publish Changes in the upper right corner.