How to Use the Email Marketing Template Editor
With Houzz Pro Email Marketing, you can use the template editor to create, customize, and design engaging emails for your leads, clients, and vendors. Check out the tutorial below to learn the ins and outs of the content template editor.
While you can create your own email template from scratch, we recommend starting with one of our Houzz Pro templates, customizing it to your needs, and saving as your own template for future use.

Rows vs Content
First let's take a look at the difference between rows and content:
Rows include the whole email, from left to right, in a particular section. You can save rows for future use. Within a row you can have multiple columns. Select a row to edit the number of columns, column properties, and row properties.
Content includes individual blocks within a row; this is where the body of your email is located. Select a content block to edit and customize the content.
General Design Settings
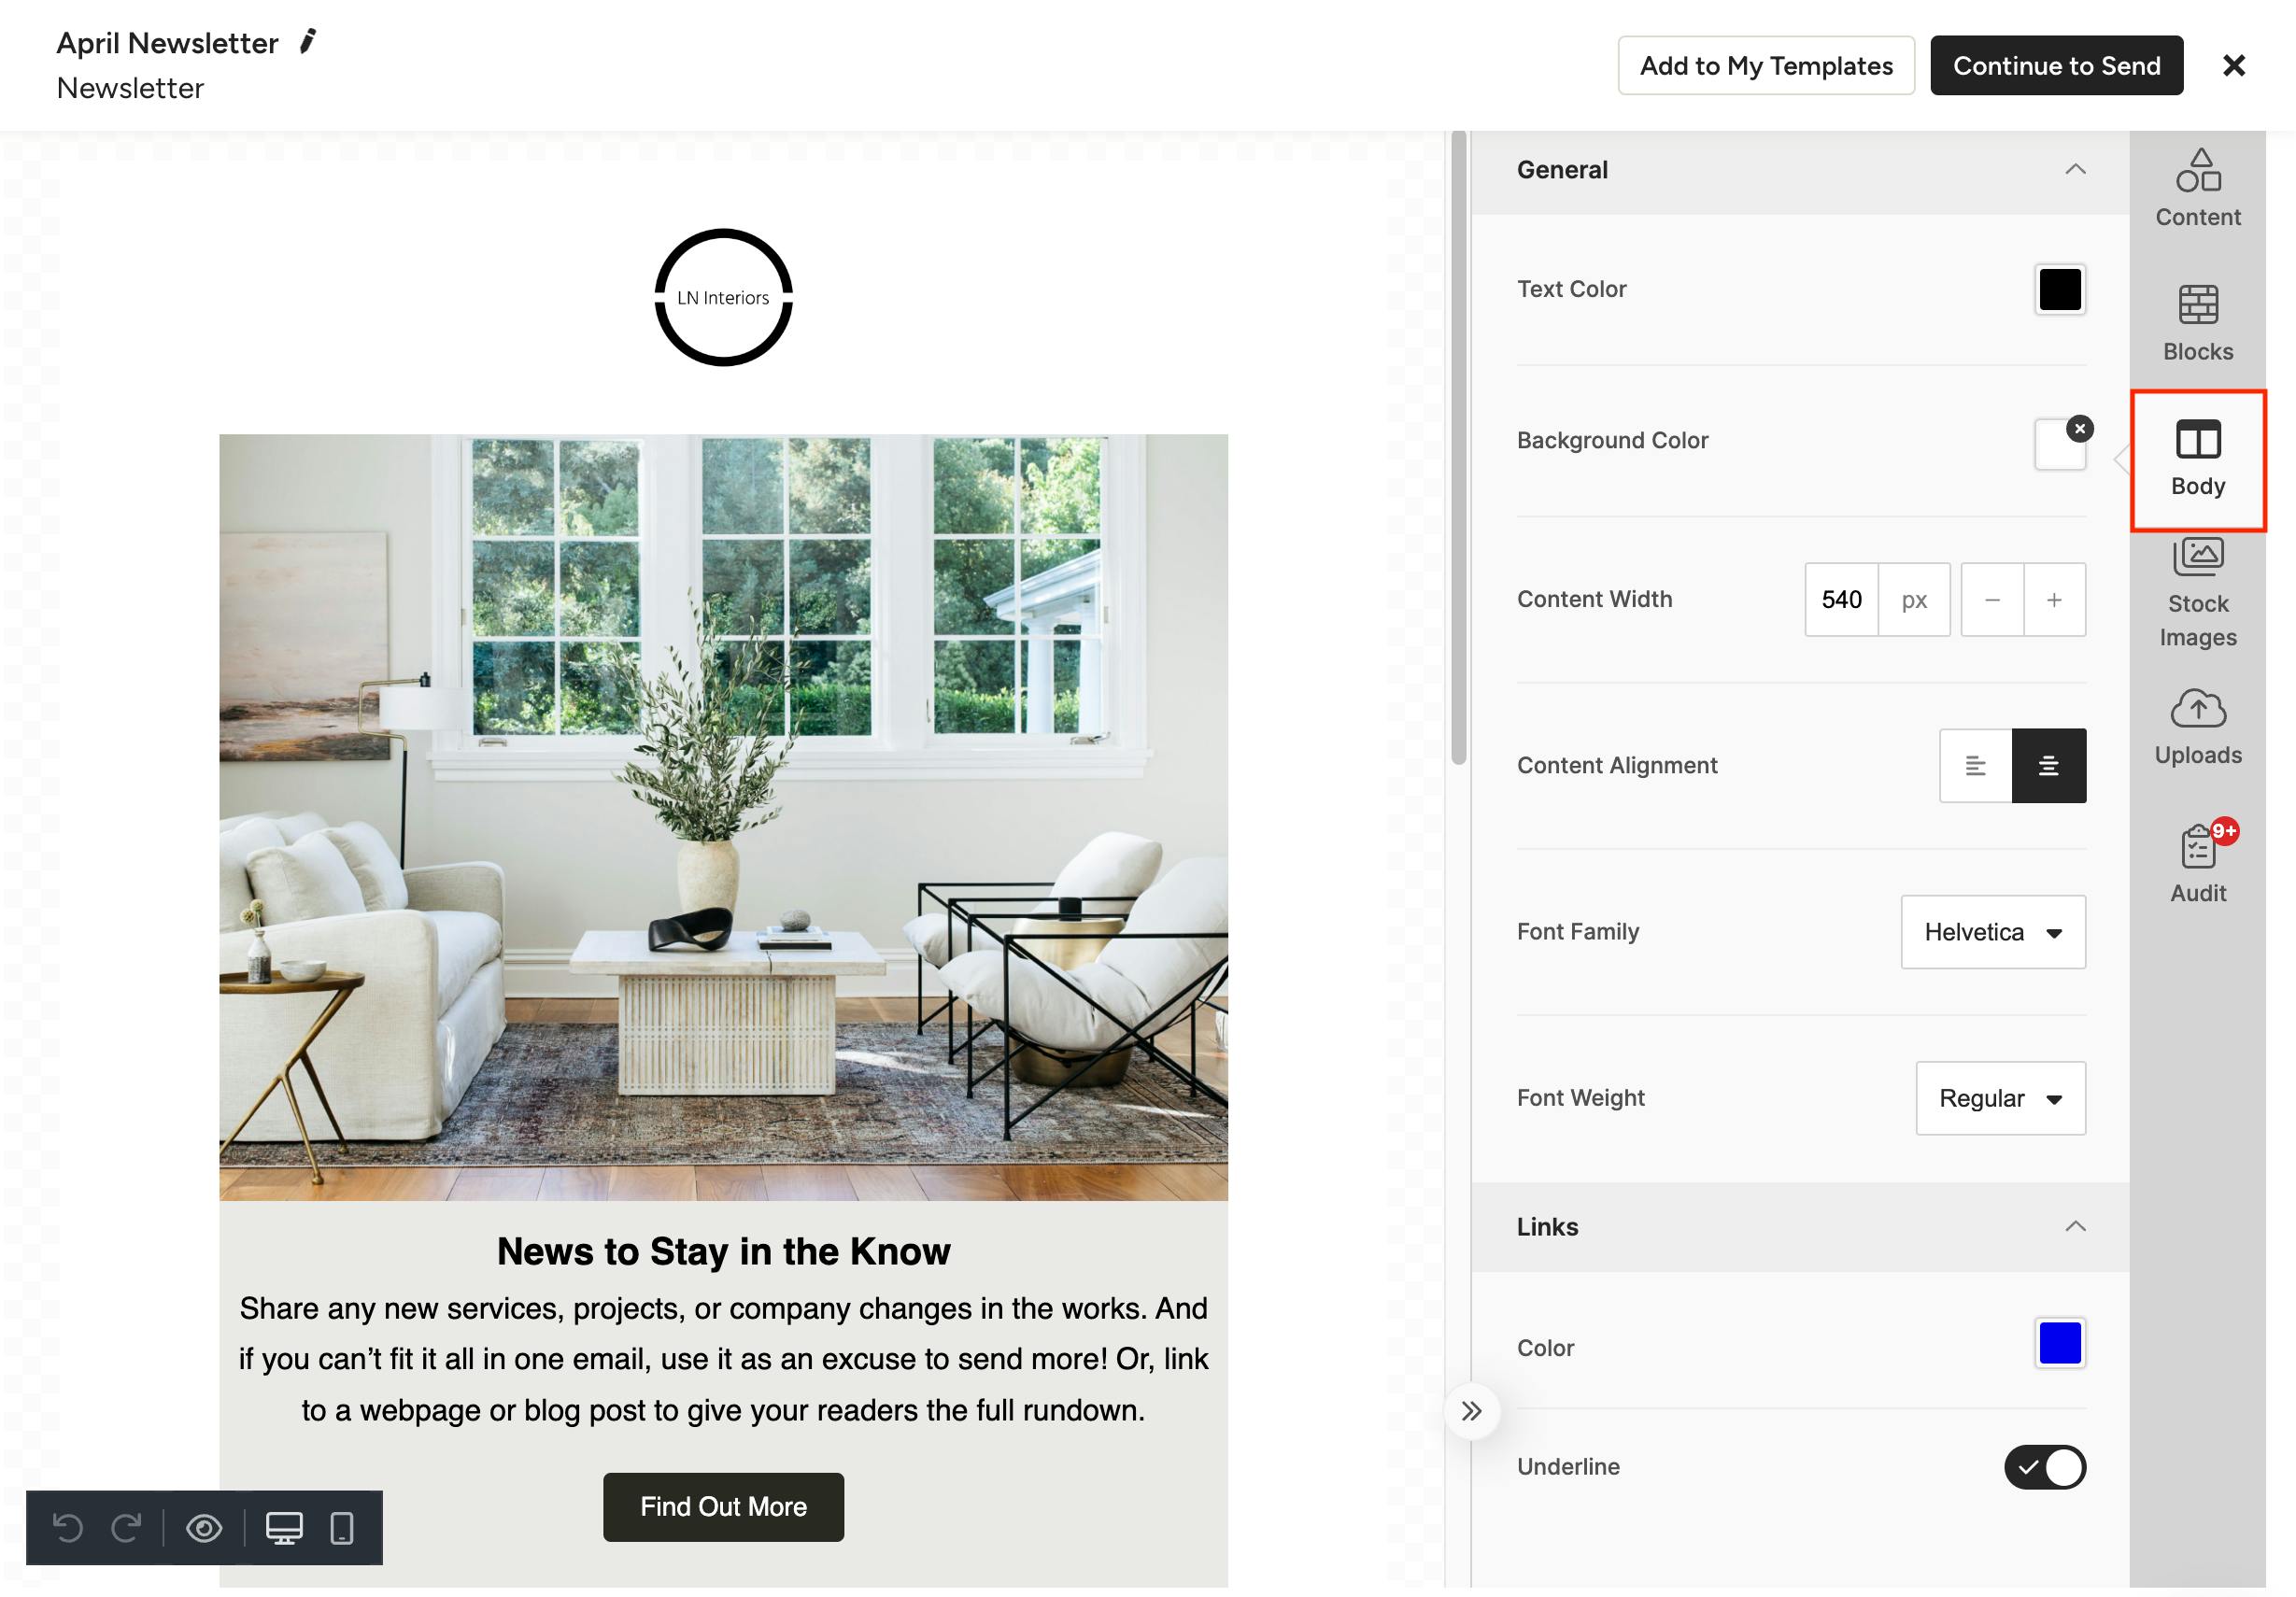
To set the overall look and feel of the email body, you can use the Body section to choose the general design details, including background color, text color, font family, text alignment and more. These will be the default settings for the content you add to the email, but each row and content block can be additionally adjusted to suit your needs.

Adding Content Blocks
To add content, you first need a row to contain it. You can add to an existing row by dragging and dropping the content type you wish to add from the Content section on the right panel.

You can add a new row by clicking the Blocks section and selecting the content layout you wish to create, then dragging the content into place. You can also hover between existing rows and click the + icon to add a new row.

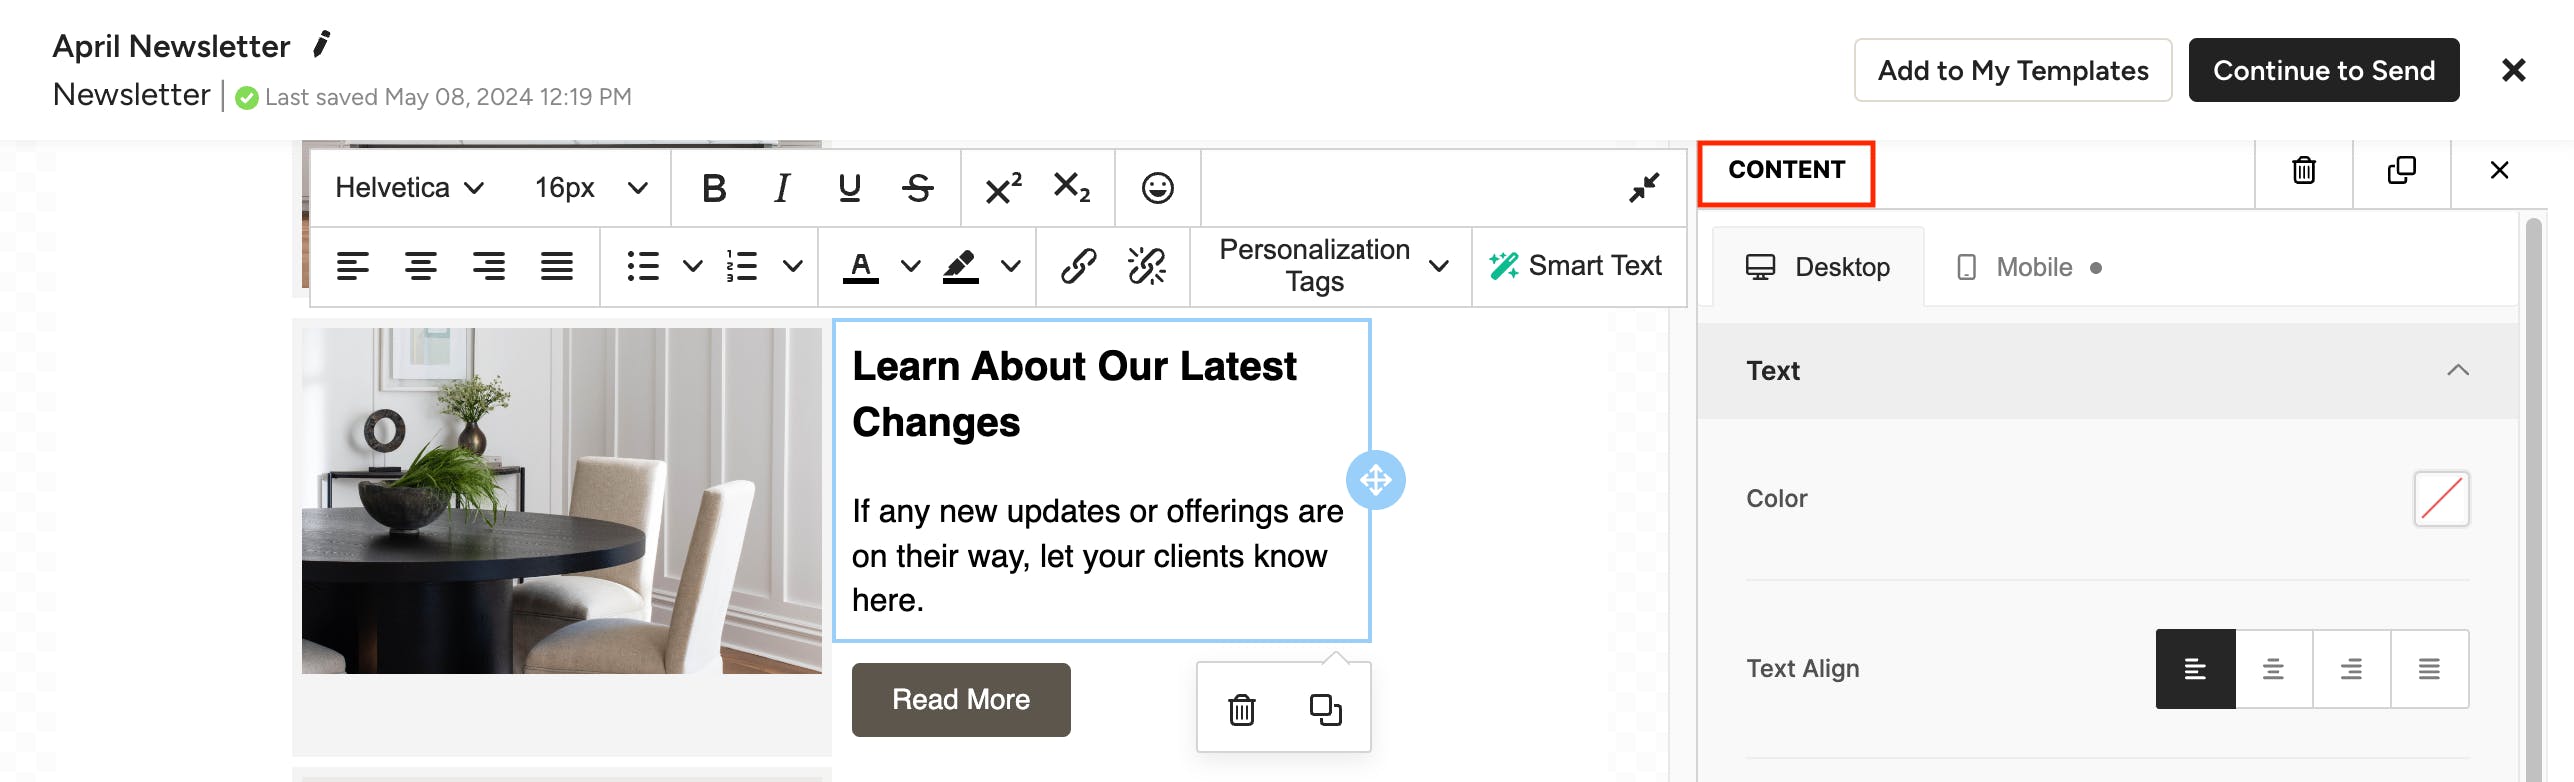
Once you add a new piece of content you can click on it to bring up the editing toolbar to customize the content, as well as use the right panel to edit the general properties of the content, like background color, padding and line height. You can also delete and duplicate content using the respective icons.

Using Personalization Tags
Make your emails unique to each recipient by using the personalization tag options in the template editor. These tags will insert the name of the recipient into the text wherever you choose to place it, so that the content will read as if it was meant just for them. For example, text that says "Hi [Contact Name], thank you for your business!" will read "Hi John Smith, thank you for your business!"
To add a tag, simply click into the text where you want to place it, then select the Personalization Tags dropdown in the toolbar and select the tag you wish to add.

Save Blocks for Future Use
To help you build out emails even faster for your next campaigns, you can save rows of content blocks that you've already perfected for future use. To do so, click on the row you want to save, then click the Save icon. (If you don't see the Save option, try clicking just outside the block so that the whole row is selected).

Give your block a name and add any tags you'd like. (Tags are used for searching. Multiple tags can be separated by a comma.) Click Save.
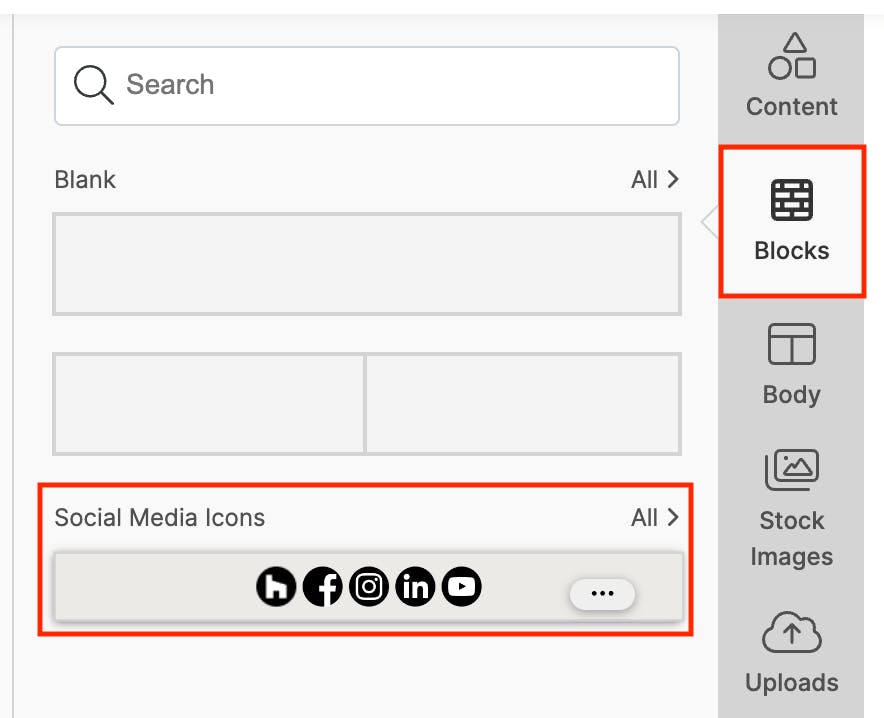
Your saved content block can now be found in the Blocks section on the right panel for use on all future campaigns.
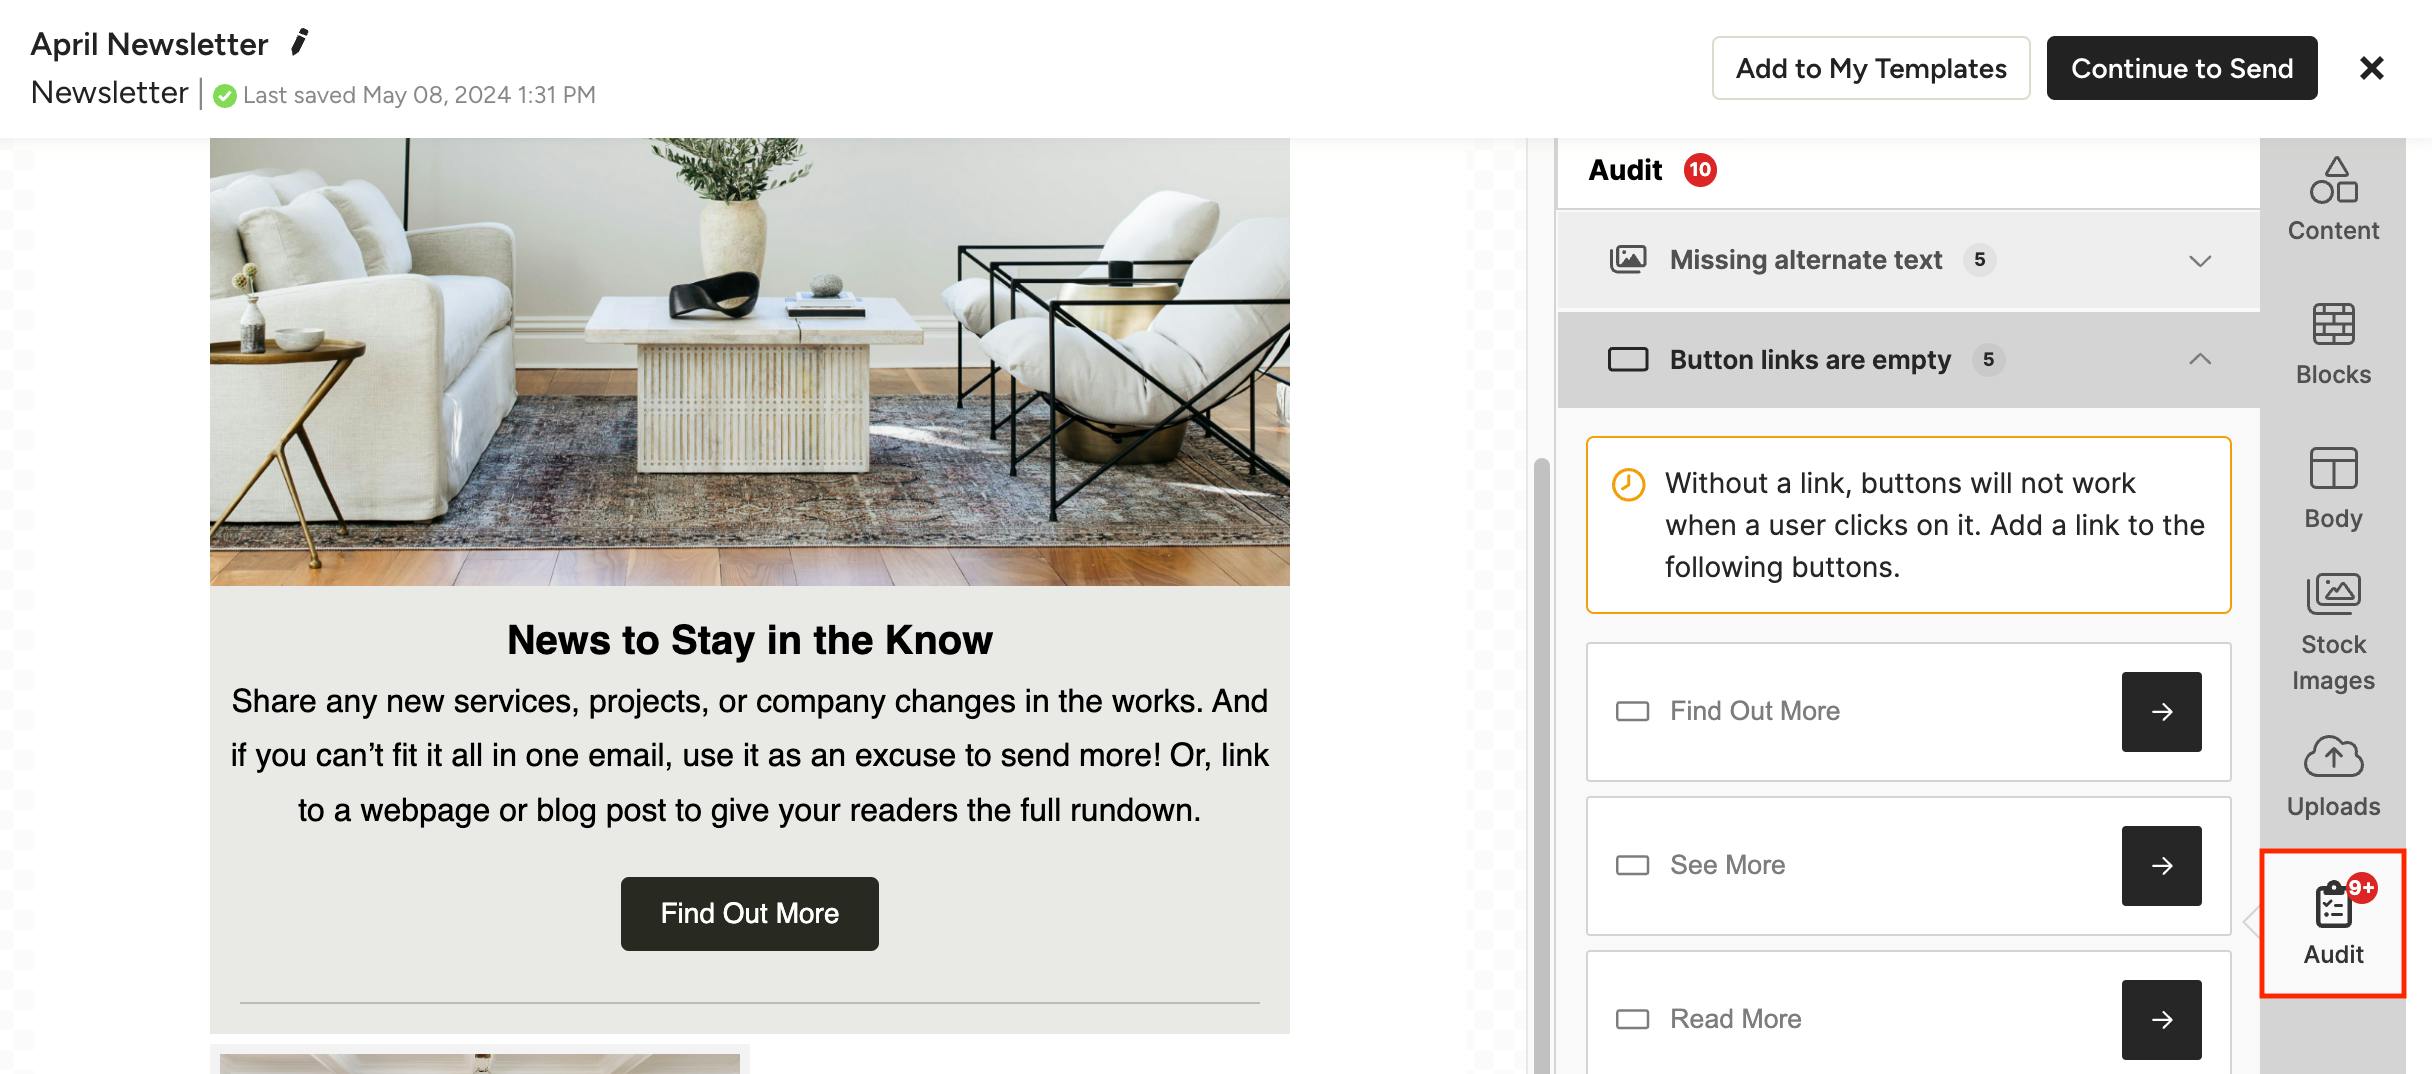
Auditing the Email
Our Audit tool will help you catch anything that's missing in the email so that you can rest assured that everything is setup correctly when you're ready to send your campaign. To audit the email, click the Audit section in the right panel. This will show you things such as missing alternate text, empty button links and more. Simply click on an issue to open the editor to make corrections.
Preview the Email
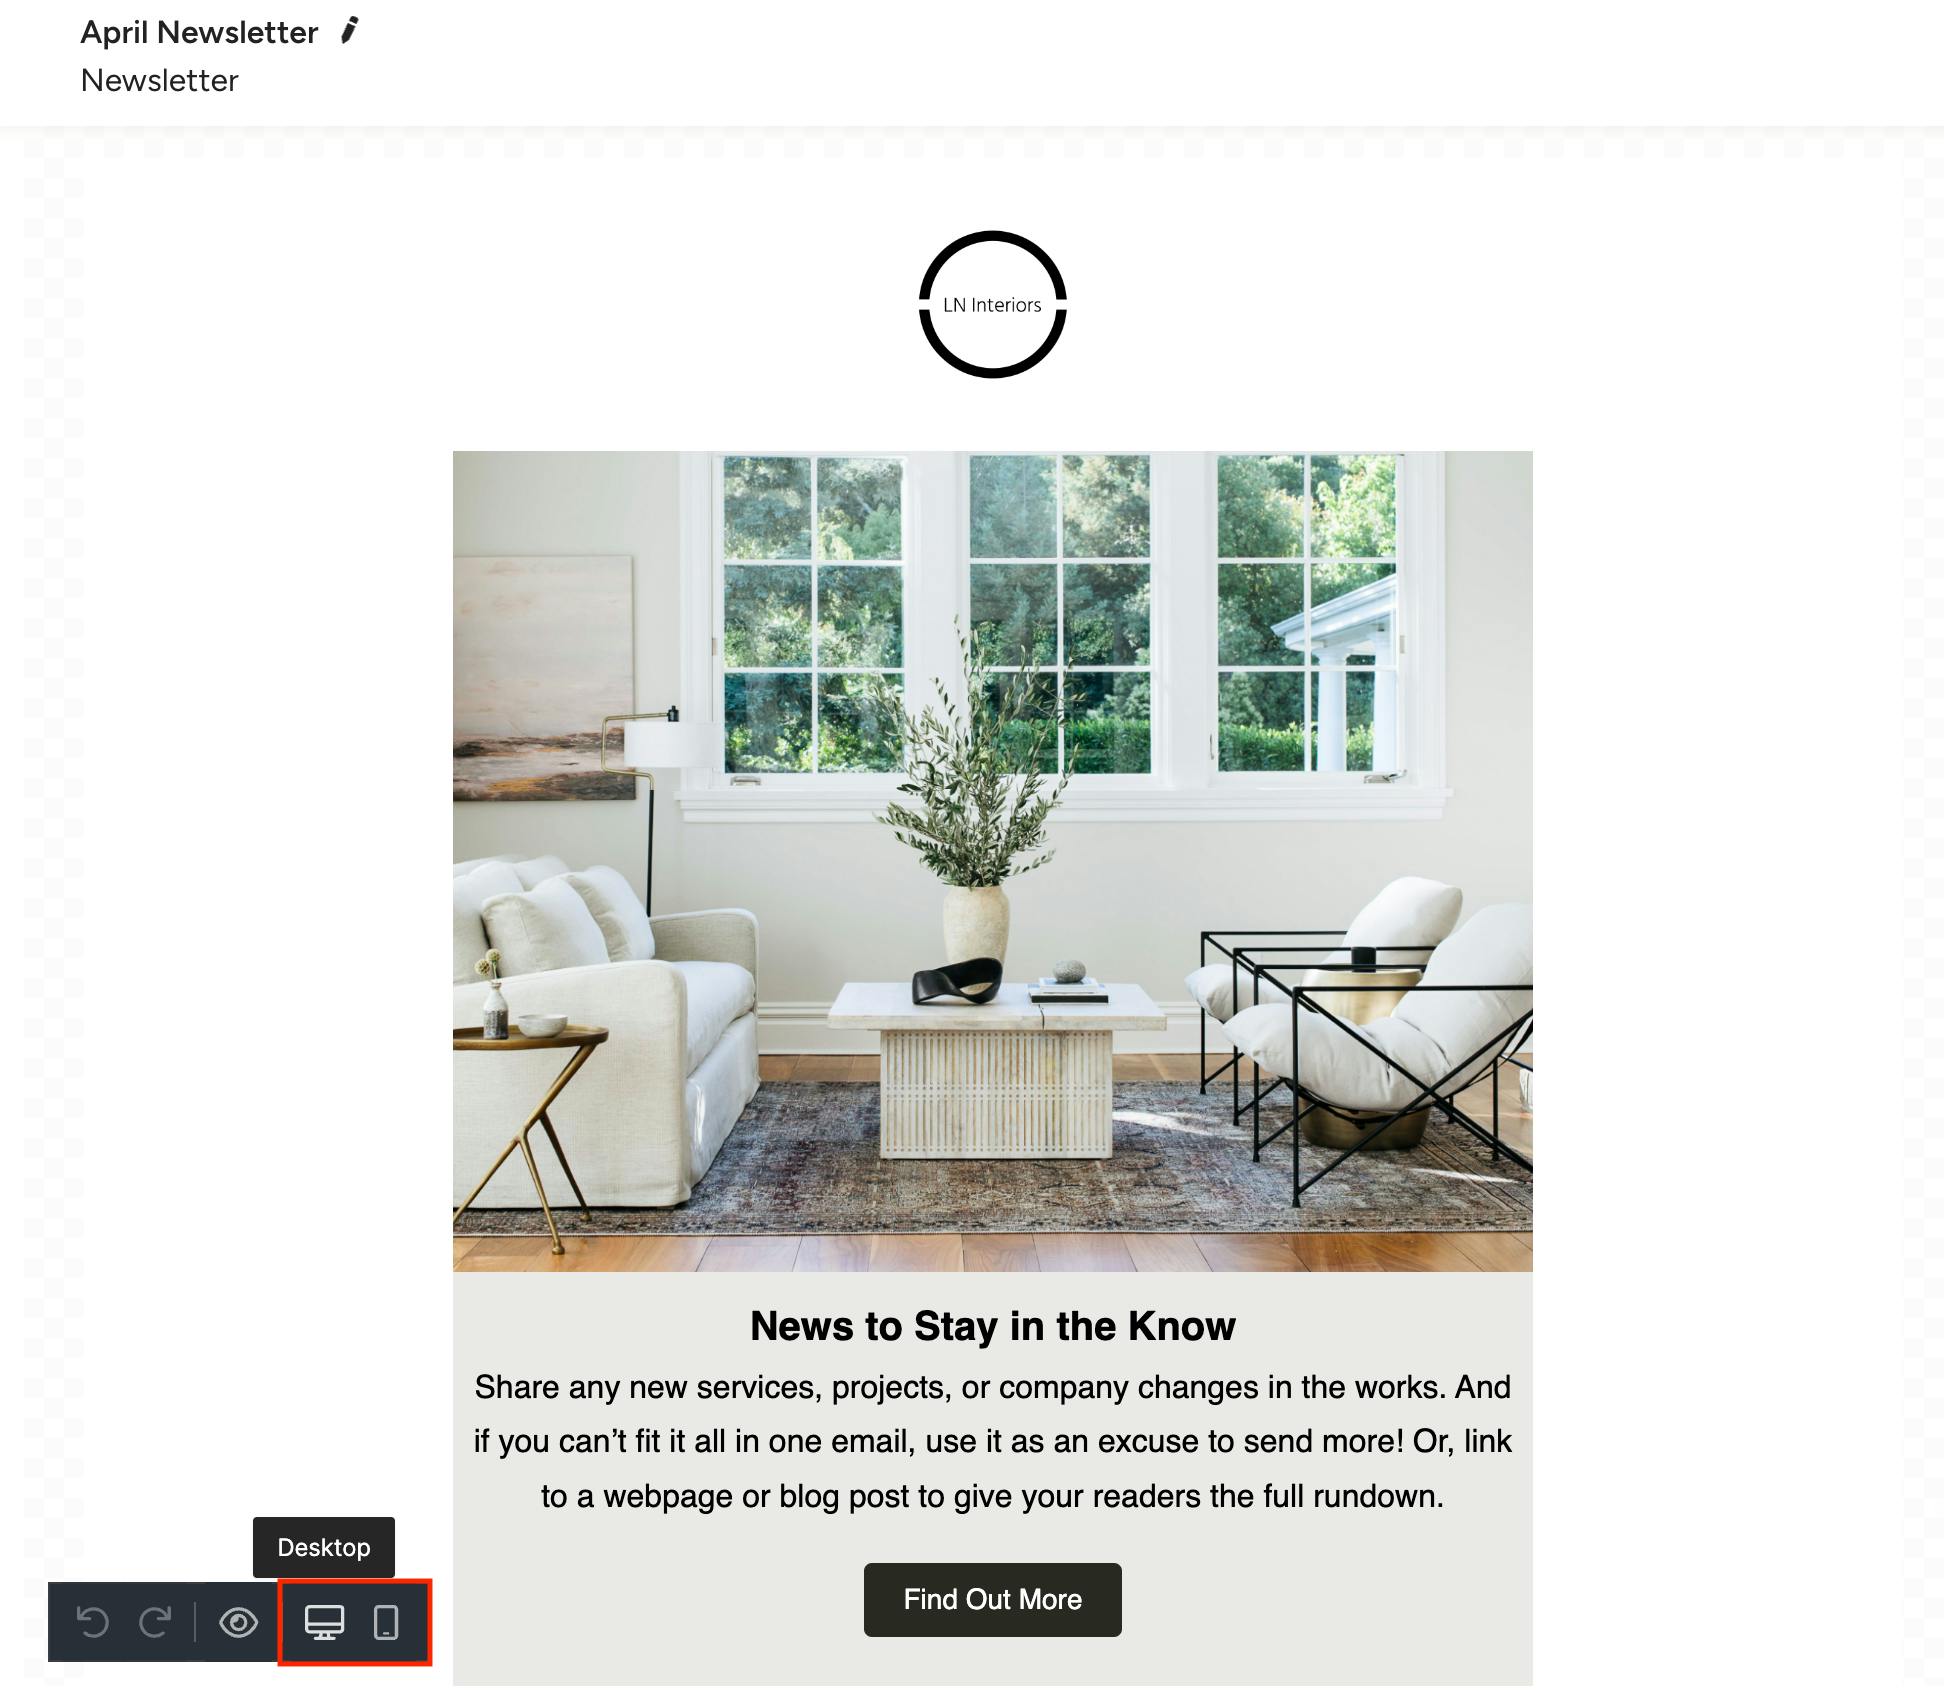
You can easily toggle between standard desktop and mobile views while editing to see how your email campaign will look on different devices. Simply click on the Desktop or Mobile icons at the bottom left of the content editor to switch views.
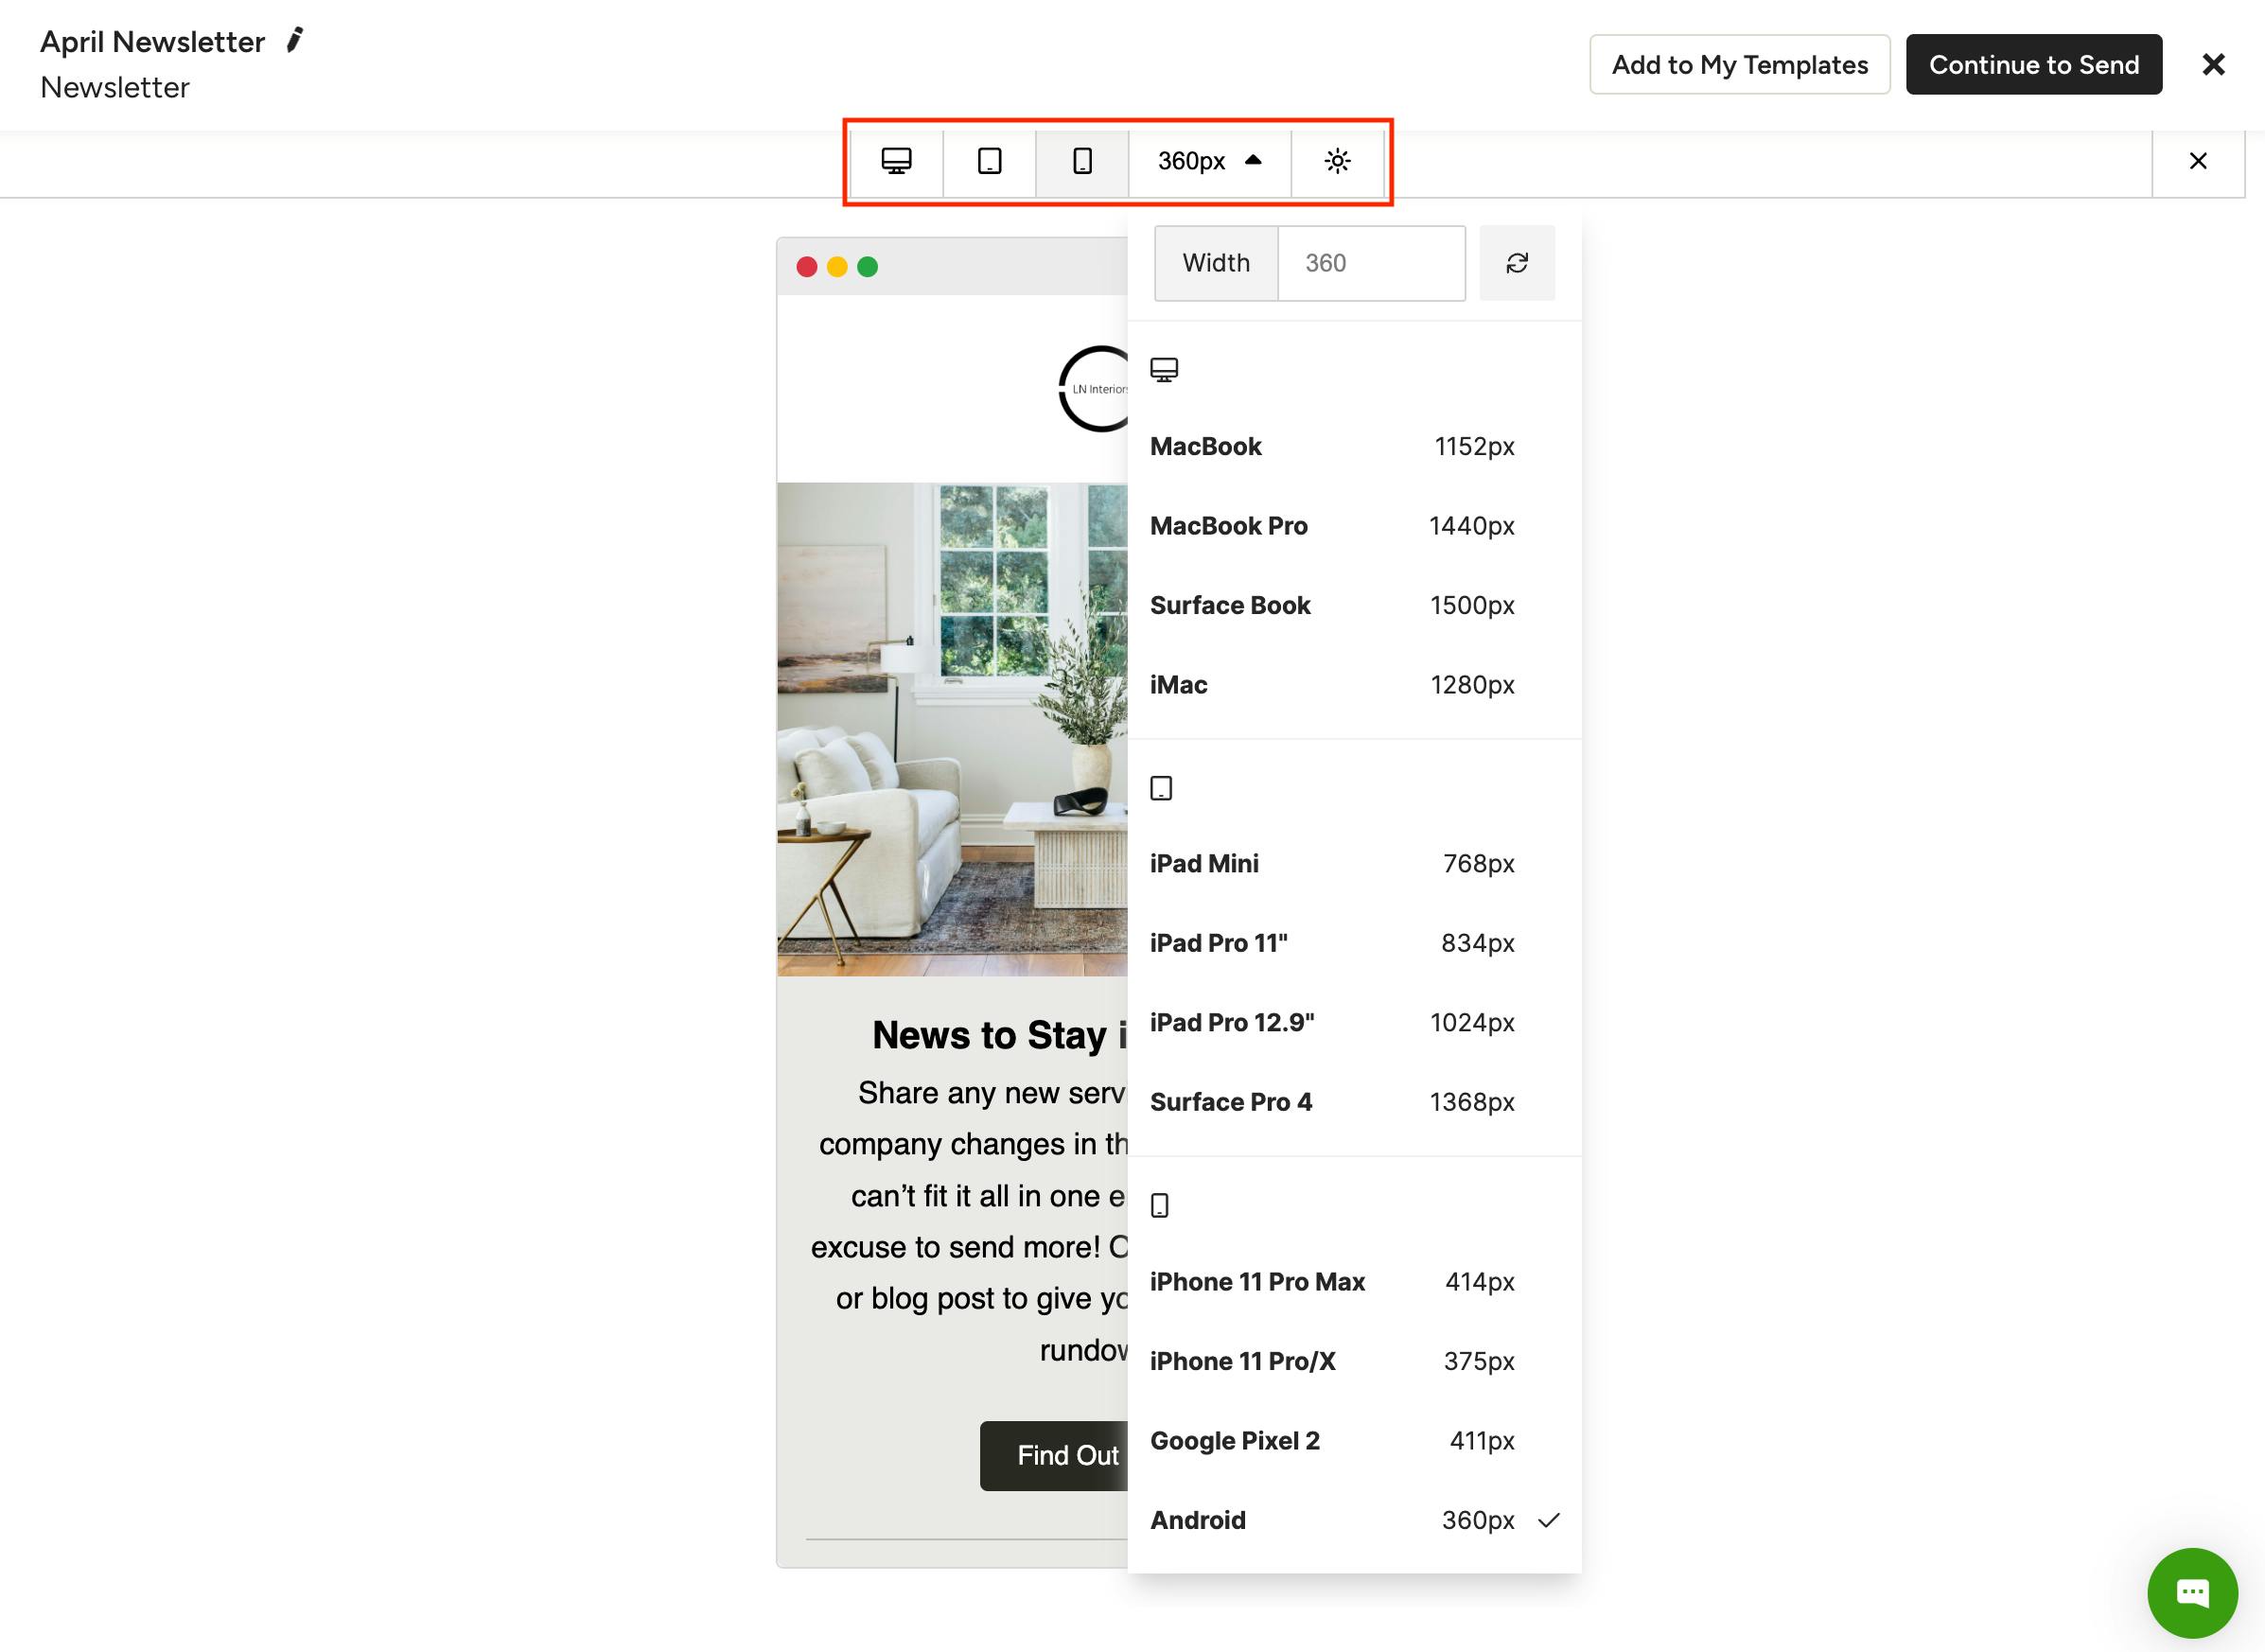
To preview the email without the template editor in the way, click the Preview (eye) icon in the bottom left of the page. Here you can preview what the email will look like in a wide range of popular devices. Use the device icons to switch between views, or use the dropdown to select a specific device.
To see what the campaign will look like on devices that have dark mode enabled, click the light icon to the right of the device options.
When you're ready to send the email, follow the steps in How to Send Bulk Marketing Emails.