



DIY Friday: Mousepad Makeover
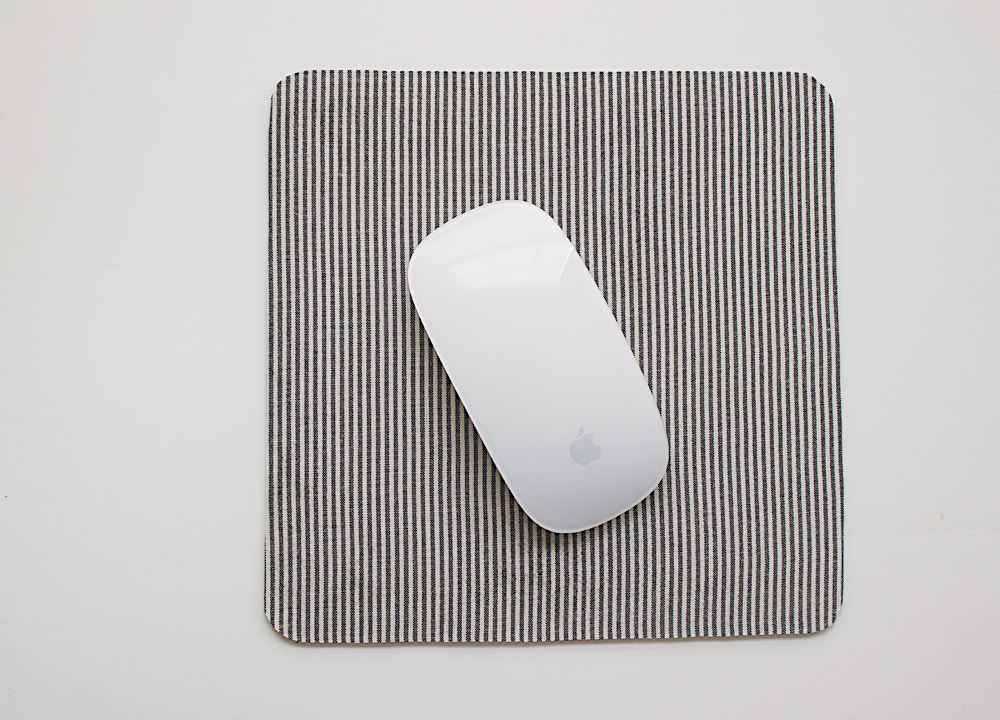
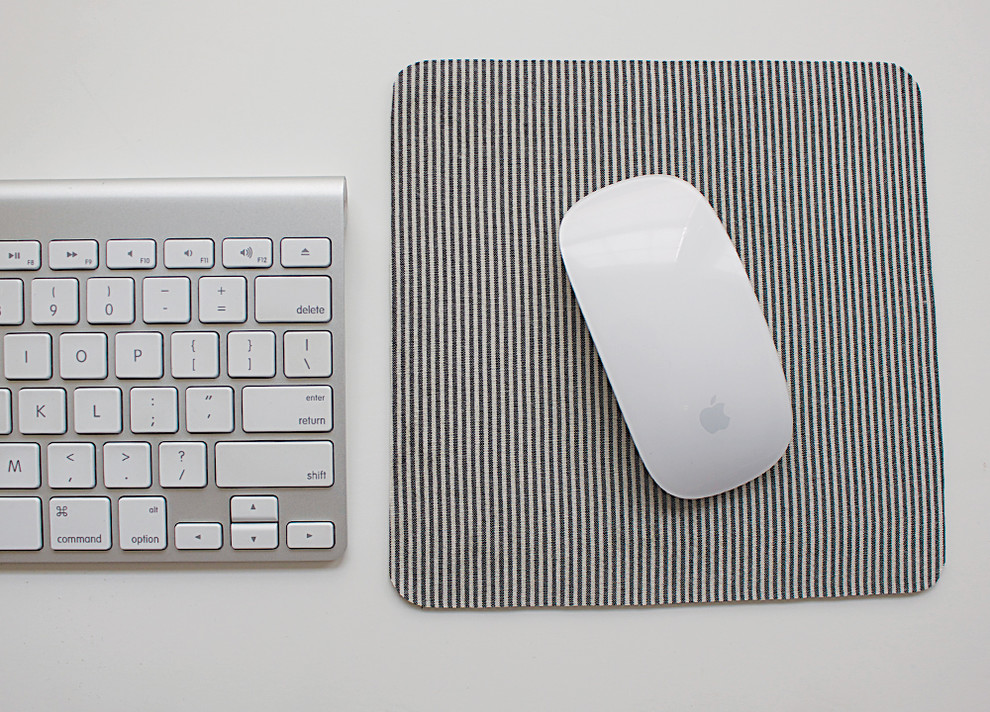
About 10 minutes is all it takes to make a stylish fabric mousepad that matches your home office decor beautifully

Sometimes the most simple DIYs are the most gratifying. Lately I've been feeling bored with the current look of my desk and decided my mousepad could use a makeover. After gathering some basic supplies I set to work, and 10 minutes later my project was complete. If you're craving a simple DIY to kick off the weekend, this could be the one for you.
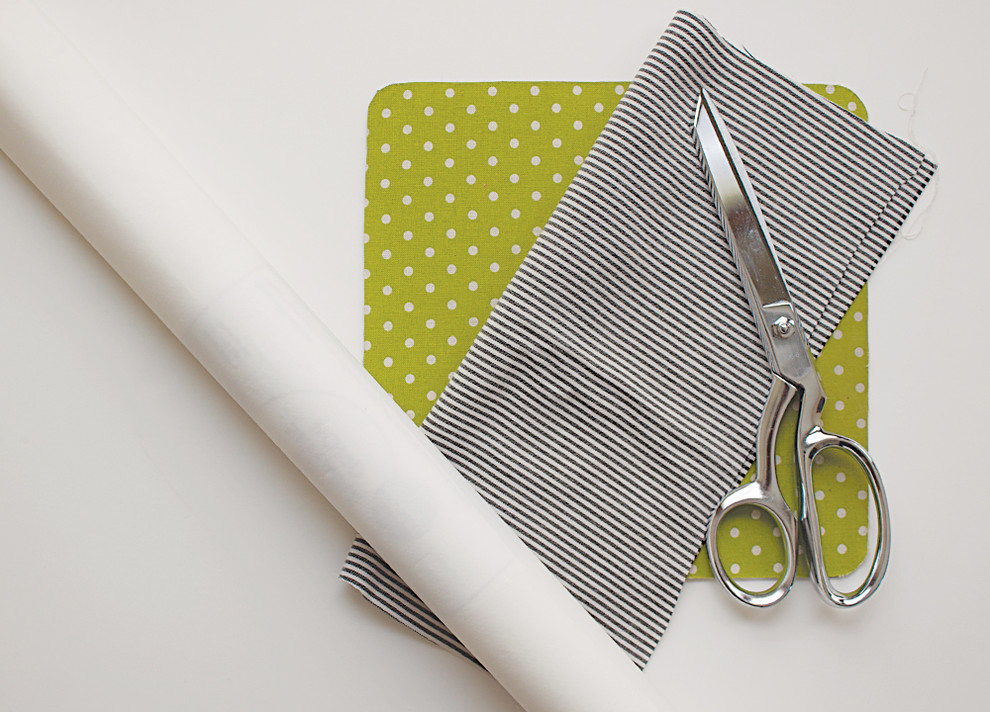
Begin by gathering some basic supplies:
- Old mousepad
- Fabric
- Heat 'n Bond (found at fabric stores or here)
- Scissors
- Iron and ironing board
- Fray Check (optional)
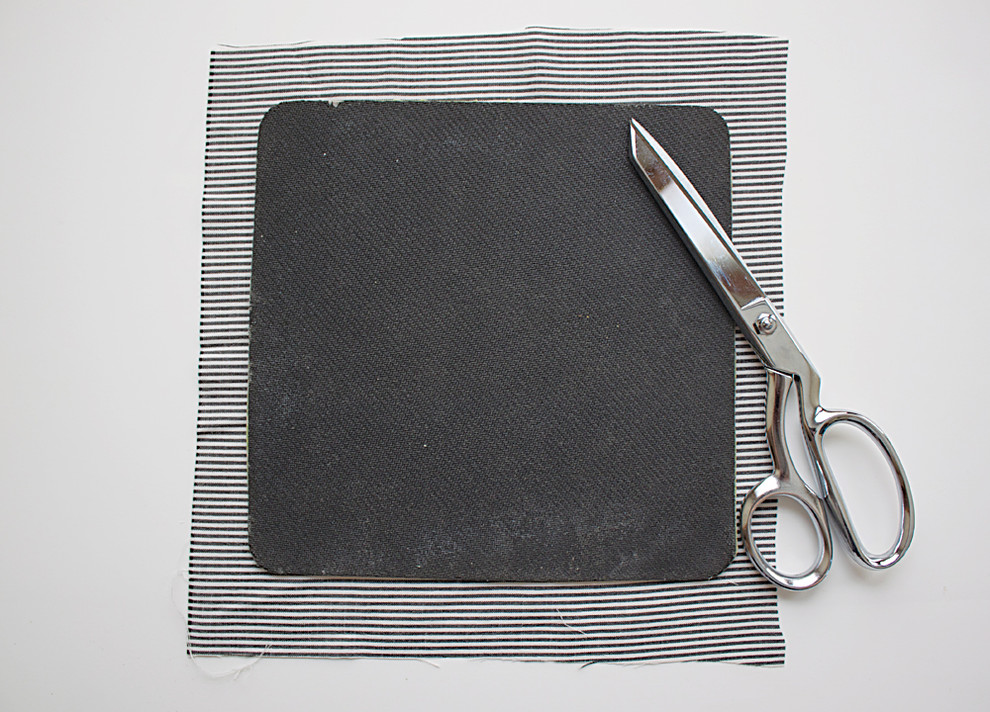
Cut your fabric in the general shape of your mousepad, leaving about an inch around each side.
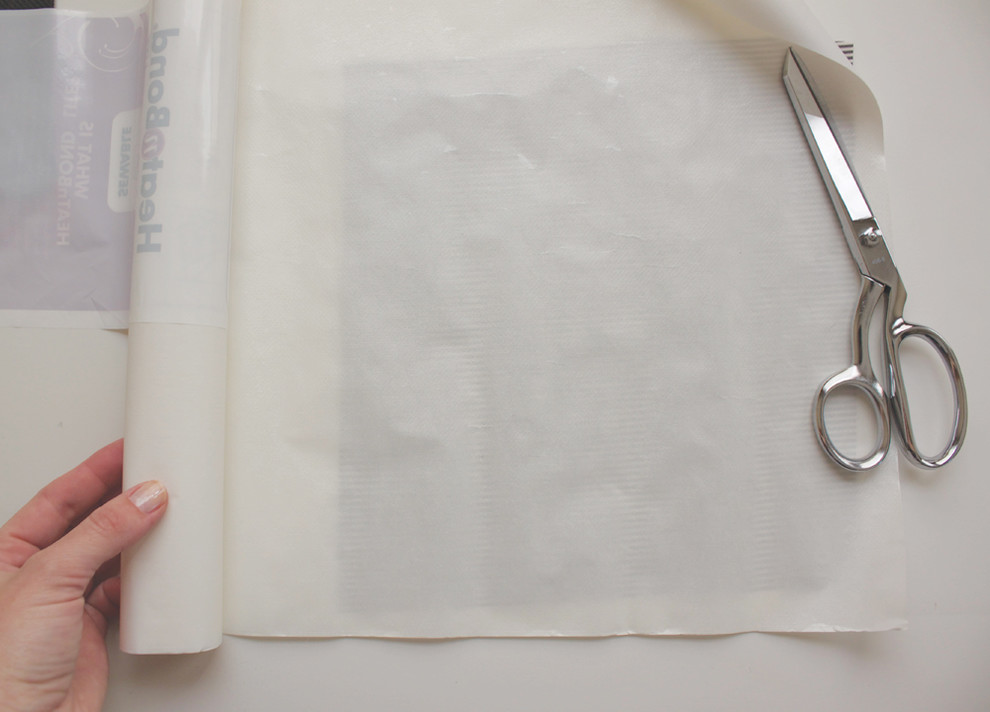
Unroll the Heat 'n Bond.
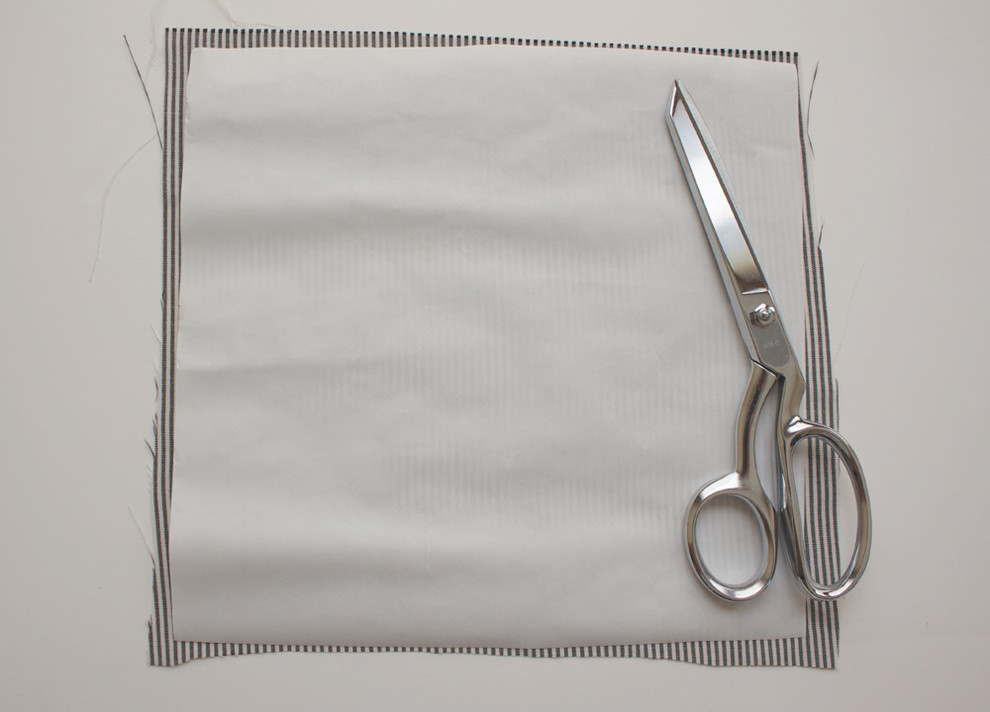
Cut a piece of Heat 'n Bond from the roll that fits just inside your fabric.
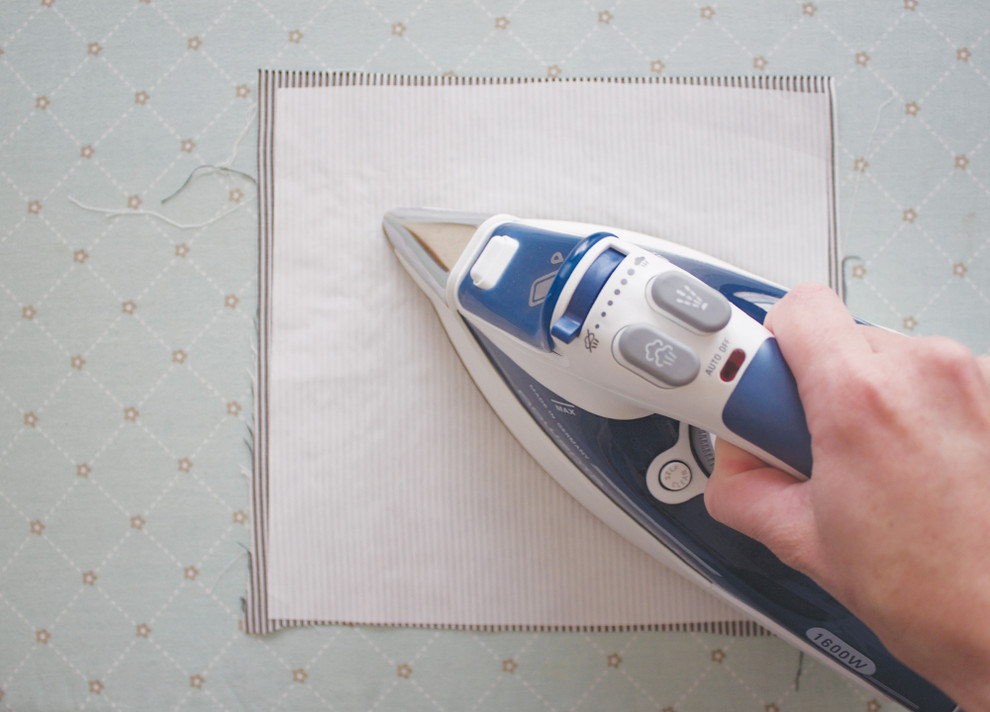
Set your iron to warm and turn off the steam.
With the paper side of the Heat 'n Bond facing up, adhere the Heat N' Bond to the wrong side of your fabric. (The wrong side of the fabric is the side that doesn't have the pattern.)
Iron over the paper for 45 seconds or so.
With the paper side of the Heat 'n Bond facing up, adhere the Heat N' Bond to the wrong side of your fabric. (The wrong side of the fabric is the side that doesn't have the pattern.)
Iron over the paper for 45 seconds or so.
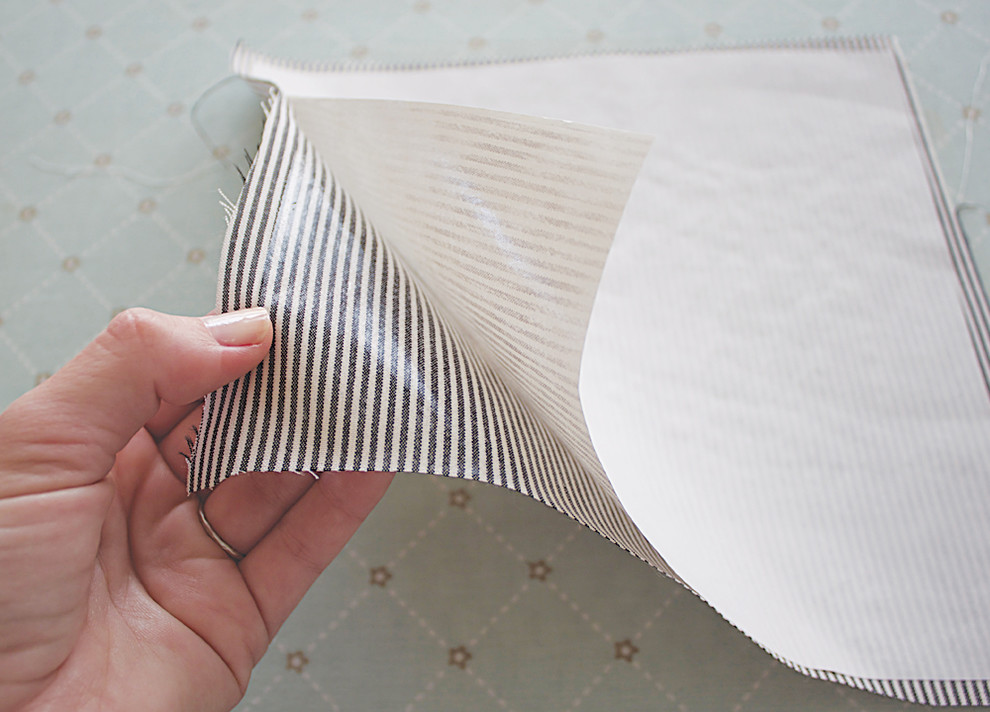
Once it has cooled, slowly remove the paper from the fabric. The glue should now be on your fabric.
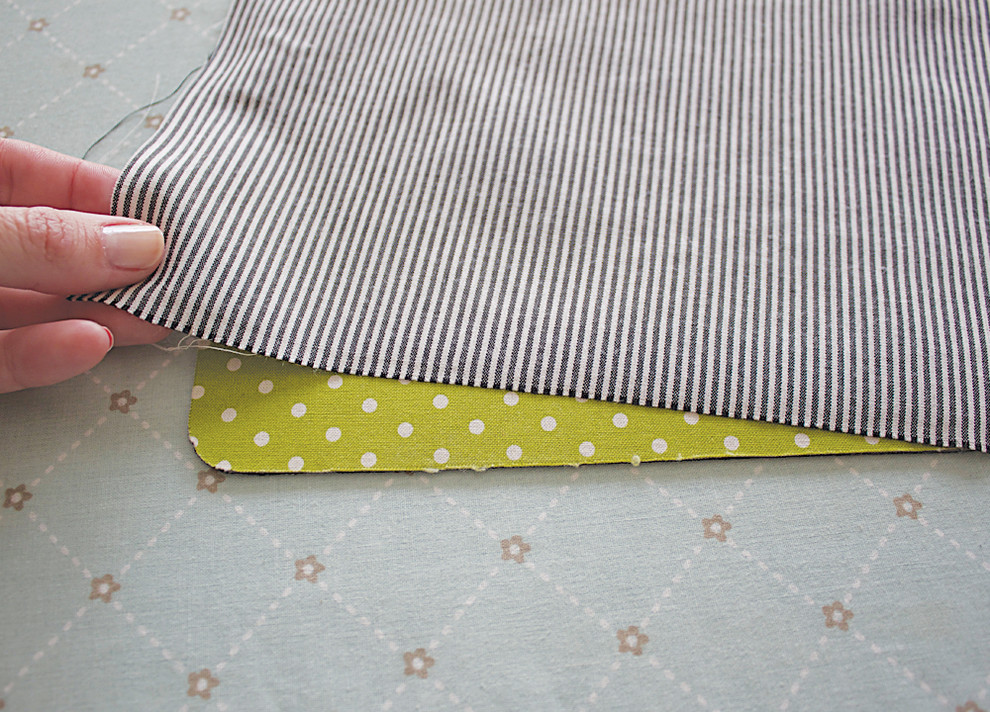
Place the fabric with the glue side down over your mousepad and iron for one minute.
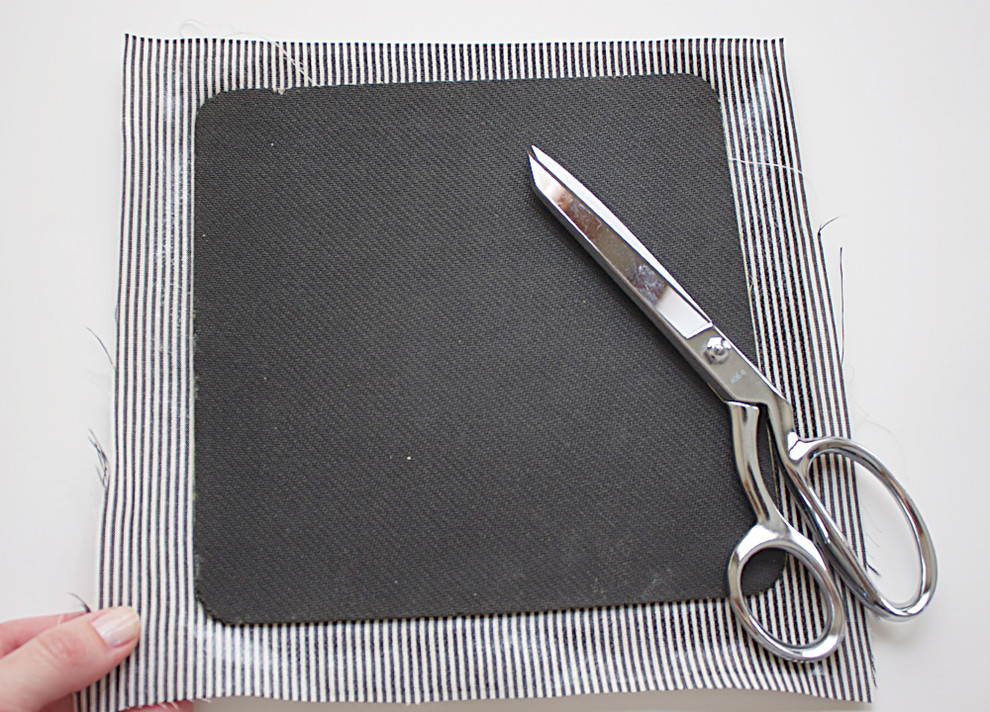
After it has cooled, use your scissors and carefully trim around your mousepad to remove the excess fabric.
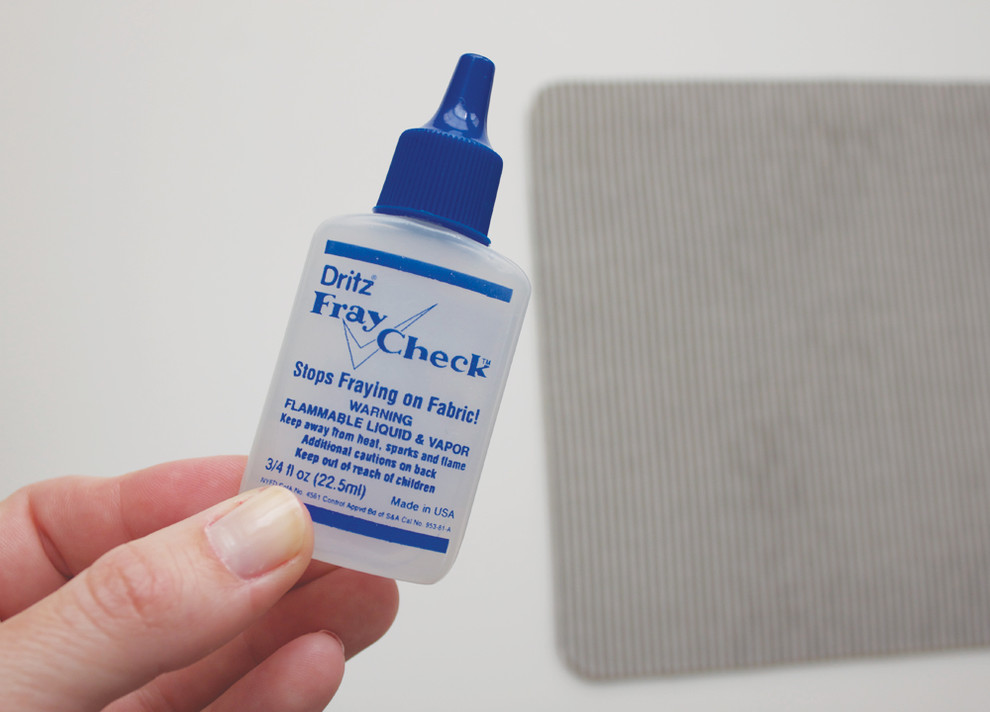
If you're concerned about the fabric fraying, use Fray Check around the perimeter.

Sponsored

Customized Award-Winning Interior Design Solutions in Franklin Cnty OH