


Fall DIY Project: Pumpkin-Shaped Eucalyptus Arrangement
Freshen up your front entry with this easy-to-make decorative piece

With the leaves falling and the costumed kids about to come knocking at your door, Halloween is the perfect time to spruce up your porch with some fresh DIY decorations, like this pumpkin-shaped arrangement. Any combination of greenery and flowers will work, but seeded eucalyptus branches fade nicely and provide a lovely fall aroma. Carve out some time with a group of friends and a bottle of wine to create this festive floral decorative accent.
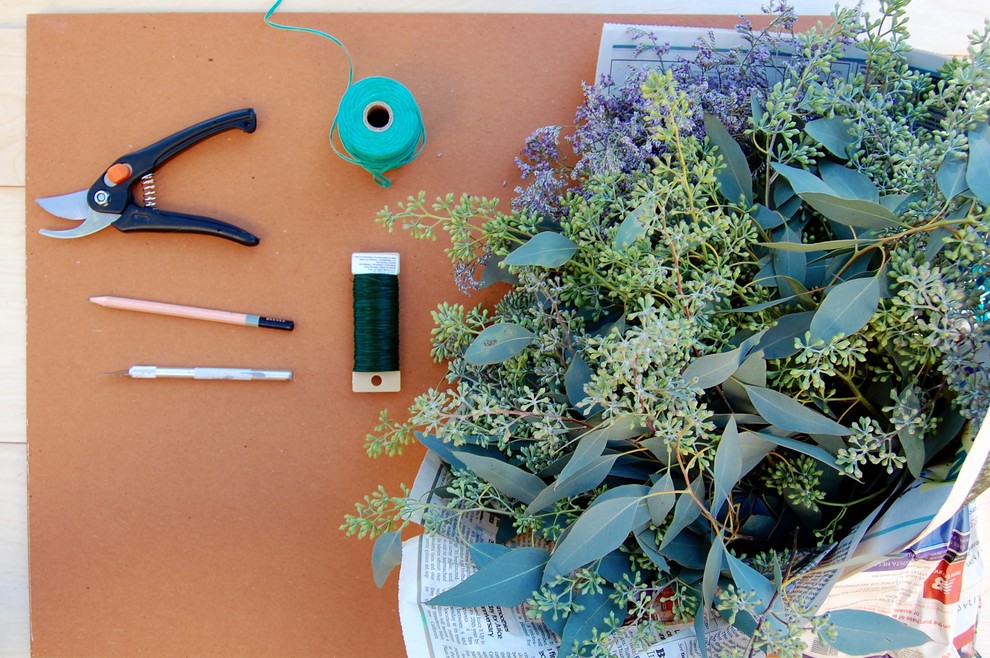
Materials and Tools
- Cardboard
- Hole punch, scissors, X-Acto knife or hammer and nail
- Wire cutters
- Floral wire or floral string
- Seeded eucalyptus and another colorful flower to use as accents (I used Misty Blue limonium)
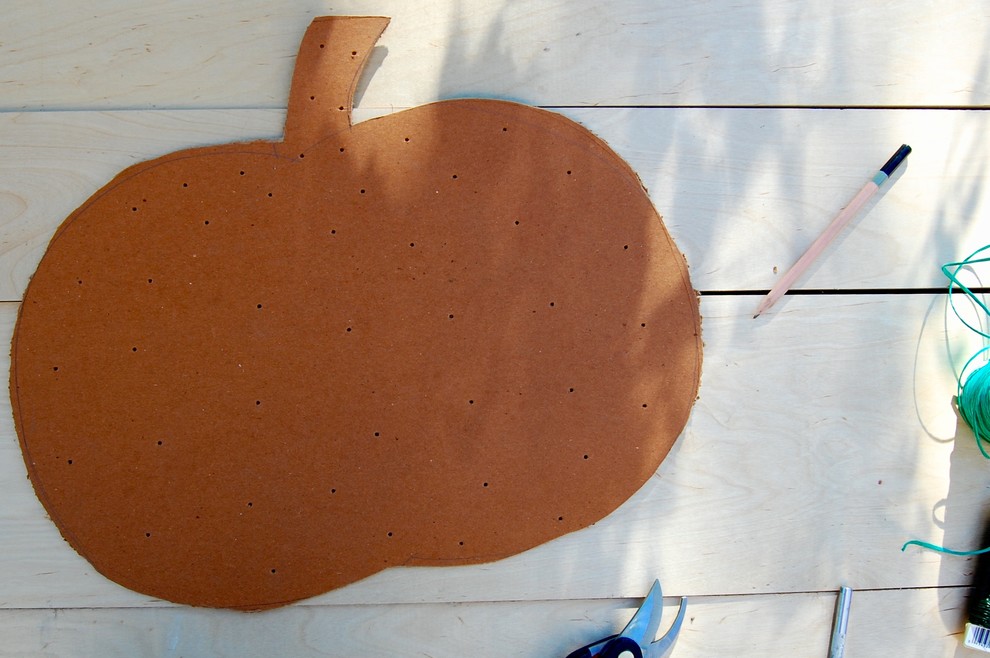
1. Start by tracing an outline in the shape of a pumpkin (or another shape of your choosing) on the cardboard. It’s best to use a thick, dense piece of cardboard to ensure the arrangement’s longevity and support the weight of the plants.
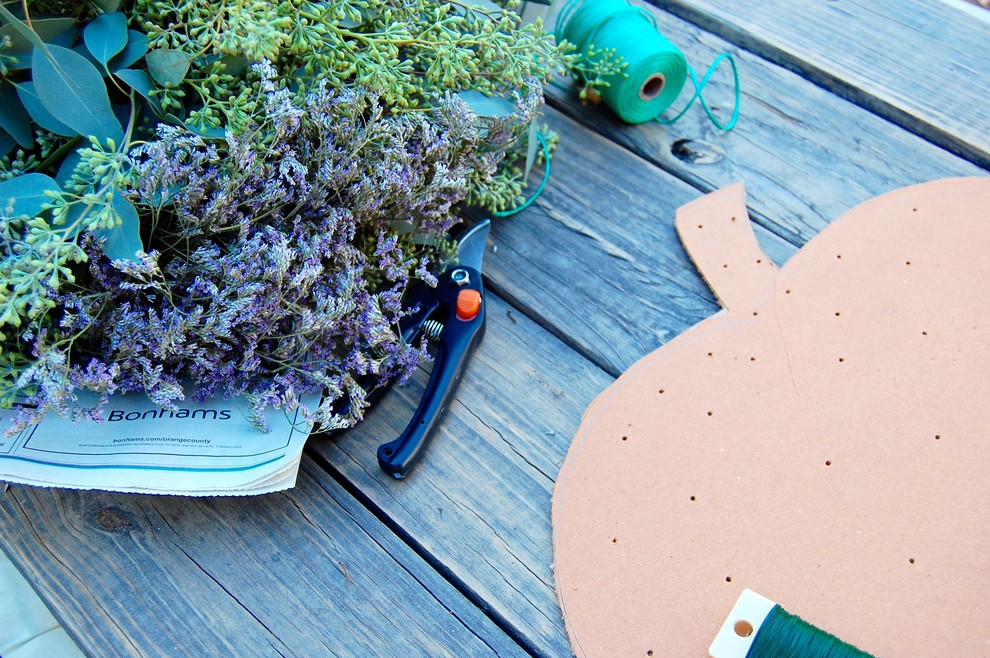
2. Cut along the outline. Add holes to the pumpkin shape throughout using a hole punch, scissor edge or (carefully) a hammer and thick nail. If you are doing this project with little ones, supervise this step.
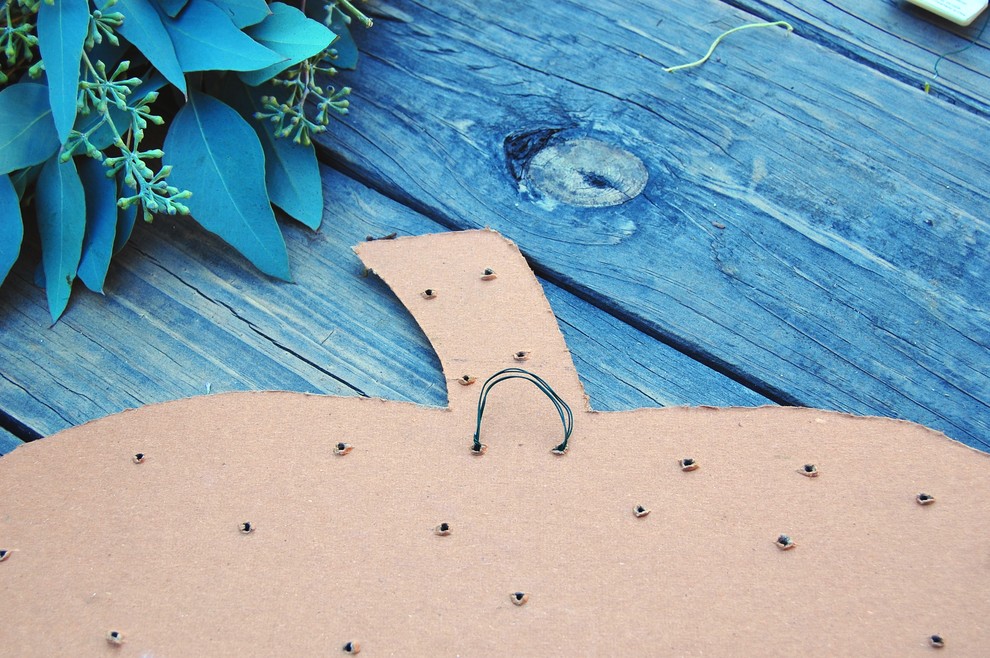
3. Add two parallel holes below the stem and create a small loop with floral wire so you can hang your finished arrangement. Double the loop to provide added stability and twist the wire back on itself to secure it.
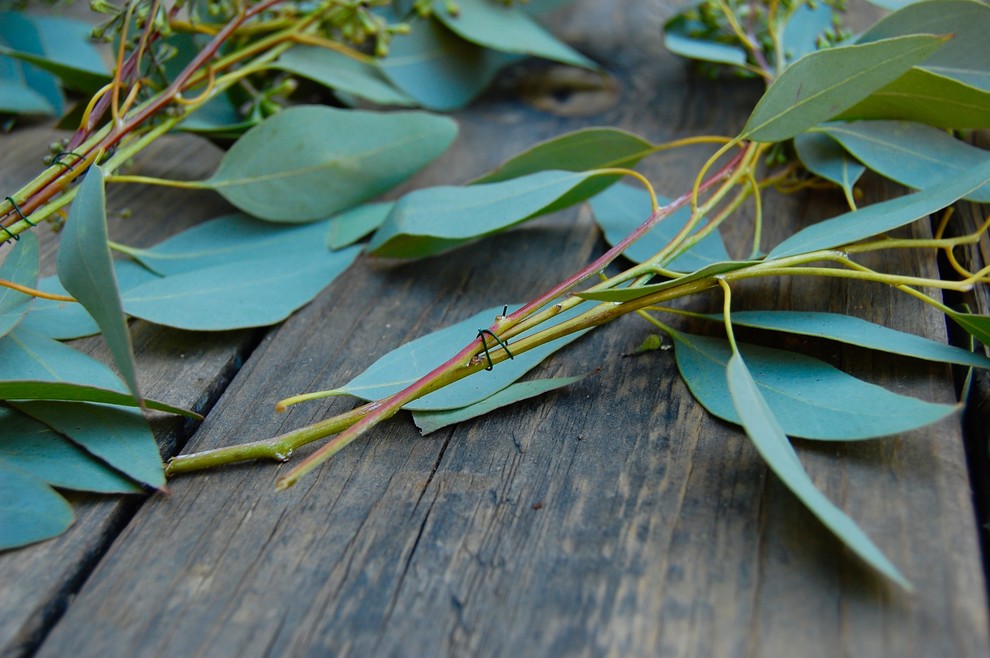
4. To save time, cut your floral wire lengths in advance. I used several 1-inch pieces and several pieces between 8 and 10 inches long. Bunch two to four small branches and wrap them with the wire to hold them in place.
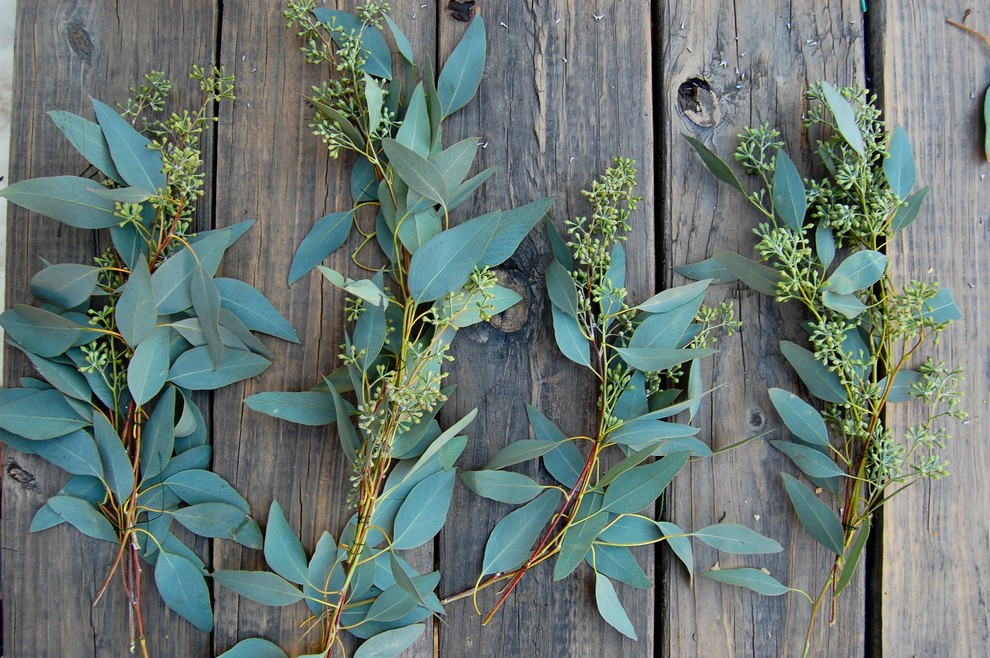
5. Repeat to make enough small branches to create the “base” of the pumpkin and cover the cardboard.
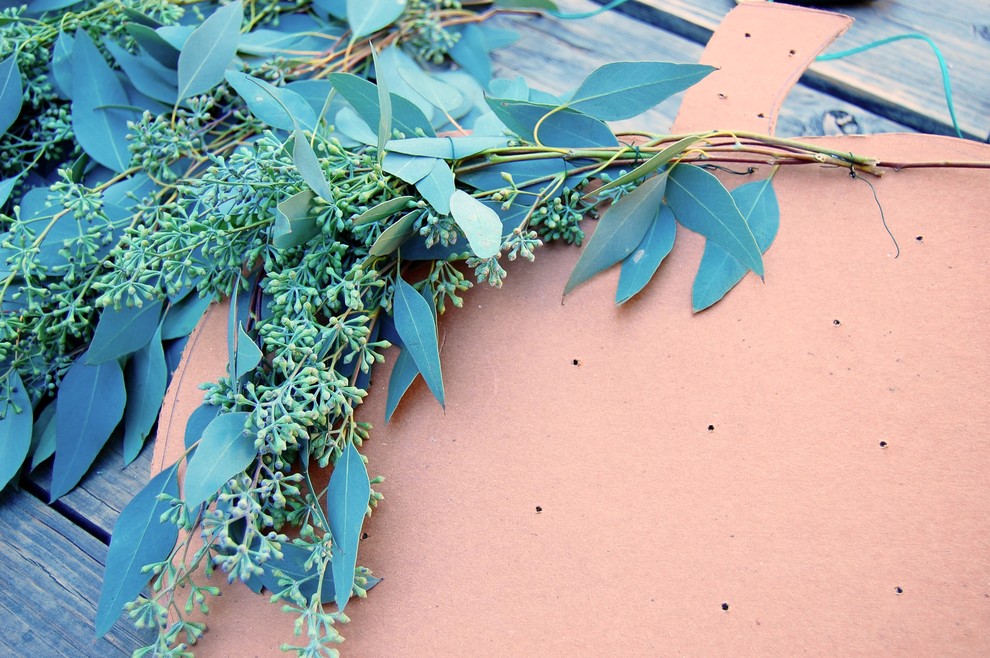
6. Place your bunches on the cardboard. Weave a few long pieces of wire through the holes and around the branches to secure the branches, then twist the wires back on themselves or around another branch to hold them in place. Avoid having too much wire showing on top, although this can easily be corrected later as you add more branches.
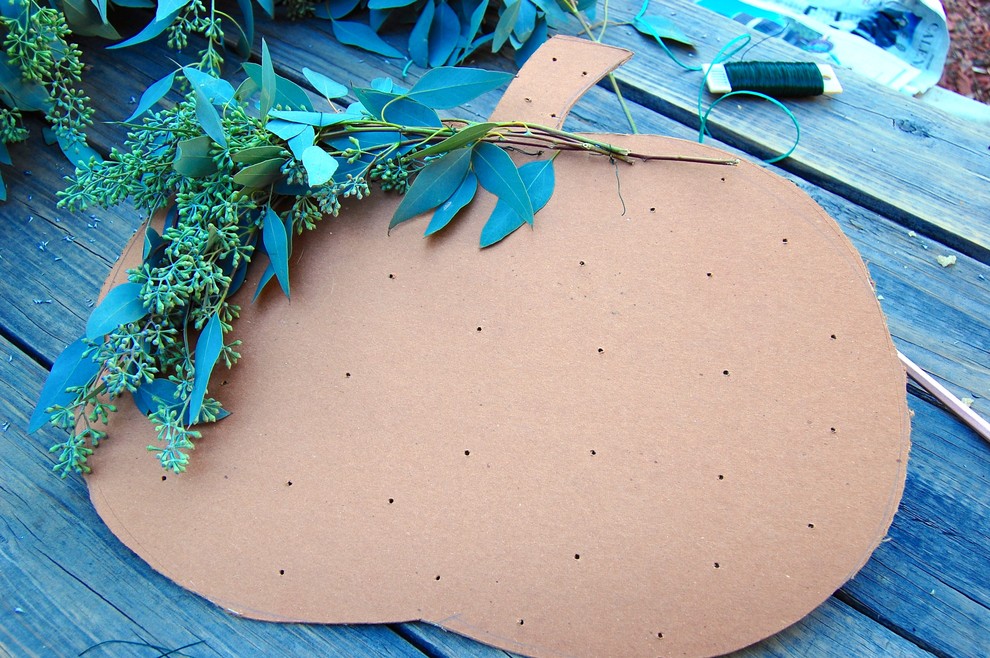
7. Continue adding branches to fill in the entire piece of cardboard. At this point, it’s OK if the some of the cardboard shows through.
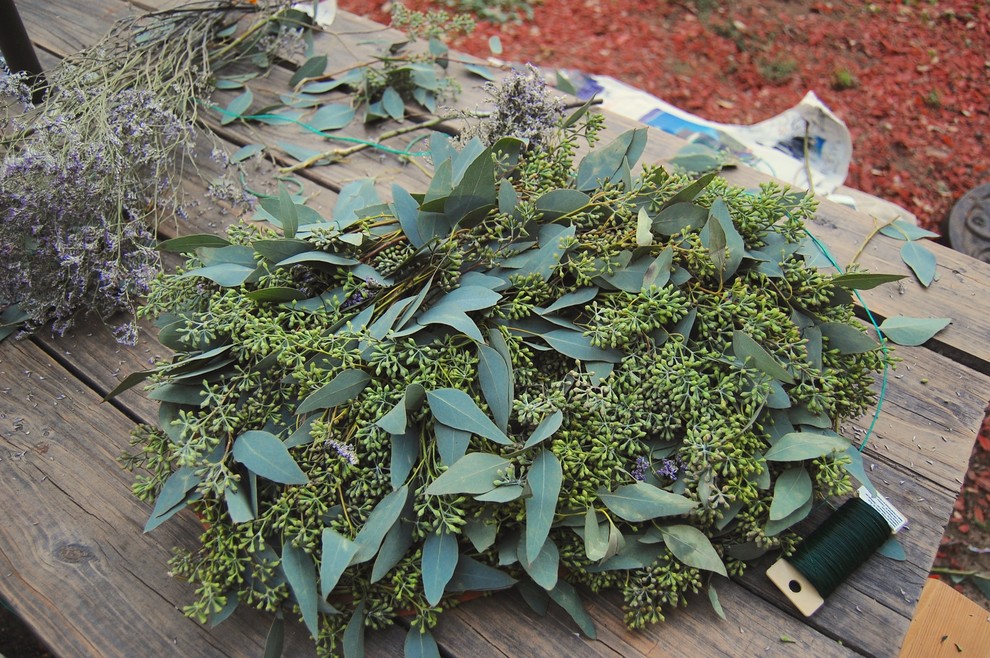
8. Fill in as much as possible with smaller branches and tightly wire these to nearby branches.
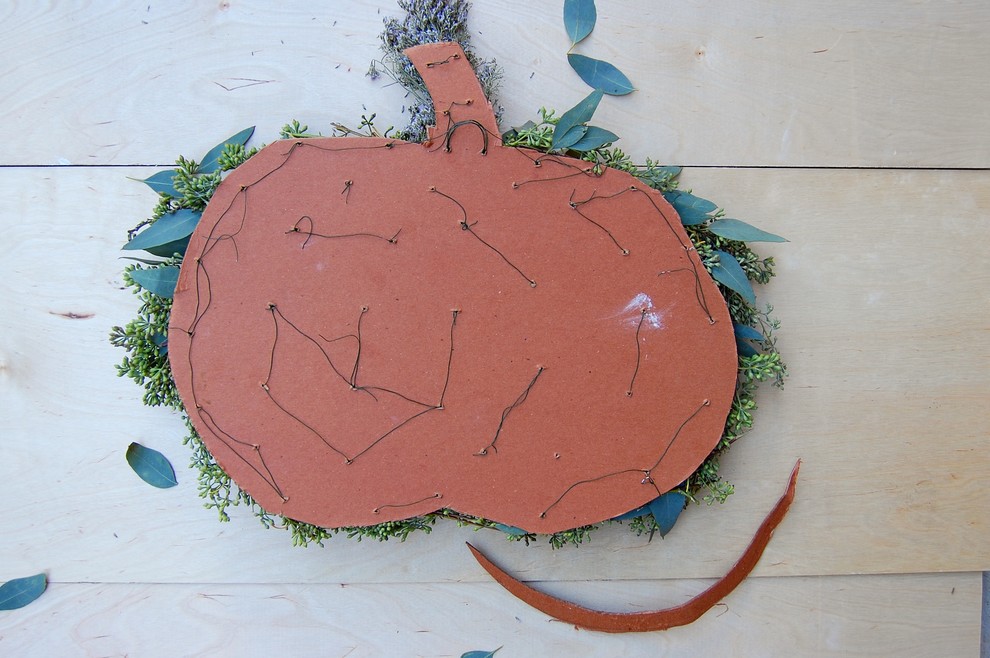
9. If you are having a hard time covering the edges, simply trim a little of the visible cardboard away. Avoid cutting the wire or trimming too close to the holes.
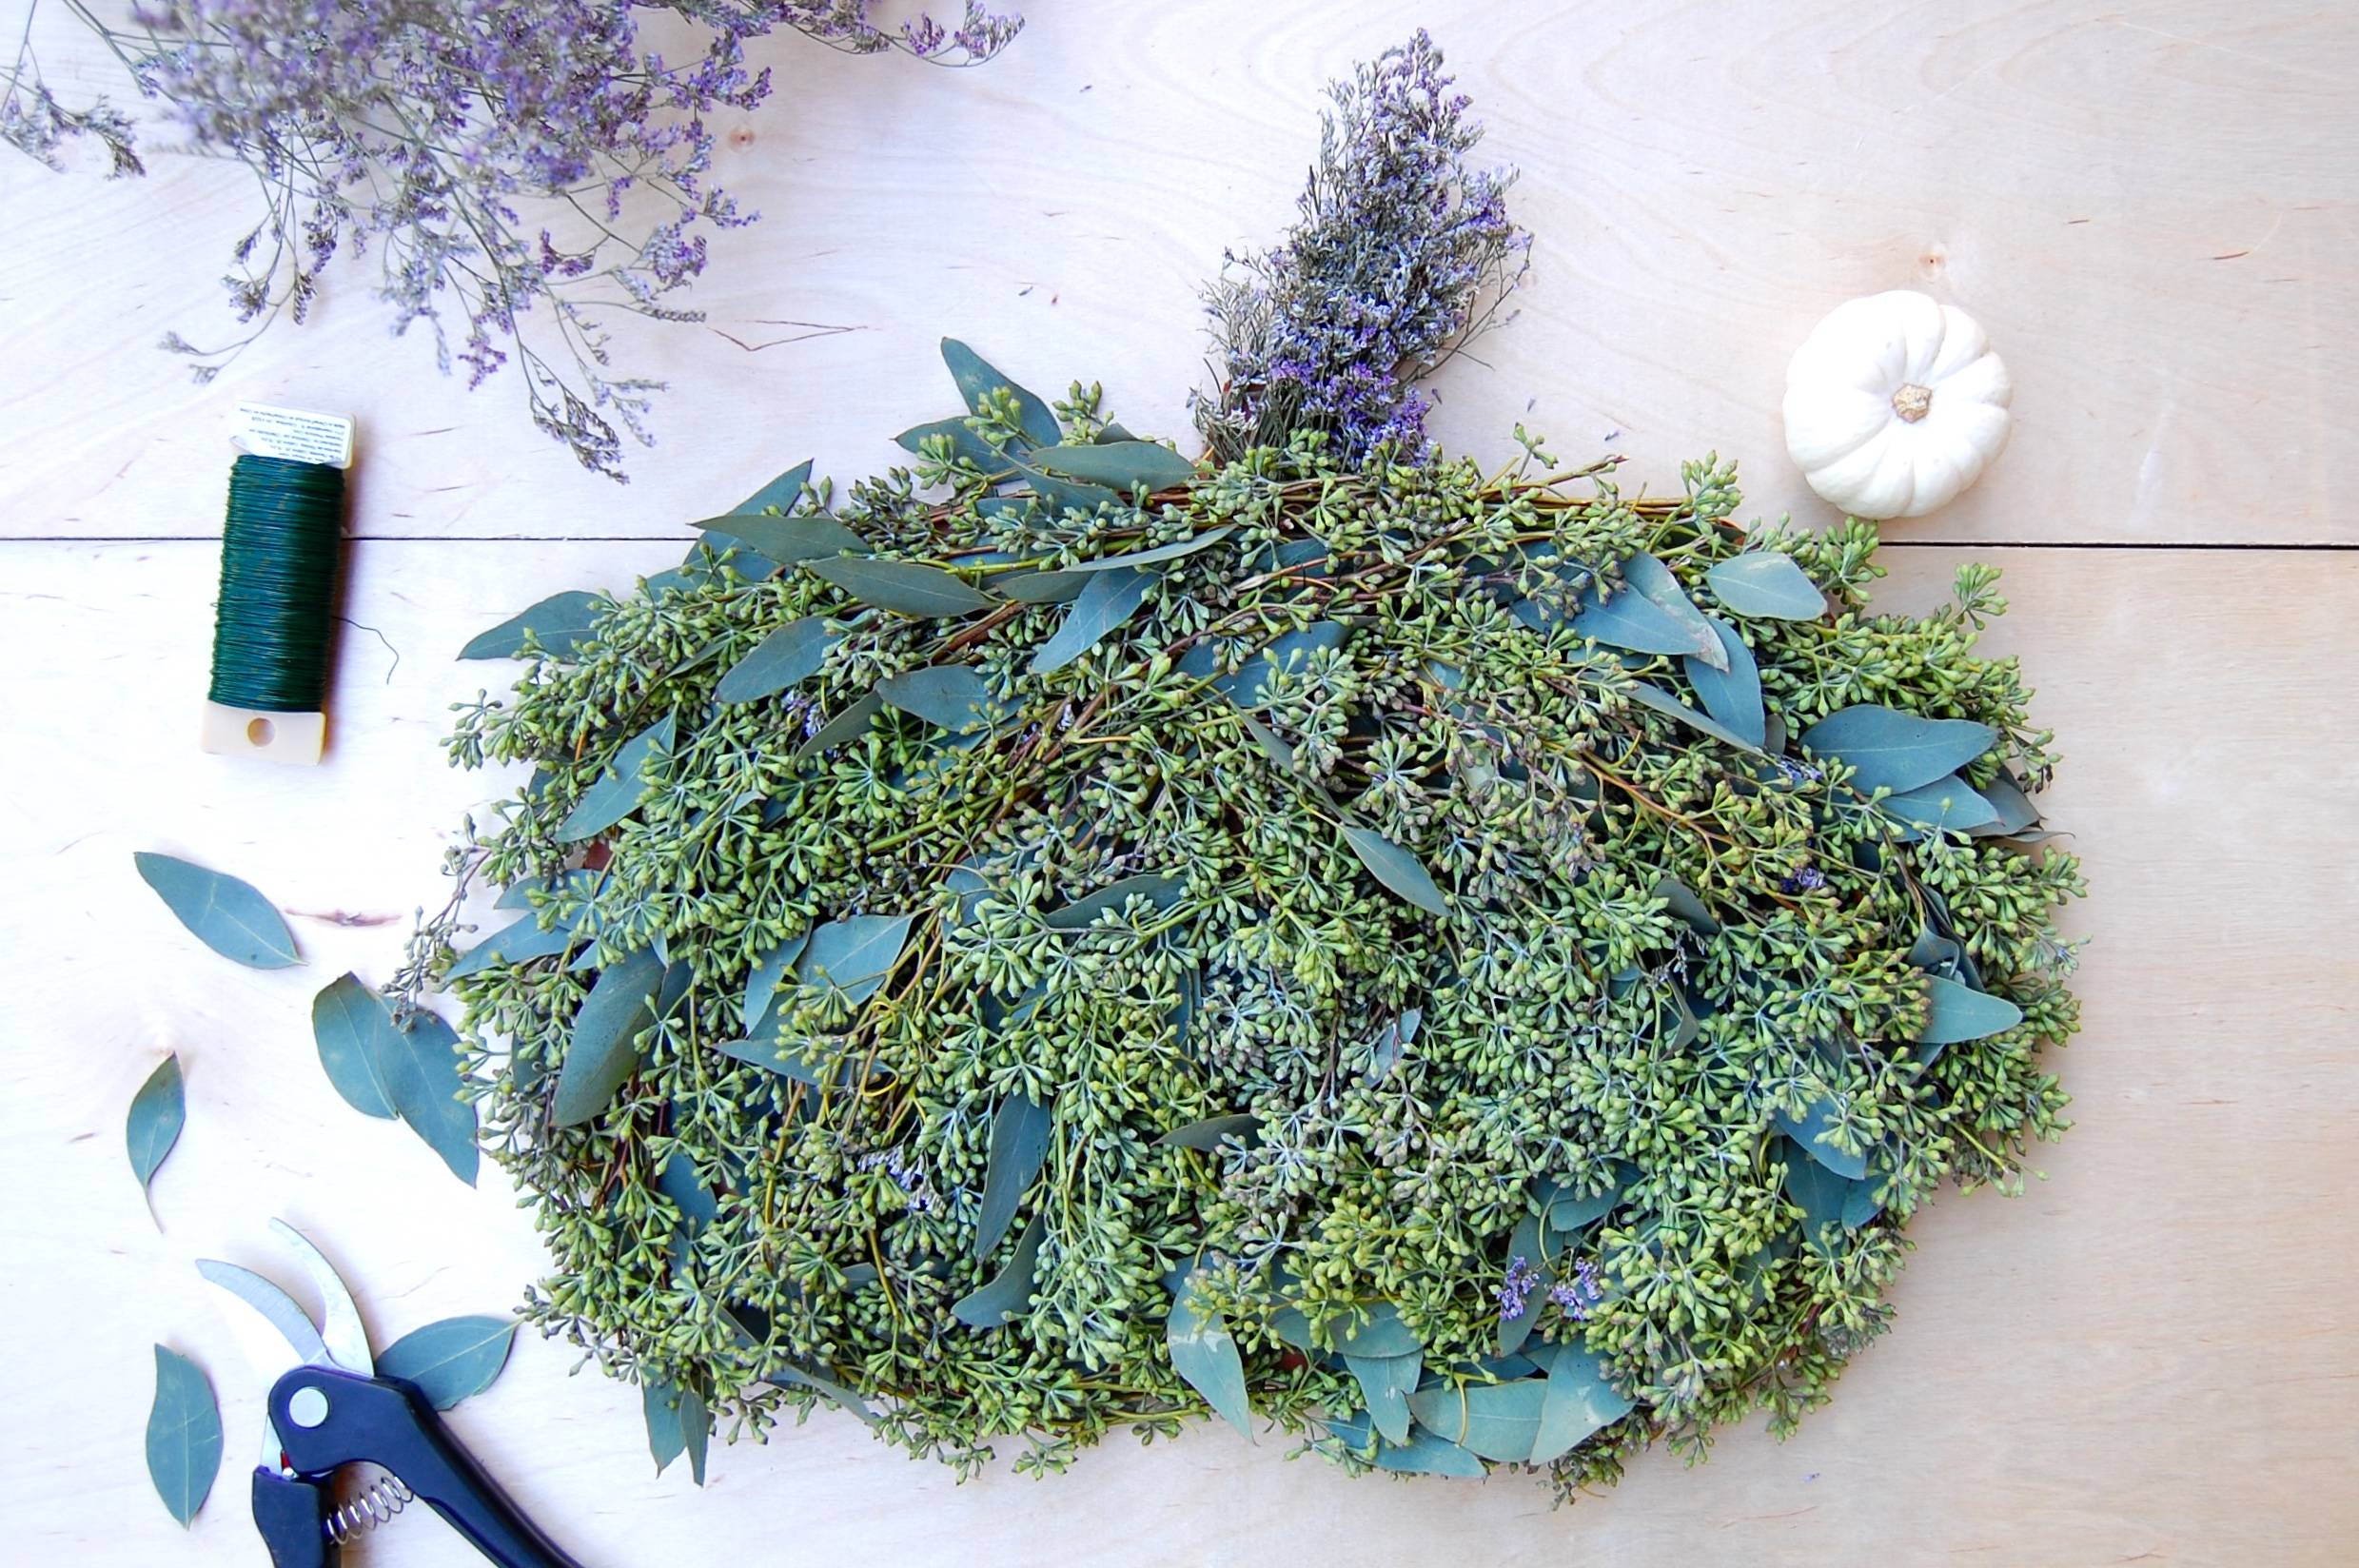
10. Trim the leaves to form a flatter base and show off the form. The final shape and depth of the leaves will depend on your preferences. I took out most of the leaves and left more seeds as the base.
Once your pumpkin has taken shape, add a bit of color as the stem. I used Misty Blue limonium and wired it to the branches below.
Once your pumpkin has taken shape, add a bit of color as the stem. I used Misty Blue limonium and wired it to the branches below.
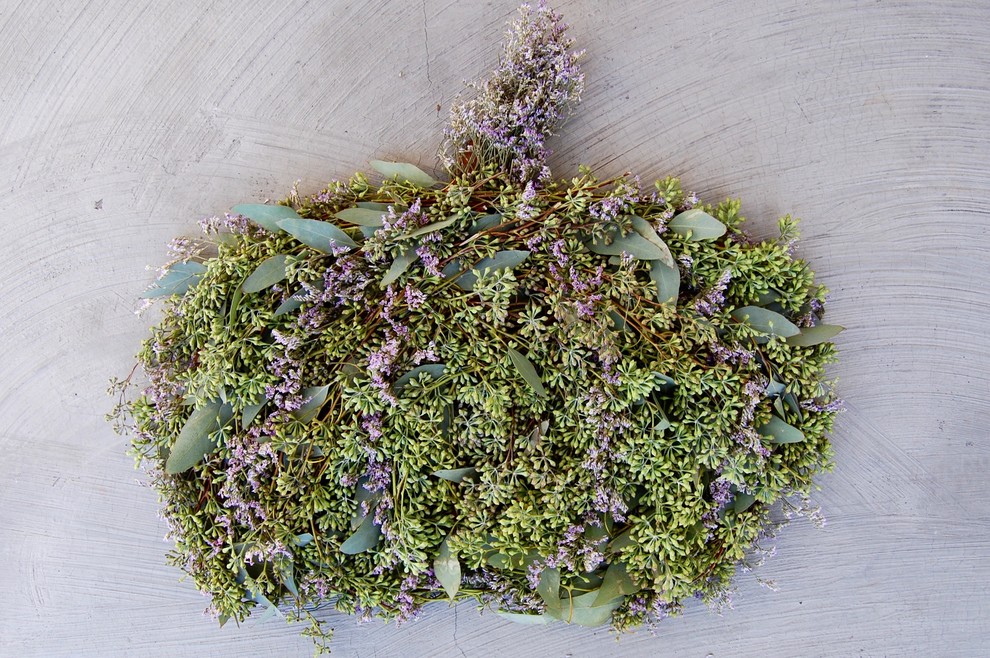
11. Finish by adding some contrasting colors, such as flowers, to create the ridges on the rind.
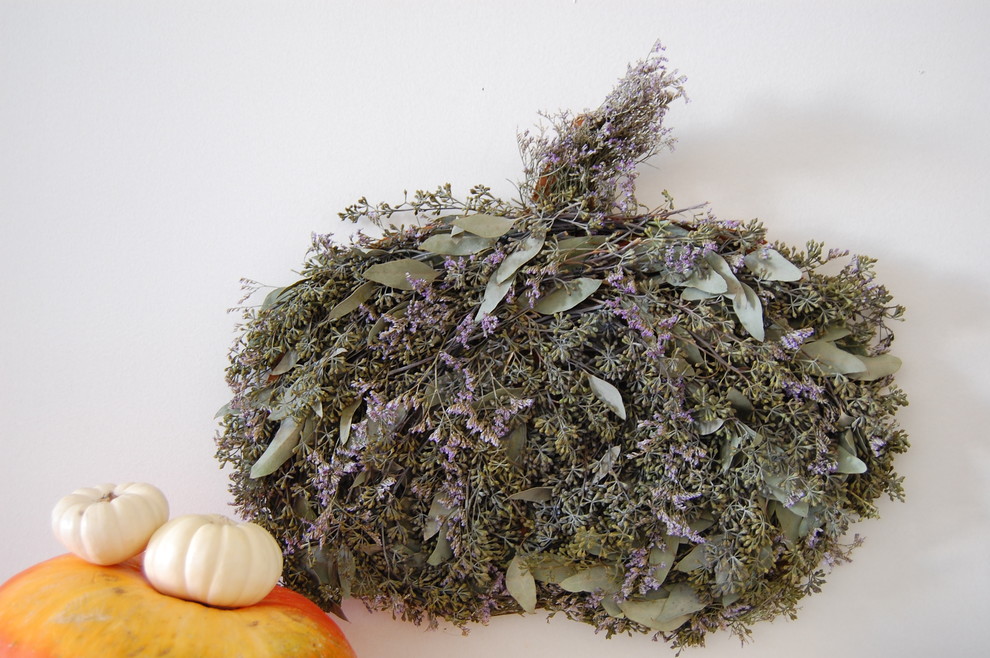
Colorful flowers can also become eyes and a mouth for a jack-o’-lantern arrangement. Try maple leaves for eyes and twigs for the mouth.
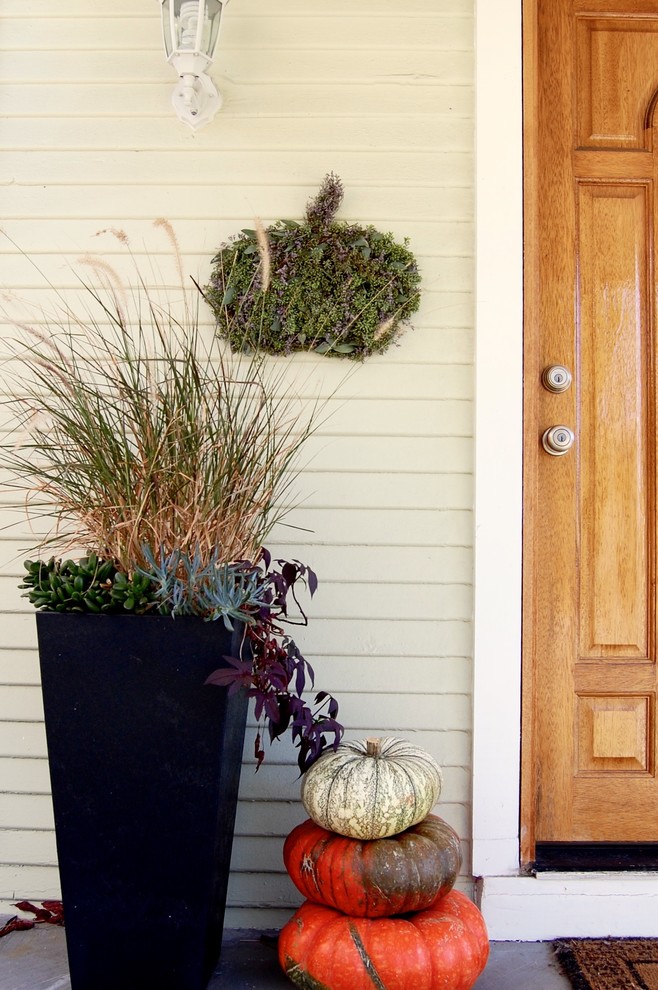
The arrangement is easy to hang with a small tack or nail. Place it on your front porch or over your buffet and enjoy.
Show us: How are you decorating your exterior for Halloween this year? Upload a photo in the Comments below.
More
A Peek at 2 Prettily Dressed Fall Porches
7 Quick and Easy Indoor Halloween Decorating Ideas
Easy Halloween Decorations From Stuff You Already Have
Show us: How are you decorating your exterior for Halloween this year? Upload a photo in the Comments below.
More
A Peek at 2 Prettily Dressed Fall Porches
7 Quick and Easy Indoor Halloween Decorating Ideas
Easy Halloween Decorations From Stuff You Already Have

Sponsored

Leading Interior Designers in Columbus, Ohio & Ponte Vedra, Florida