
Search results for "Doctor's directions" in Home Design Ideas
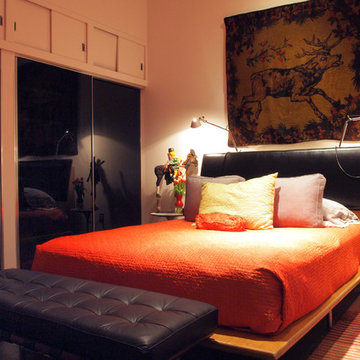
 Kayla Stark
Photo: Kayla Stark © 2016 Houzz
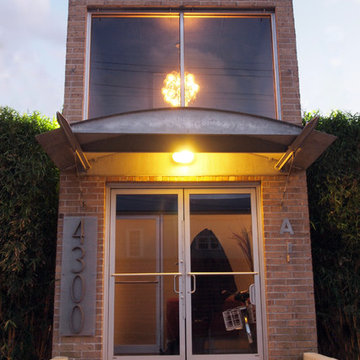
Example of an eclectic exterior home design in New Orleans
Example of an eclectic exterior home design in New Orleans
Find the right local pro for your project



 Abramson Architects
A light-filled formal living room finds a balanced marriage that feels inventive yet timeless.
Photo: Roger Davies
Example of a huge trendy open concept dark wood floor and brown floor living room design in Los Angeles with white walls, a standard fireplace and a stone fireplace
Example of a huge trendy open concept dark wood floor and brown floor living room design in Los Angeles with white walls, a standard fireplace and a stone fireplace
Sponsored
Columbus, OH

Snider & Metcalf Interior Design, LTD
Leading Interior Designers in Columbus, Ohio & Ponte Vedra, Florida
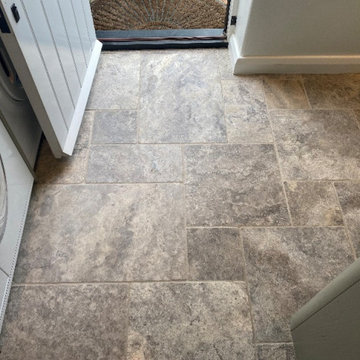

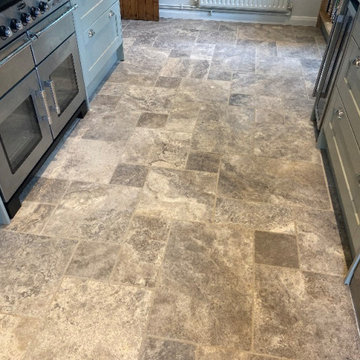
 Tile Doctor Ltd
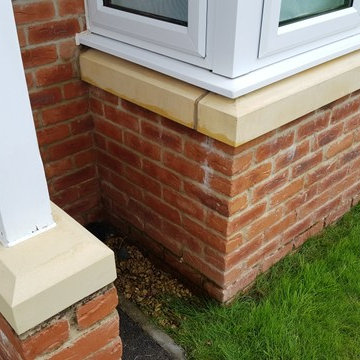
Bath Stone is a material that we don’t often encounter. A variation of LimestoneCardiff was quite upset that her Bath Stone window sills had become so unsightly over the four-year period since her house was built, so much so that she contacted Tile Doctor to see if we could help.
While at Tile Doctor we most often work on tiled floors, patios and shower cubicles, I was more than happy to assist in this situation. I popped round to the property to carry out some initial cleaning tests on an inconspicuous area of one of the window sills.
I applied Tile Doctor Pro Clean, which is our high alkaline cleaner, since it’s a very versatile and reliable product, and is suitable for use on most kinds of natural stone. Some fantastic results were achieved quickly, with Pro Clean working efficiently to remove the green and black algae that I presumed came from the trees which were plentiful around the property.
With the test clean a success, we agreed a date to complete the job. I returned on the agreed date with a ladder to treat the rest of the sills using Pro Clean, including the one on the first floor window.
Before carrying out the work, I tested the stone for moisture and the readings were sky high. Therefore, I suggested to the customer not to seal the stone, but instead to maintain it using the same cleaning process as I had undertaken.
The outcome of my restoration was brilliant, so now when the customer feels that the sills need to be rejuvenated again, she can do so very easily.
Julian Iancono
South East Wales Tile Doctor



 Margot Hartford Photography
Photo: Margot Hartford © 2016 Houzz
Bathroom - victorian bathroom idea in San Francisco
Bathroom - victorian bathroom idea in San Francisco
 Tile Doctor Ltd
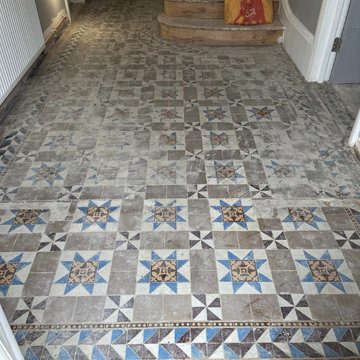
These pictures of a Victorian Tiled Hallway are from a property in Canterbury that was once a nursing home and was now being renovated to become a children’s home. The building was being gutted and extended at the same time and when the carpet was pulled up in the hallway, they were surprised to find a relatively intact Victorian tiled floor underneath.
Whilst they thought it bizarre that anyone would want to cover up such an attractive floor the carpet had protected it over the years. They realized it would make a marvellous feature at the entrance to the property, but professional restoration would be needed to do it justice. After a bit of research, they came across Tile Doctor and got in touch.
Canterbury comes under my North Kent designation, so I went to visit the property and survey the floor and quote for doing the restoration. There were a few missing and loose tiles that would need replacing and refixing also there was a lot of ingrained dirt so a deep clean and application of a new sealer would be required. I gave them a price for the work which they readily accepted, and we arranged a suitable time to carry out the work. Subject to the building schedule I had calculated the floor would take three days to restore.
On the first day I set about replacing and re-fixing the missing, broken, and loose tiles. This is delicate work as you need to extract the old tile without disturbing its neighbours and then clean up the area ready for its replacement. Being a Tile Doctor I keep a selection of stock tiles for repairs, some are reclaimed, and some are replica. Also, there are several companies still making Victorian style tiles so I can usually source what I need.
After the individual missing and broken tiles had been replaced and the adhesive had set, it was then a matter of renovating the floor as a whole. The tiles were covered in a thick layer of carpet adhesive which needed a combination of specialist tools and products to remove. First, a liberal layer of Tile Doctor Remove and Go was applied and left to dwell for thirty minutes. Next, Tile Doctor Pro-Clean was added and scrubbed in with a black pad.
This process softened the adhesive sufficiently in readiness for the next stage which involves using a set of diamond burnishing pads on a weighted buffing machine. Several applications were needed, each time with a successively finer grade of diamond pad and rinsing off the slurry in between. The tiles were first milled using a very coarse 50-grit pad, followed by 100, 200 and finally burnished with a 400-grit burnishing pads. This removed all the adhesive and dirt in the tiles, which was cleaned up using the wet vacuum.
Old Victorian floors like this do not have a damp proof membrane installed under the floor, and with a lot of water being used in the cleaning process I was concerned White efflorescence salts could appear later as the floor dried. To counter this, I gave the floor an acid wash using Tile Doctor Acid Gel to counter and dissolve the salts, it also gives the tiles another clean and will remove any old grout smears further improving the appearance of the tiles. Once done the floor was left to dry overnight.
On my return I tested the floor was dry by taking several moisture readings around the floor with a damp meter. Applying sealer to a damp floor is never advised and can lead to clouding and an unwanted finish.
Happy that the tiles were dry, a single coat of Tile Doctor Colour Grow sealer was applied. This is an impregnating sealer with a colour enhancing component to ‘lift’ the stronger colours of the floor. Colour Grow however does leave a matt appearance and as the client had asked for a shiny finish it was topped up with five coats of Tile Doctor Seal and Go. This is a compatible topical sealer which added a mid to high sheen.
By the end of the third day the Victorian floor looked brand new, and I received the following feedback from the client. Its rare to receive feedback from commercial customers so they were clearly overwhelmed with the transformation.
Did not think this glued covered bad old floor could look sooooo good Fabulous Fantastic job Looks Amazing Thank you
For aftercare I recommend the use of Tile Doctor Neutral Cleaner which isn’t as harsh as many of the products you find in supermarket. Stronger products can actually strip off the sealer over time leaving it vulnerable to dirt and detracting from its appearance.
Graham Davis
North Kent Tile Doctor

 Robeson Design
This one-of-a-kind girl's room is the perfect mix of color and function. We added playful elements, along with storage and shelving to keep everything organized. Bright patterns and textures makes this room fun and inviting!
 Tile Doctor Ltd
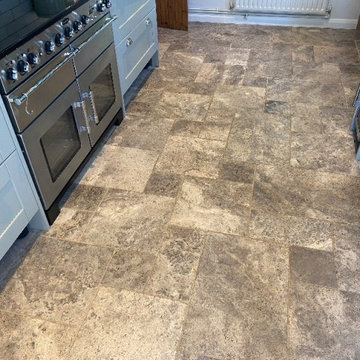
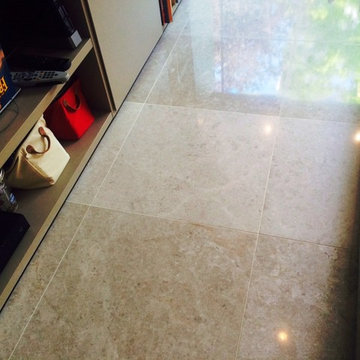
I was recently engaged to refresh the Limestone tiled floor at a house in St. John’s Wood, which is a very affluent area and apparently has the 5th most expensive postcode in London so as you can imagine this was a very expensive floor. The client had requested an improvement condition of the Limestone tiles in the living room and a thorough clean, polishing and seal was required. Over time, the floor in this busy living room – which was also used as a play area for young children – had become dirty and certainly worse for wear with all the use it had been getting. So, I set about my work to get this floor back to looking its best.
Cleaning and burnishing a Limestone floor
My initial task before beginning the cleaning process was to remove any furniture (as well as toys) from the room so I would have a clear area to work in. I then applied a layer of Tile Doctor Pro-Clean cleaner, diluted with water, to the floor. Pro-Clean is also suitable for use on other natural stone floors such as Slate, Granite and Travertine.
After leaving the solution to dwell for a period of a few minutes, I began to scrub the floor with a stiff hand brush. Whilst helping to remove a lot of the built up dirt on the surface of the tiles, the product also stripped off the old sealer and polish. Following this, I paid special attention to the dirty grout lines, cleaning them with Tile Doctor Oxy-Pro, a powerful, high-alkaline cleaner.
After completing the cleaning, I rinsed the floor with clean water to remove any excess cleaning products. I then began to burnish the floor using Tile Doctor Diamond encrusted burnishing pads. This was done in four steps, as I used four different pads (coarse, medium, fine and very fine) rinsing the floor with water between each pad. I would recommend using this setup of four pads for restoring the appearance of polished stone floors; you starting with a coarse pad and the gradually work your way up to the very fine pad achieving a high polish finish in the process. I finished of the process with a quick rinse and a buffing pad to give the floor a final polish before I commenced the sealing.
Sealing a Limestone floor
My choice of sealer was Tile Doctor Colour Grow, which is specifically designed to not only provide durable surface protection, but also to intensify the colour of the tiles. The sealer penetrates deep into the pores of the stone, providing water resistance and long-term protection from ingrained dirt and stains. As you can see from the photos, the sealer really helped to accentuate the fantastic natural colours in the Limestone.
My client was very pleased with the final result, and was amazed by how quickly I had been able to improve the state of her floor which, with a colourful and shiny finish, has really brightened up the living room.

Sponsored
Sunbury, OH

J.Holderby - Renovations
Franklin County's Leading General Contractors - 2X Best of Houzz!

 Laura U Design Collective
Julie Soefer
Kids' bedroom - bedroom transitional medium tone wood floor kids' bedroom idea in Houston with gray walls
Kids' bedroom - bedroom transitional medium tone wood floor kids' bedroom idea in Houston with gray walls
 TKP Architects
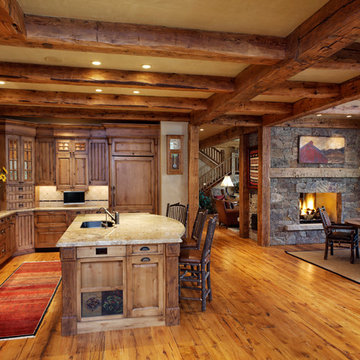
Welcome to the essential refined mountain rustic home: warm, homey, and sturdy. The house’s structure is genuine heavy timber framing, skillfully constructed with mortise and tenon joinery. Distressed beams and posts have been reclaimed from old American barns to enjoy a second life as they define varied, inviting spaces. Traditional carpentry is at its best in the great room’s exquisitely crafted wood trusses. Rugged Lodge is a retreat that’s hard to return from.
 Duet Design Group
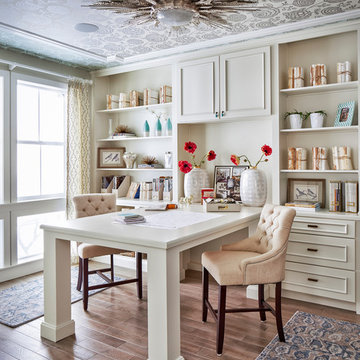
Example of a classic built-in desk medium tone wood floor home office design in Denver
1