
DIY Project: Tropical Leaf Felt Placemats
Here's a simple way to add a tropical holiday vibe to your table setting

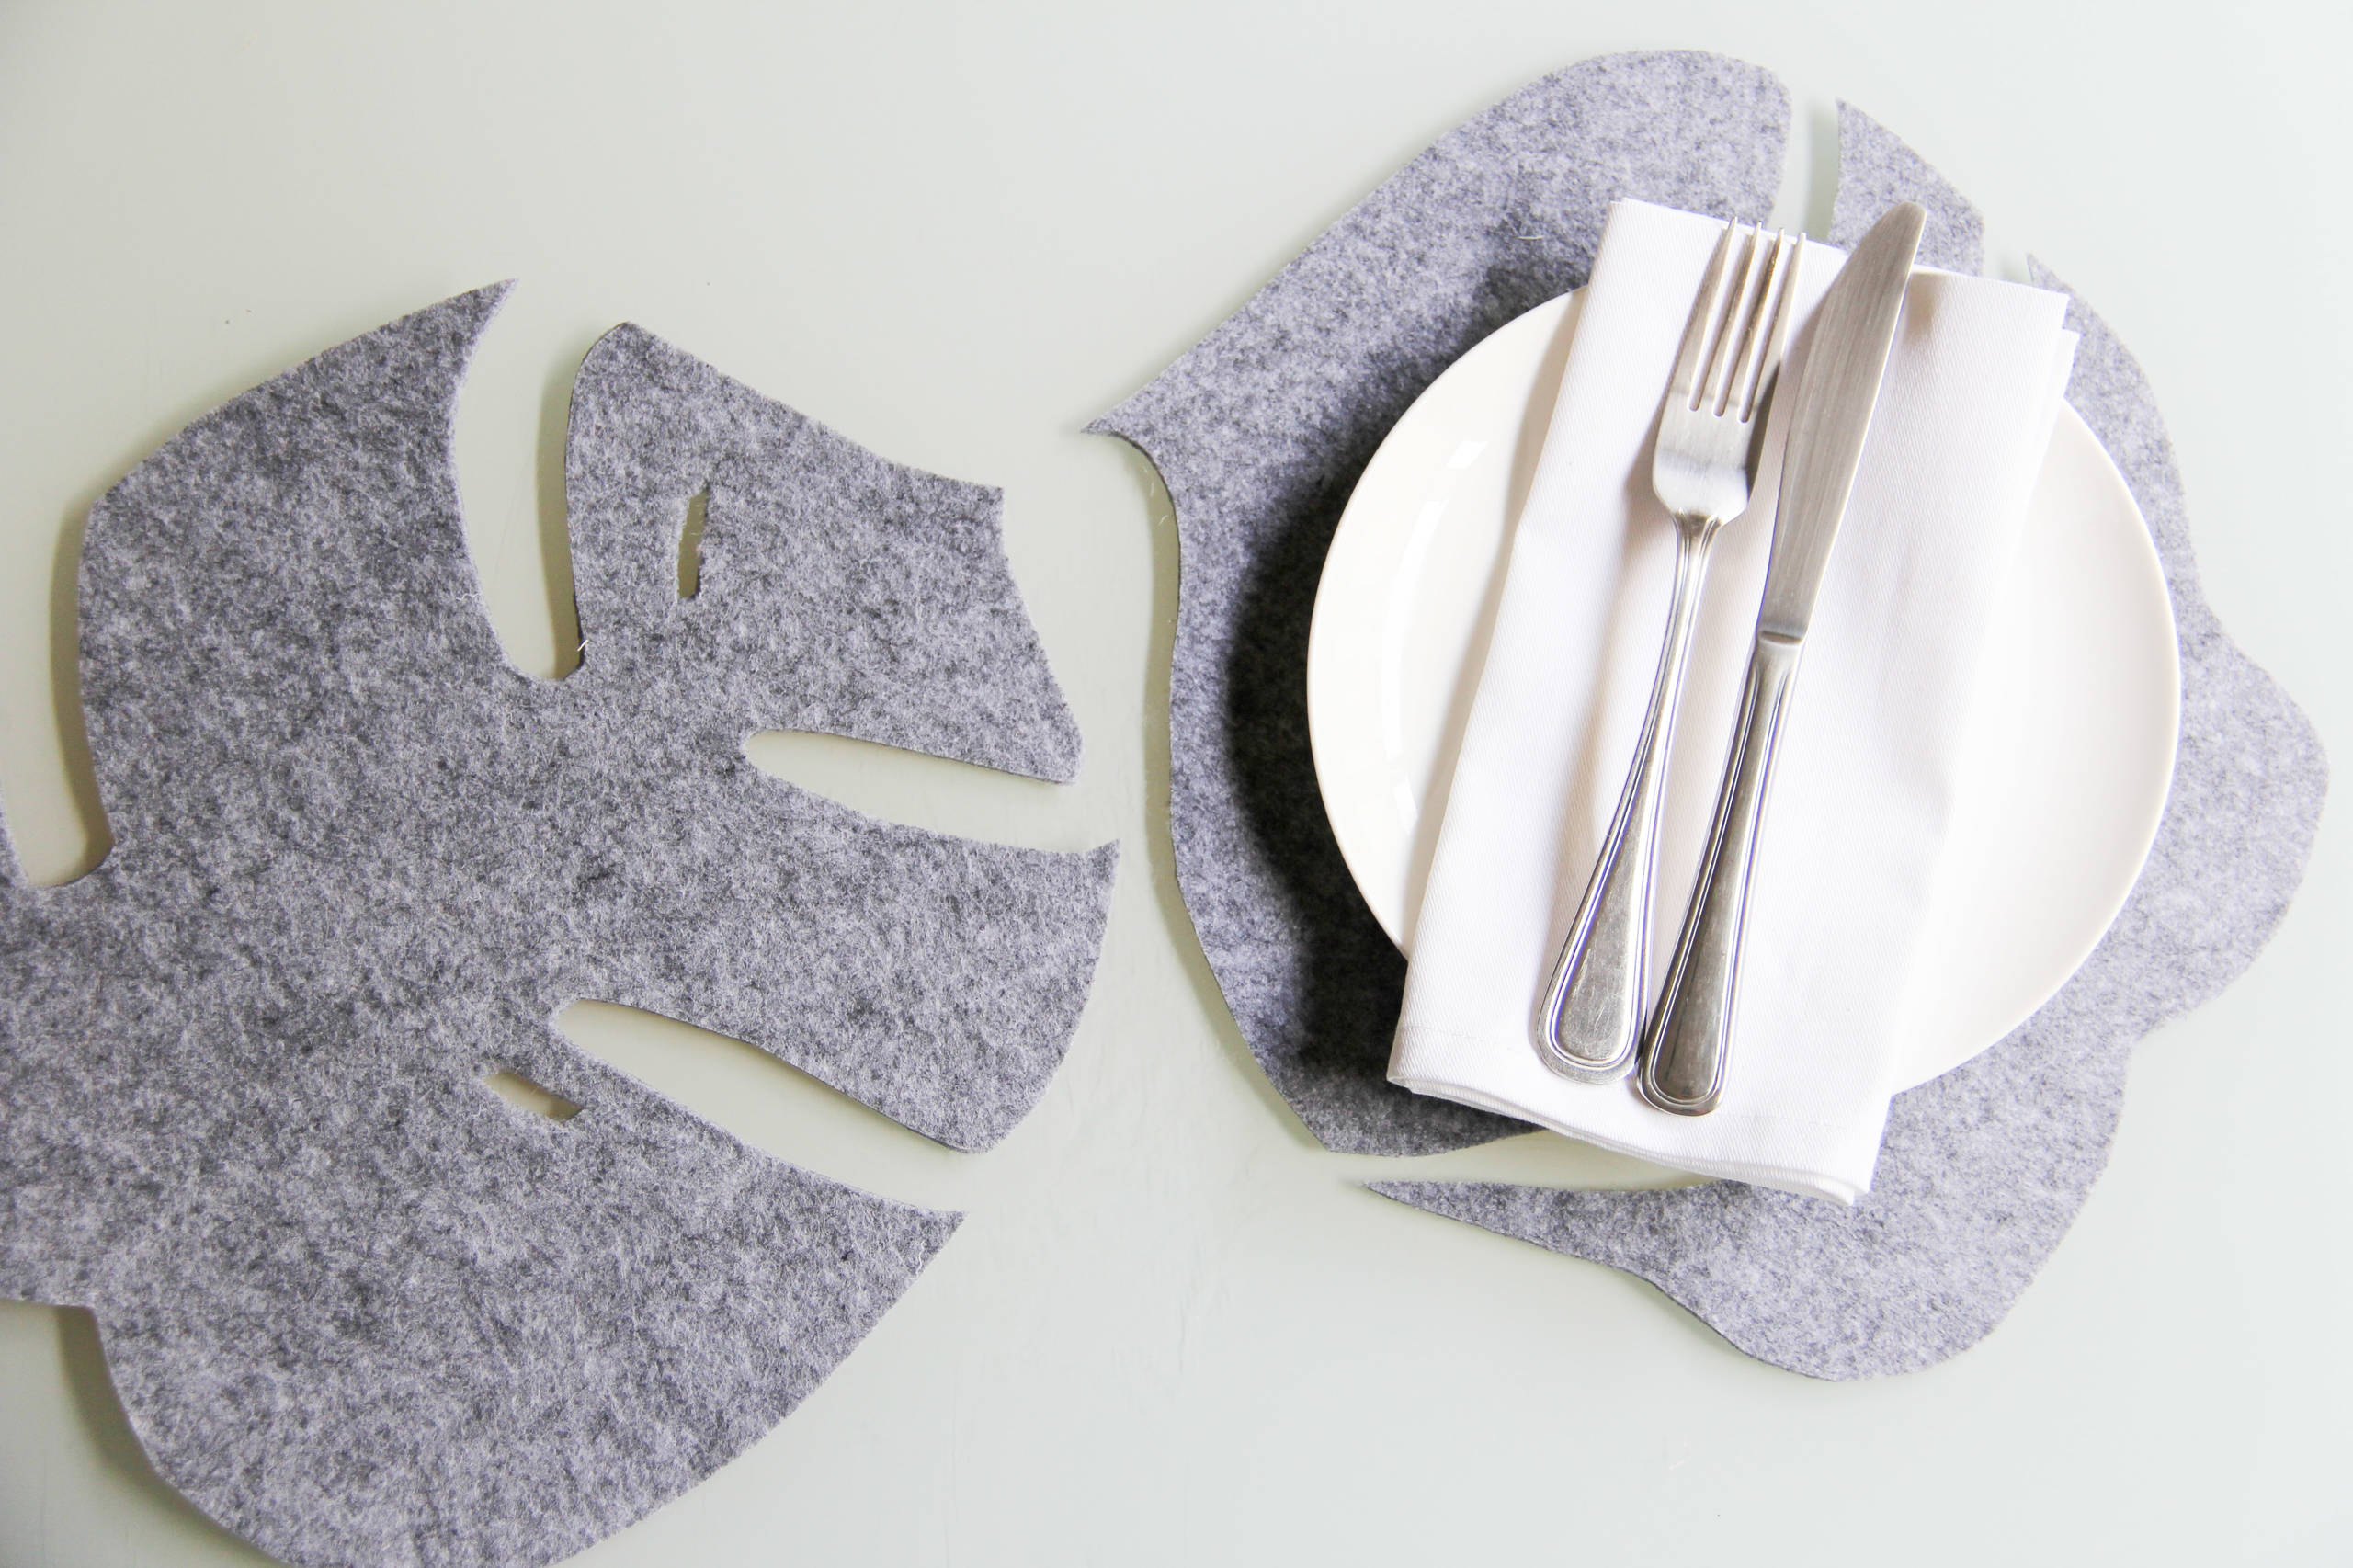
As the weather warms, it’s time to start changing up the decor, and that includes what’s on the tabletop. For this reason, I’ve created placemats that take the shape of a tropical leaf. You can cut the leaves from a bright colour or downplay the look by choosing a monochrome-coloured felt as seen here. But whatever colour you choose, you’ll find that this DIY project is super easy, requiring only minimal drawing ability.
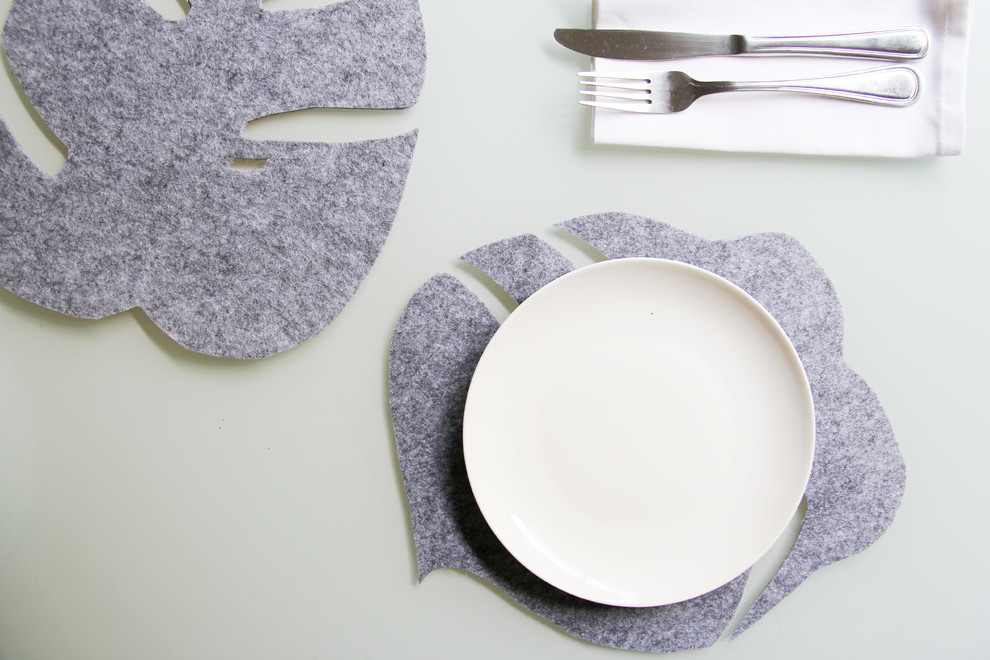
What you’ll need:
- Pencil
- Ruler
- Plain white paper
- Freezer paper
- 50 centimetres of 3-millimetre-thick felt
- Iron
- Texta (optional)
- Sharp fabric scissors
- Rotary or hobby knife
- Cutting board
Step 1: Measure it
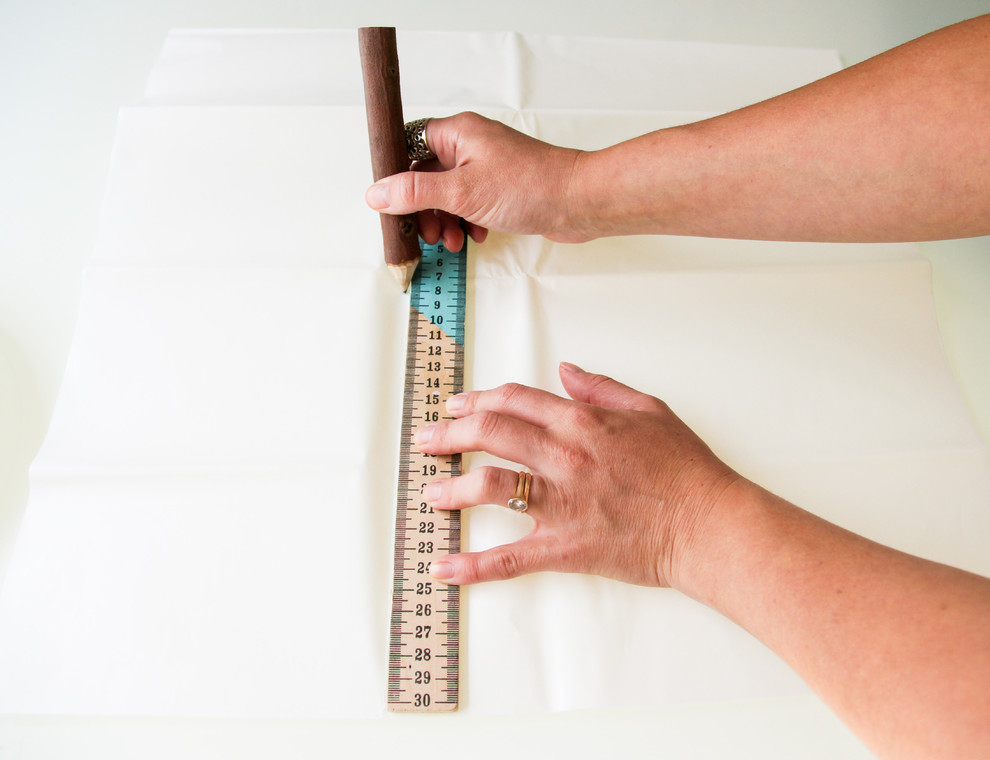
Mark a 30-centimetre square on a piece of plain paper.
Mark a 30-centimetre square on a piece of plain paper.
Step 2: Draw the outline
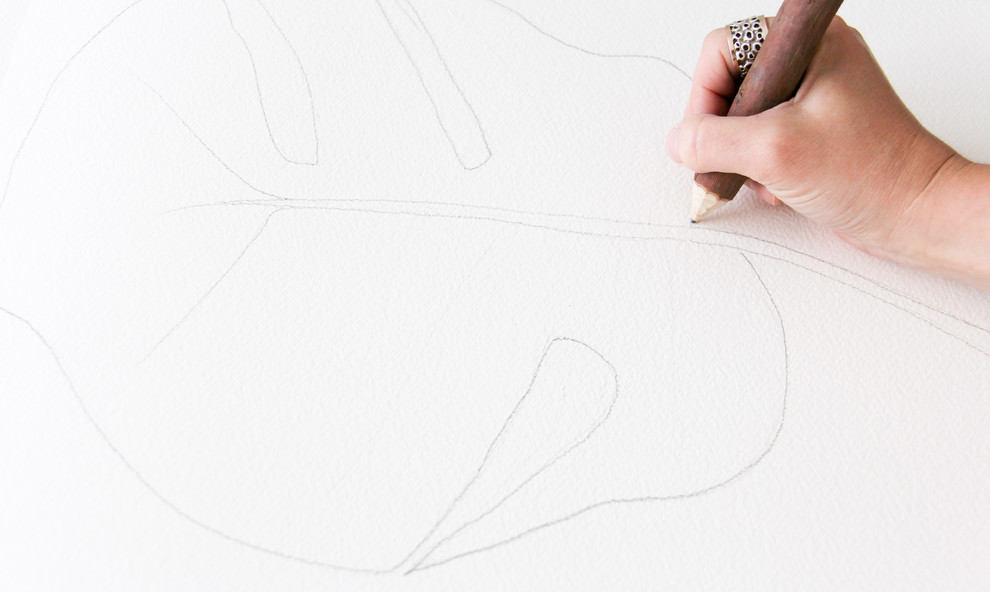
Practise drawing a leaf shape in pencil in freehand, until you get it right. We have used the Monstera deliciosa leaf as our shape, but there are plenty of other leaf shapes that will look just as appealing.
Make sure the drawing of the leaf sits within the square. If you can’t draw to save your life, you can digitally enlarge a stock image to A4 size, print it out and simply trace the outline of the leaf.
Practise drawing a leaf shape in pencil in freehand, until you get it right. We have used the Monstera deliciosa leaf as our shape, but there are plenty of other leaf shapes that will look just as appealing.
Make sure the drawing of the leaf sits within the square. If you can’t draw to save your life, you can digitally enlarge a stock image to A4 size, print it out and simply trace the outline of the leaf.
Step 3: Trace it onto freezer paper
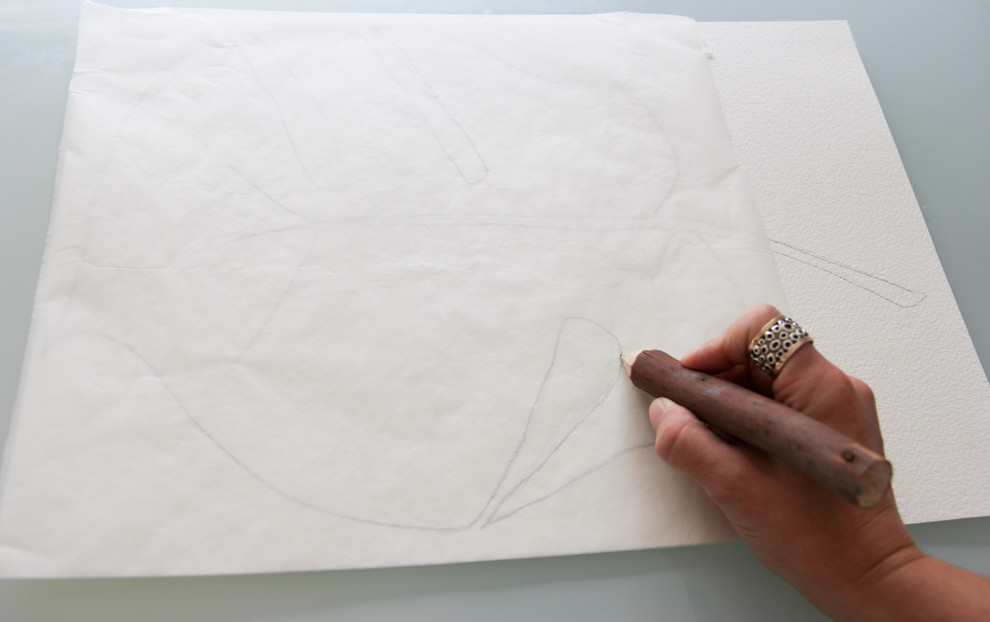
Cover your final drawing with a sheet of freezer paper, cut to a similar size, and trace the outline and any cut-outs with pencil.
Cover your final drawing with a sheet of freezer paper, cut to a similar size, and trace the outline and any cut-outs with pencil.
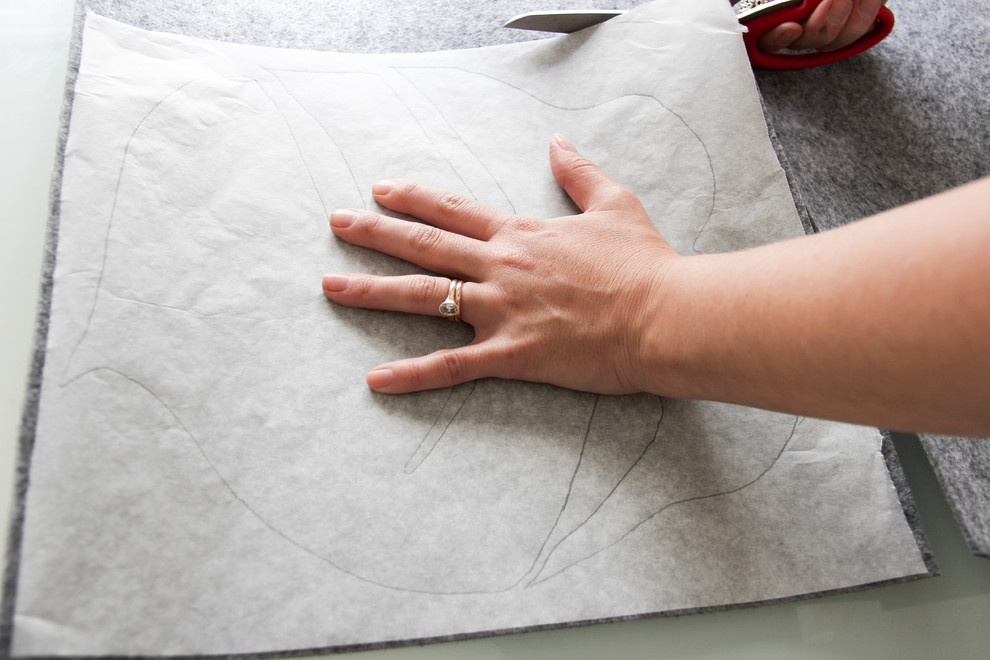
Step 4: Cut your felt
With the freezer paper as a template, cut your felt sheet to size.
With the freezer paper as a template, cut your felt sheet to size.
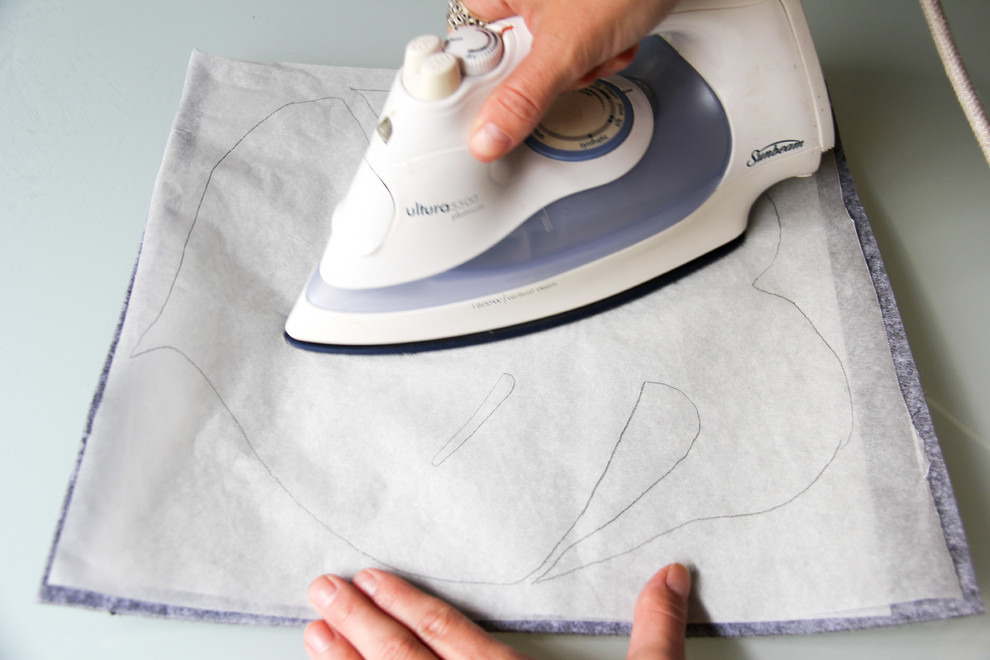
Step 5: Press it
Using a hot iron on dry heat (no steam) and a sheet of plain paper for protection, press your freezer paper stencil until it adheres to the felt. If you are using quality felt and freezer paper, there will be no residue or damage from the heat.
Using a hot iron on dry heat (no steam) and a sheet of plain paper for protection, press your freezer paper stencil until it adheres to the felt. If you are using quality felt and freezer paper, there will be no residue or damage from the heat.
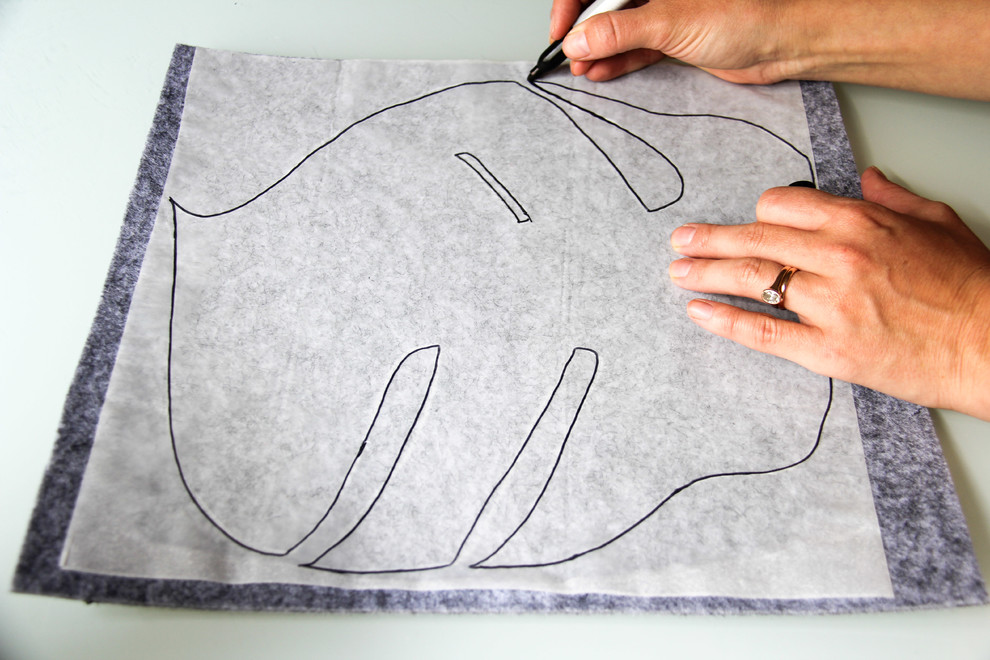
Step 6: Make it clear (optional)
Go over your outline with a texta for a clearer outline.
Go over your outline with a texta for a clearer outline.
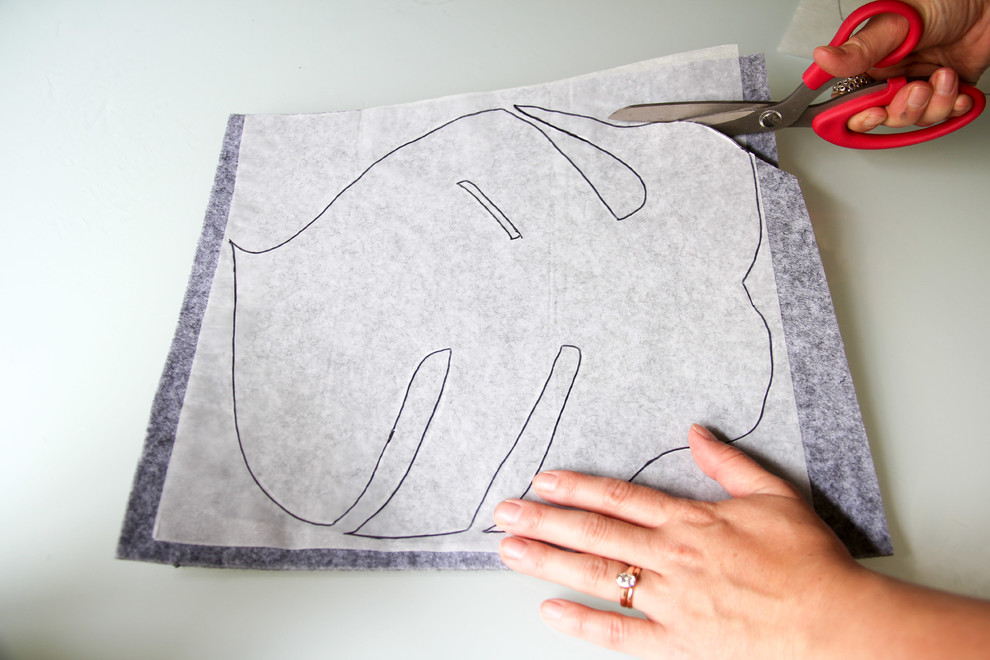
Step 7: Cut it out
Using sharp fabric scissors, carefully cut out the shape.
Using sharp fabric scissors, carefully cut out the shape.
Step 8: Get the details
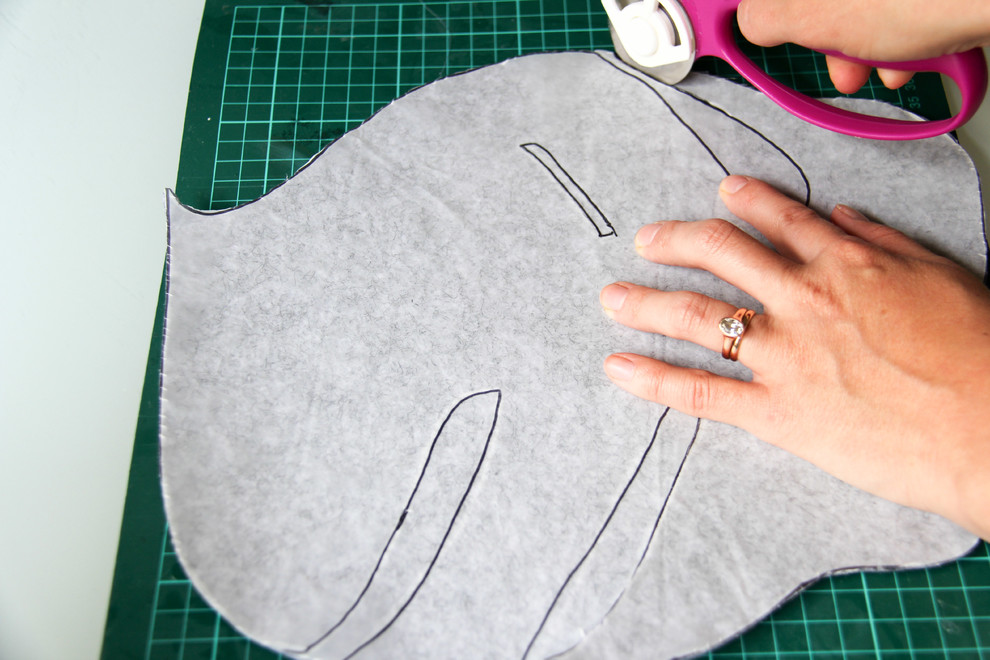
Place the leaf on a cutting board and use a rotary knife or hobby knife to remove any cut-outs from the leaf shape. This will make for a cleaner, more precise cut.
Place the leaf on a cutting board and use a rotary knife or hobby knife to remove any cut-outs from the leaf shape. This will make for a cleaner, more precise cut.
Step 9: Peel it off
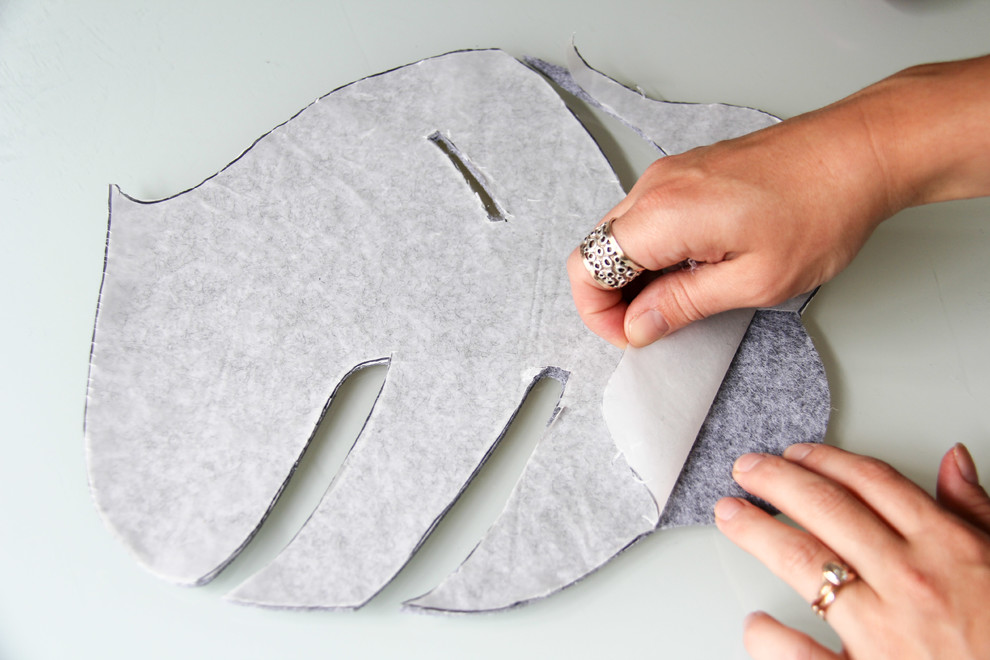
Peel off the freezer paper and discard.
Peel off the freezer paper and discard.
Step 10: Double up
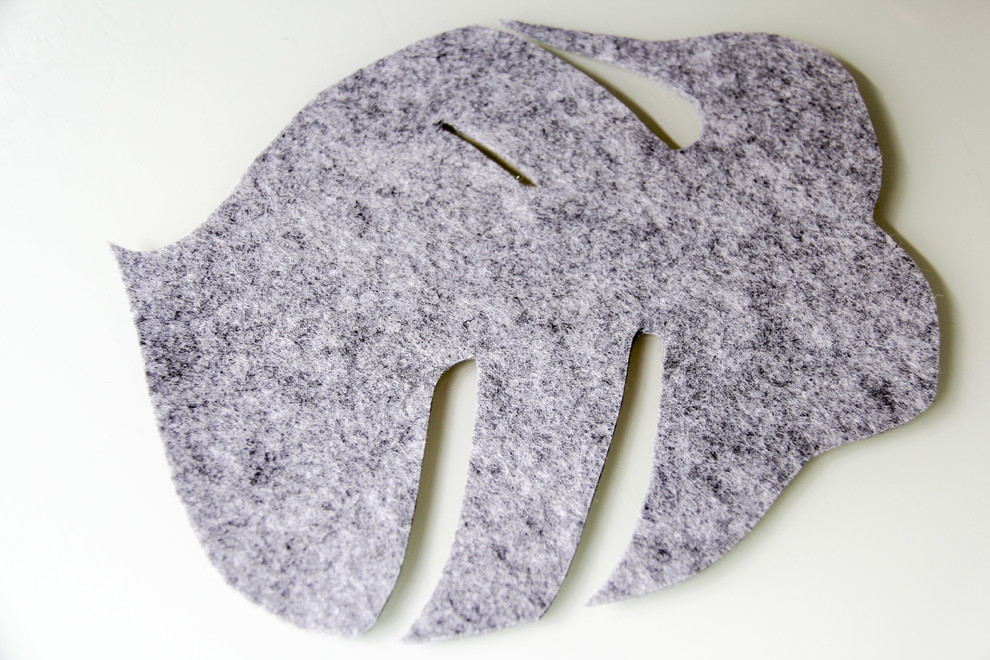
Repeat again for as many placemats as you need.
Repeat again for as many placemats as you need.
YOUR TURN
Do you like this DIY project? Please follow me here on Houzz to keep up to date with all my latest DIY projects.
MORE
Choose from loads more DIY tutorials
Do you like this DIY project? Please follow me here on Houzz to keep up to date with all my latest DIY projects.
MORE
Choose from loads more DIY tutorials

Sponsored
Sponsored

Columbus Design-Build, Kitchen & Bath Remodeling, Historic Renovations