

Hypertufa Color
17 years ago
Sort by:Oldest
Comments (3)

Related Stories
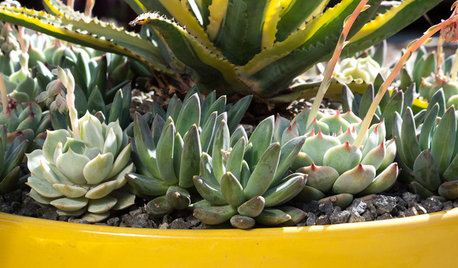
CONTAINER GARDENS3 Steps to Creating Quick, Easy and Colorful Succulent Containers
Take a bright container, add a colorful succulent or two and have a professional, summery design in minutes
Full Story
HOUSEPLANTS8 Essentials for Healthy Indoor Plants
Houseplants add so much to our homes — and can thrive when grown in the right conditions. Keep these tips in mind
Full Story
GARDENING AND LANDSCAPINGHow to Give Your Garden More Soul
Feel more at home in your garden by giving it deep, personal meaning
Full Story
CHRISTMASMake a Traditional Fresh Holiday Wreath the Easy Way
Even beginners can follow these simple steps, layering greenery and bright berries to create a beautiful holiday welcome
Full Story
GARDENING GUIDESAlpine Plants: High Performers at Low Altitudes Too
So Heidi and the goats aren't your neighbors. Alpine plants can be lovely and low maintenance on difficult sites beyond the mountains
Full Story
GARDENING GUIDES10 Solutions for Soggy Soil
If a too-wet garden is raining on your parade, try these water-loving plants and other ideas for handling all of that H2O
Full Story
PATIOSA 1920s Grill Inspires a Patinated Patio
This outdoor room is brand new, but the salvaged iron and stone pieces conjure an air of the past
Full Story
Sponsored
billie_ann
Mike LarkinOriginal Author
Related Professionals
Washington Landscape Architects & Landscape Designers · North Adams Landscape Architects & Landscape Designers · New York City Landscape Architects & Landscape Designers · Mansfield Landscape Architects & Landscape Designers · Providence Landscape Architects & Landscape Designers · Jonesboro Landscape Contractors · Petersburg Landscape Contractors · Saginaw Landscape Contractors · Omaha Landscape Contractors · Merced Landscape Contractors · Birmingham Tile and Stone Contractors · Salisbury Tile and Stone Contractors · Lufkin Tile and Stone Contractors · Pittsburgh Tile and Stone Contractors · San Angelo Tile and Stone Contractorsbillie_ann