

Pop bottle how to.
17 years ago
Sort by:Oldest
Comments (15)
Related Stories
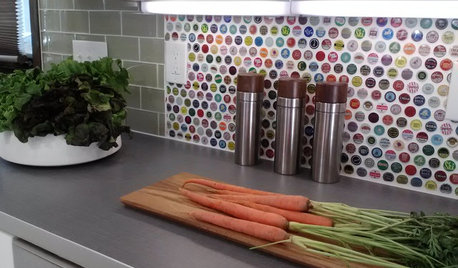
KITCHEN BACKSPLASHES15 Creative Kitchen Backsplashes for the Adventurous
Consider using snow skis, mirrors, bottle caps and other unusual materials for your next kitchen backsplash
Full Story
BATHROOM STORAGE13 Design-Friendly Storage Solutions for the Bathroom
The secret to tidy towels and beautifully organized bottles? The right storage. Sample this smorgasbord of ideas
Full Story
DECORATING GUIDESGot Stuff? Turn it Into Decor
Branches, Bottles, Baskets and Hats Become Mini Designs Around the Home
Full Story
PRODUCT PICKSGuest Picks: Put a Cork in It
Buoyant, fire-resistant cork is popping up everywhere these days. Check it out on furnishings, finishes, accessories and more
Full Story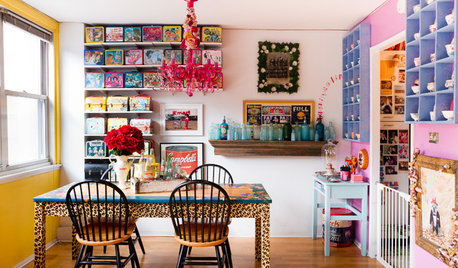
HOUZZ TV FAVORITESCandy-Colored Collections Wow in Manhattan
Pez dispensers, cheerful toys and pop culture memorabilia bring personality to this apartment
Full Story
HOW TO PHOTOGRAPH YOUR HOUSE15 Props That Are Tops With Stylists
These go-to items pop up in well-appointed homes all over Houzz — and they've got surprising practicality on their side
Full Story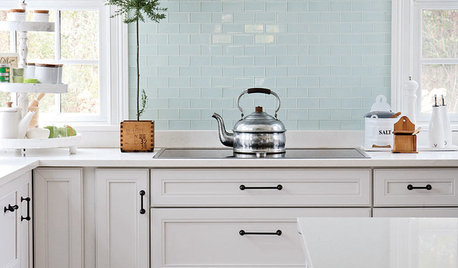
Indoor Gardening: Herbs and Succulents
Pop easy-care plants in a sunny window for beauty, fragrance and flavor all year
Full Story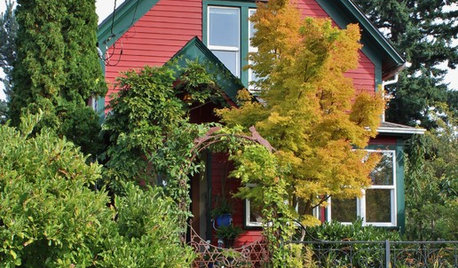
HOUZZ TOURSMy Houzz: A Musical Couple's Home Strikes a Personal Chord
Light, glass and many musical instruments animate this 1905 bucolic Washington farmhouse
Full Story
VINTAGE STYLEAmerican Icons: Coca-Cola Classic
Vintage items bearing the soda company's iconic red and white graphics are an ongoing hit in contemporary and modern interiors
Full Story
Sponsored
gramadea
phyllis__mn
Related Professionals
Athens Landscape Architects & Landscape Designers · Miami Landscape Architects & Landscape Designers · Norfolk Landscape Architects & Landscape Designers · Augusta Landscape Architects & Landscape Designers · Portland Landscape Architects & Landscape Designers · Olean Landscape Architects & Landscape Designers · Westerly Landscape Architects & Landscape Designers · Wheeling Landscape Architects & Landscape Designers · Las Cruces Landscape Architects & Landscape Designers · Magog Landscape Contractors · Tallahassee Cabinets & Cabinetry · Anderson Cabinets & Cabinetry · Lafayette Cabinets & Cabinetry · Los Angeles Cabinets & Cabinetry · Victorville Cabinets & Cabinetrytiffy_z5_6_canOriginal Author
gramadea
colcol
gardenfanatic2003
duane456
tiffy_z5_6_canOriginal Author
dirtbert
teequiltbarbie
token28001
pitimpinai
fanfortony
remy_gw
teequiltbarbie