

making a stencil???
19 years ago
Sort by:Oldest
Comments (3)
Related Stories
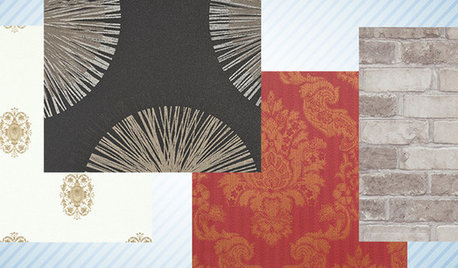
SHOP HOUZZShop Houzz: Save on Wall Coverings That Make a Statement
Transform your walls with panels, wallpaper and stencils at up to 40% off
Full Story0
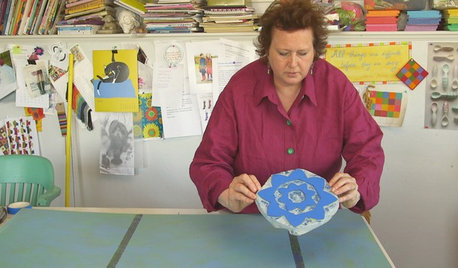
HOUZZ TVHouzz TV: Create Your Own Mural Wall With Easy DIY Stencils and Stamps
Artist Kristin Nicholas shows us how she makes her one-of-a-kind art walls. Watch the 3-minute video
Full Story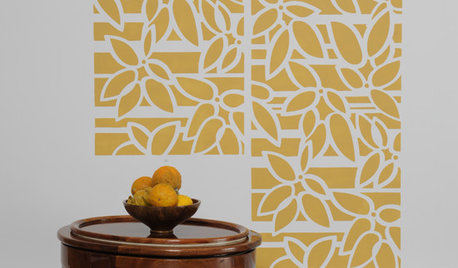
DIY PROJECTSHow to Use an All-Over Wall Stencil
Step-by-Step: Punch Up a Wall With a Bright, Bold Stencil Pattern
Full Story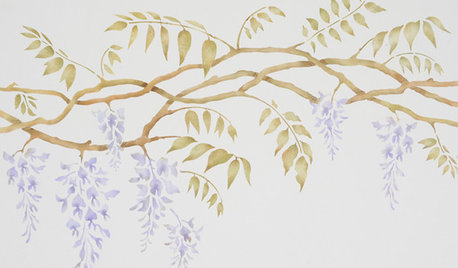
DIY PROJECTSDIY: How to Paint a Wall Stencil
Getting the Stencil Right: Planning, Prep and a Light Hand with the Brush
Full Story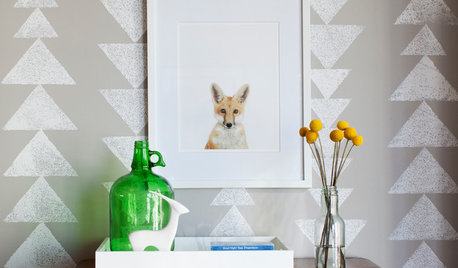
DECORATING GUIDESStamp, Stencil, Paste: Try a New Pattern on a Wall
Here are 10 ways to create a feature wall with classic and contemporary designs
Full Story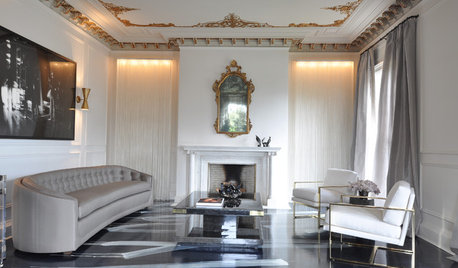
DECORATING GUIDESStencil Your Ceiling for a Luxurious Look
Add interest in one of the least expected places with a decorative detail you can likely do yourself
Full Story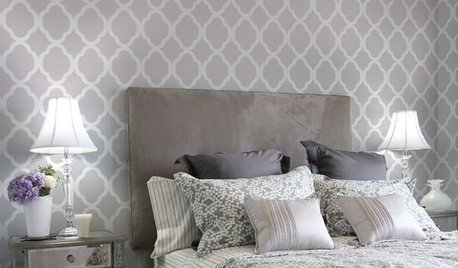
DECORATING GUIDESStencils: All Grown Up and Sophisticated
Have a steady hand? Get the look of wallpaper for a lot less
Full Story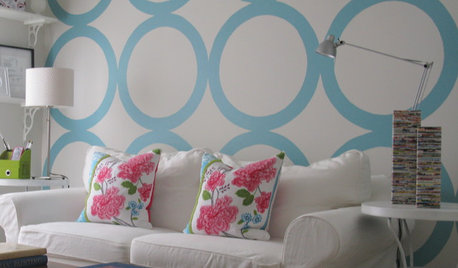
DECORATING PROJECTSDIY Project: Pizza-Box Stencil Wall
Treat your wall to a giant graphic using paint and a pizza box
Full Story
SHOP HOUZZShop Houzz: Paint, Wallpaper and Wall Stencil Sale
Get a fresh feel with new paint or a colorful wallcovering at up to 40% off
Full Story

Sponsored
craftylady-2006
craftylady-2006
Related Professionals
Palm Bay Furniture & Accessories · Lufkin Furniture & Accessories · Syracuse Furniture & Accessories · Watertown Furniture & Accessories · Hudson Furniture & Accessories · Hilo Furniture & Accessories · Cambridge Interior Designers & Decorators · Charlotte Interior Designers & Decorators · Amherst Interior Designers & Decorators · New Bedford Interior Designers & Decorators · Bangor Interior Designers & Decorators · Saint Marys Interior Designers & Decorators · Sebring Custom Countertops · Frisco Custom Countertops · Durango Custom CountertopskweenofkingsOriginal Author