


Cedar clapboard siding--all the basics?
ginny12
16 years ago
Featured Answer
Sort by:Oldest
Comments (6)

greg318
16 years agolast modified: 9 years agoginny12
16 years agolast modified: 9 years agoRelated Professionals
Glendale Kitchen & Bathroom Remodelers · Saint Augustine Kitchen & Bathroom Remodelers · Vista Kitchen & Bathroom Remodelers · Weymouth Kitchen & Bathroom Remodelers · Brighton General Contractors · Claremont General Contractors · Fort Salonga General Contractors · Jacksonville General Contractors · Markham General Contractors · Ravenna General Contractors · Roselle General Contractors · Saginaw General Contractors · Solon General Contractors · Tabernacle General Contractors · Troy General Contractorsrollie
16 years agolast modified: 9 years agoginny12
16 years agolast modified: 9 years agosierraeast
16 years agolast modified: 9 years ago
Related Stories
DECKSDecking Materials Beyond Basic Lumber
Learn about softwoods, tropical hardwoods, composites and more for decks, including pros, cons and costs
Full Story
GREEN BUILDINGInsulation Basics: Designing for Temperature Extremes in Any Season
Stay comfy during unpredictable weather — and prevent unexpected bills — by efficiently insulating and shading your home
Full Story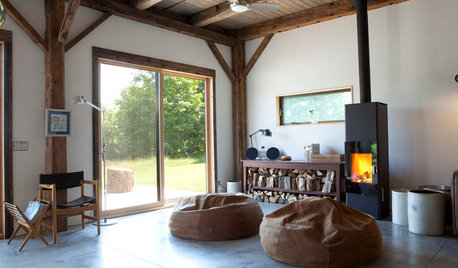
GREEN BUILDINGInsulation Basics: Heat, R-Value and the Building Envelope
Learn how heat moves through a home and the materials that can stop it, to make sure your insulation is as effective as you think
Full Story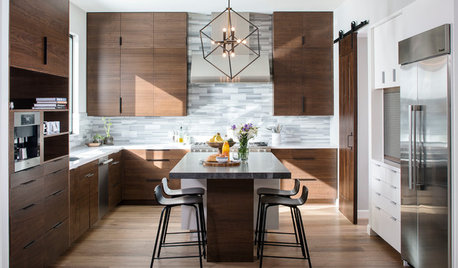
KITCHEN DESIGNNew This Week: Moody Kitchens to Make You Rethink All-White
Not into the all-white fascination? Look to these kitchens for a glimpse of the dark side
Full Story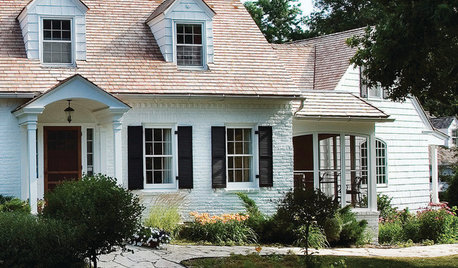
EXTERIOR COLORWhite Delights on Home Exteriors of All Styles
You can't go wrong looking on the bright side for a home's exterior — white exteriors like these have been succeeding for hundreds of years
Full Story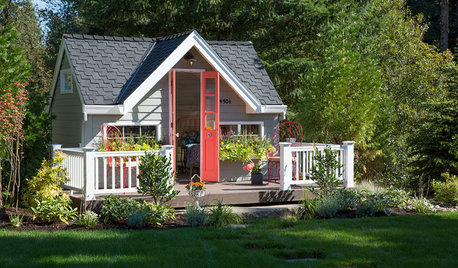
OUTBUILDINGSAdults Allowed: A Poolside Playhouse Makes Room for All
Sprightly but not saccharine, this adaptable backyard structure is equally at home with the grandkids and the grown-ups
Full Story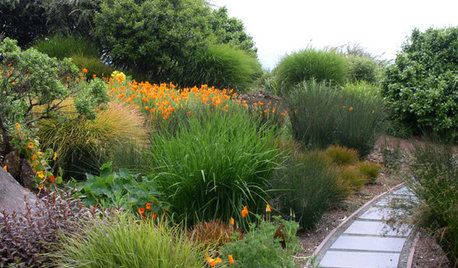
GARDENING GUIDESNew Ways to Think About All That Mulch in the Garden
Before you go making a mountain out of a mulch hill, learn the facts about what your plants and soil really want
Full Story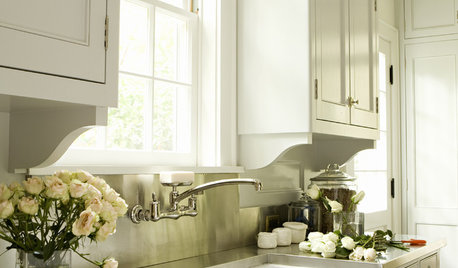
DECORATING GUIDESArchitectural Details Make All the Difference
Are you missing an opportunity to enhance your home with brackets, cabinet feet and moldings?
Full Story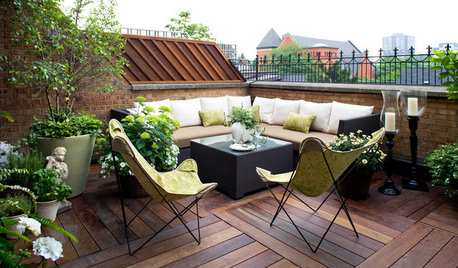
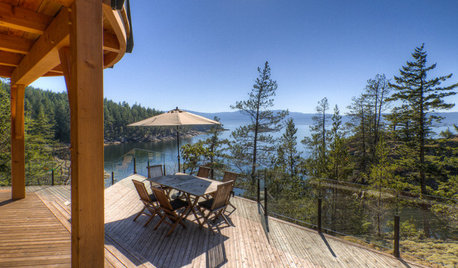
GARDENING AND LANDSCAPINGDream Spaces: 12 Decks That Rise Above It All
Tucked into upper levels, these inspiring outdoor spaces provide more privacy and relaxation above the fray
Full Story
ARCHITECTUREAll the Possibilities: 4 Homes at the Edge of the Earth
Travel to the far reaches of land, where these residences straddle rocky cliffs, leafy lakeshores and choppy inlets
Full Story

links_bevelwise_com