

Grouting directions on patio
18 years ago
Sort by:Oldest
Comments (5)
Related Stories
REMODELING GUIDES9 Ways Grout–Yes, Grout–Can Add to Your Design
Choose From a Palette of Grout Colors for a Warm, Unified Look
Full Story
TILEEpoxy vs. Cement Grout — What's the Difference?
Grout is grout, right? Nope. Cement and epoxy versions have different appearances, durability and rules of installation
Full Story
HOUSEKEEPINGHow to Clean Grout — Stains and All
If your grout is grossing you out, this deep-cleaning method will help it look new again
Full Story
BATHROOM DESIGNConvert Your Tub Space Into a Shower — the Tiling and Grouting Phase
Step 3 in swapping your tub for a sleek new shower: Pick the right tile and test it out, then choose your grout color and type
Full Story
TILE3 Key Steps for Grouting That Looks Its Best
Get your grout right to keep your tile beautiful and for an installation that will last
Full Story
BATHROOM TILEQuick Fix: Repair Cracked Bathroom Grout
Banish an eyesore and safeguard your bathroom from water damage in 30 minutes or less with this DIY repair
Full Story
GARDENING AND LANDSCAPING6 Ways to Rethink Your Patio Floor
Figure out the right material for your spring patio makeover with this mini guide to concrete, wood, brick and stone
Full Story
PATIOSPatio Details: Simple Materials Make for a Sophisticated Space
Low water bills and minimal maintenance are just part of the beauty of this handcrafted backyard deck and patio
Full Story
GARDENING AND LANDSCAPINGPatio Pavers Rock Out
Pair stone or gravel with bigger pavers for a patio design that guests will pay tribute to
Full Story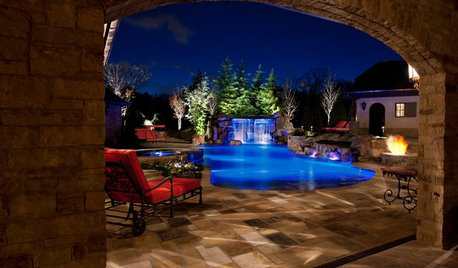
GARDENING AND LANDSCAPINGPool-Friendly Patio Materials
Get a pool patio to match your style at a price that doesn't leave you high and dry
Full Story
Sponsored
nicethyme
shrty411
Related Professionals
Lebanon Tile and Stone Contractors · Manchester Tile and Stone Contractors · Milwaukee Tile and Stone Contractors · Fort Collins Tile and Stone Contractors · Helena Tile and Stone Contractors · Louisville Furniture & Accessories · Concord Furniture & Accessories · Newburyport Furniture & Accessories · Provo Furniture & Accessories · New Orleans Interior Designers & Decorators · Myrtle Beach Interior Designers & Decorators · Buffalo Interior Designers & Decorators · Janesville Interior Designers & Decorators · Guymon Interior Designers & Decorators · Williston Interior Designers & Decoratorsbamasusanna
texaswild
stjohnsgypsy