

Need Specific Directions Please
18 years ago
Sort by:Oldest
Comments (8)
Related Stories

ARCHITECTUREDesign Workshop: Just a Sliver (of Window), Please
Set the right mood, focus a view or highlight architecture with long, narrow windows sited just so on a wall
Full Story
GARDENING GUIDESPathway Plantings That Please the Senses
Add some color, life and intrigue beside your sidewalk with these 7 suggestions
Full Story
COASTAL STYLESpin That Ship Wheel in a Different Style Direction
If overdone nautical kitsch has left you soaked, try these subtler and sophisticated looks for your captain's wheel
Full Story
GARDENING GUIDESGreat Design Plant: Silphium Perfoliatum Pleases Wildlife
Cup plant provides structure, cover, food and water to help attract and sustain wildlife in the eastern North American garden
Full Story
HOME OFFICESQuiet, Please! How to Cut Noise Pollution at Home
Leaf blowers, trucks or noisy neighbors driving you berserk? These sound-reduction strategies can help you hush things up
Full Story
BEFORE AND AFTERSMore Room, Please: 5 Spectacularly Converted Garages
Design — and the desire for more space — turns humble garages into gracious living rooms
Full Story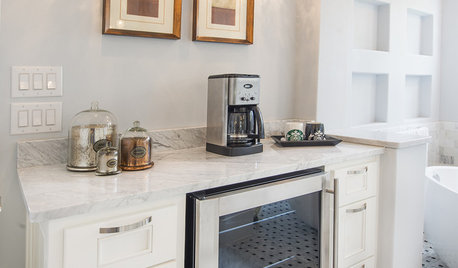
BATHROOM DESIGNUpload of the Day: A Mini Fridge in the Master Bathroom? Yes, Please!
Talk about convenience. Better yet, get it yourself after being inspired by this Texas bath
Full Story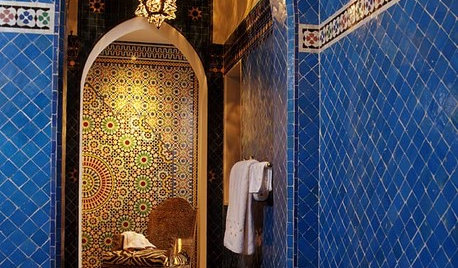
TILEMoor Tile, Please!
Add an exotic touch with Moroccan tiles in everything from intricate patterns and rich colors to subtle, luminous neutrals
Full Story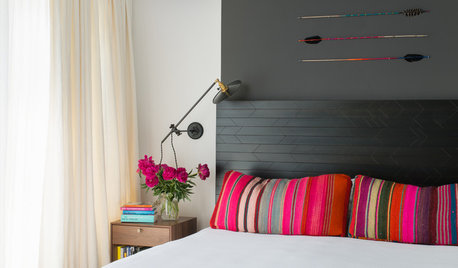
DECORATING GUIDES10 Bedroom Design Ideas to Please Him and Her
Blend colors and styles to create a harmonious sanctuary for two, using these examples and tips
Full Story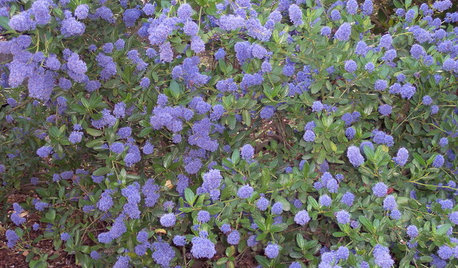
GARDENING GUIDESGreat Design Plant: Ceanothus Pleases With Nectar and Fragrant Blooms
West Coast natives: The blue flowers of drought-tolerant ceanothus draw the eye and help support local wildlife too
Full Story
klinger
texaswild
Related Professionals
Wichita Tile and Stone Contractors · Shreveport Tile and Stone Contractors · Danbury Tile and Stone Contractors · Hackettstown Tile and Stone Contractors · Janesville Tile and Stone Contractors · Coos Bay Tile and Stone Contractors · Selma Furniture & Accessories · Bloomington Furniture & Accessories · Southaven Furniture & Accessories · Springfield Furniture & Accessories · Lima Furniture & Accessories · Wilmington Interior Designers & Decorators · Corpus Christi Interior Designers & Decorators · Bangor Interior Designers & Decorators · Cheyenne Interior Designers & DecoratorsPantherFL
icheerOriginal Author
bamasusanna
yvonne_tpi
nicethyme
PantherFL