

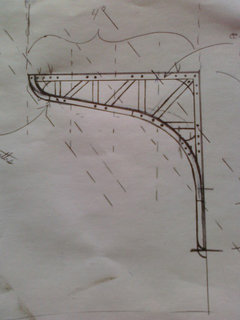
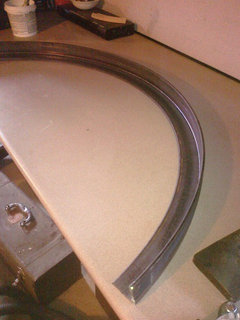
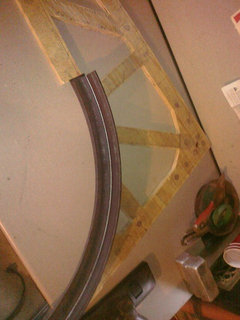
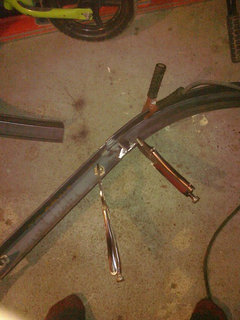
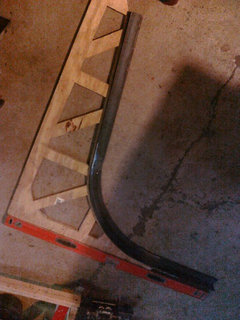
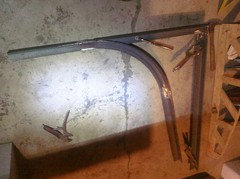
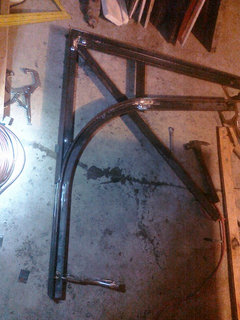
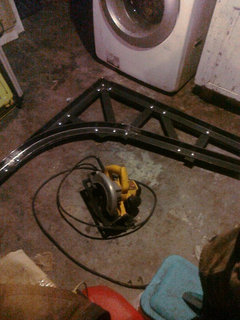
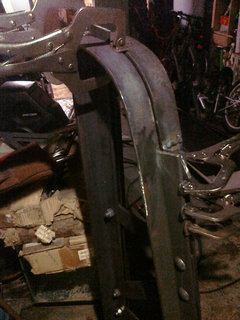
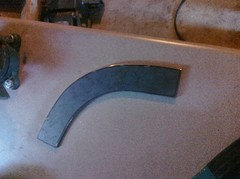
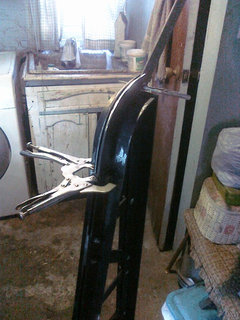
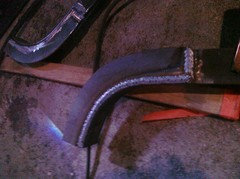
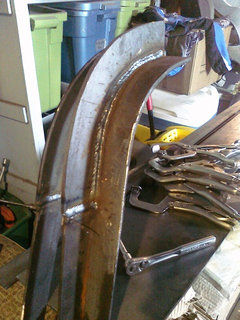
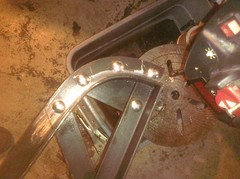
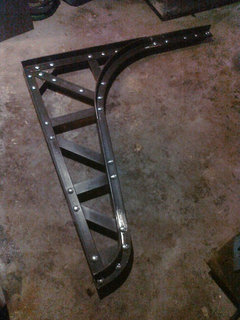
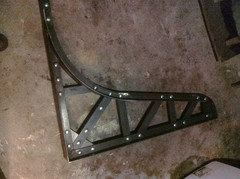
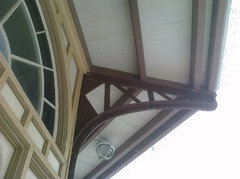
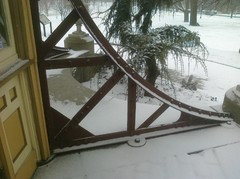
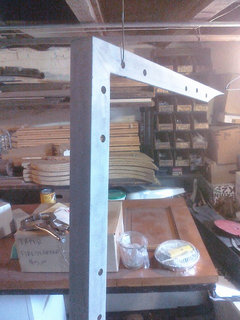
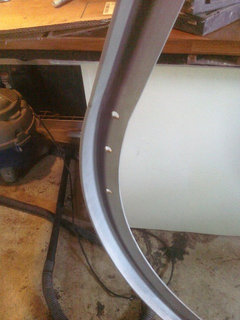
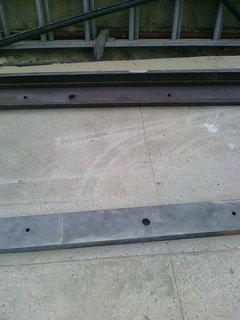
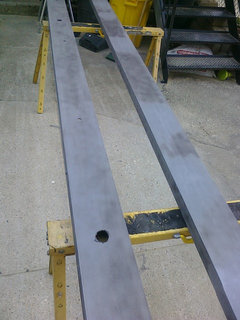
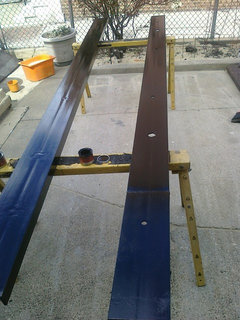
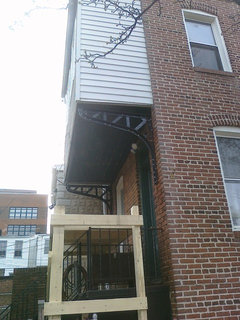
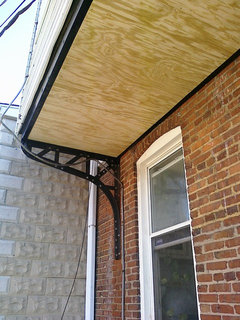
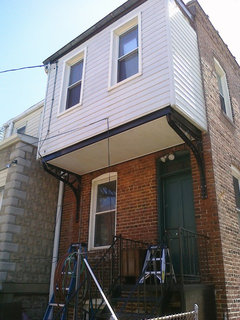
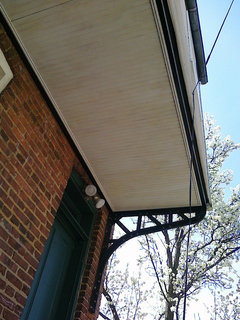
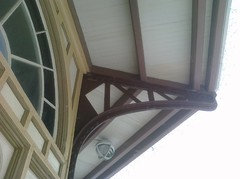
How was this angle iron bent into a sweeping curve?
10 years ago
Featured Answer
Sort by:Oldest
Comments (10)
 10 years ago
Related Professionals
McAllen Furniture & Accessories · Fargo Furniture & Accessories · Brooklyn Furniture & Accessories · Wheeling Furniture & Accessories · Ashland Interior Designers & Decorators · Saint Cloud Interior Designers & Decorators · Bozeman Interior Designers & Decorators · Rolla Kitchen & Bathroom Designers · Asheville Kitchen & Bathroom Designers · Hartford Kitchen & Bathroom Designers · Fort Wayne Kitchen & Bathroom Designers · Poughkeepsie Kitchen & Bathroom Designers · Napa Kitchen & Bathroom Designers · Oxnard Kitchen & Bathroom Designers · Cheyenne Kitchen & Bathroom Designers- 10 years agolast modified: 10 years ago
- 10 years ago
- 10 years ago
 10 years ago
- 10 years agolast modified: 10 years ago
- 10 years ago
- 10 years ago
- 9 years ago


Related Stories
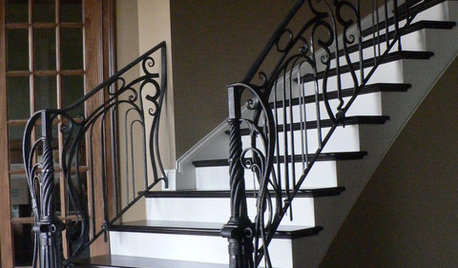
ARCHITECTUREArt Nouveau Style Creates Verve With Curves
Its breathtaking fluidity is still sweeping us away a century later. See how art nouveau style is swirling through homes today
Full Story
DECORATING GUIDESHow to Get Curves in All the Right Spaces
Use the softening effect of curves to enhance and define your indoor and outdoor areas
Full Story
DECORATING GUIDESHow to Choose a Ceiling Fan for Comfort and Style
Pros share what fan size to buy, what blade angle to look for and which type works with your ceiling height
Full Story
ARCHITECTURERounded Forms Smooth Modern Architecture’s Edges
A simple curve or fluid line can soften and add interest to the look of your house, inside and out
Full Story
HOUZZ TVHouzz TV: Cool Reclaimed Wood Projects Fill a Craftsman’s Home
Using barn wood, beadboard and beams, this homeowner has crafted furnishings and features for his family’s Chicago home
Full Story
MOST POPULARHow to Choose the Right Kitchen Sink
Learn about basin configurations, sink shapes, materials and even accessories and specialty sinks
Full Story
MOST POPULAR8 Little Remodeling Touches That Make a Big Difference
Make your life easier while making your home nicer, with these design details you'll really appreciate
Full Story
REMODELING GUIDES15 Ways to Design an Easy-Clean Home
Spend more time doing what you love with these pointers for minimizing cleaning needs throughout the entire house
Full Story
ARCHITECTUREHow to Design a Storybook Cottage
A client’s request: “Build me a house where Disney meets Tudor.” The architect explores the details that make the style
Full Story
BATHTUBSBefore and After: 6 Dream Bathrooms That Free the Tub
Freestanding tubs replace bulky built-ins in these beautiful bathroom remodels
Full Story
Konrad..just outside of Edmonton Alberta