

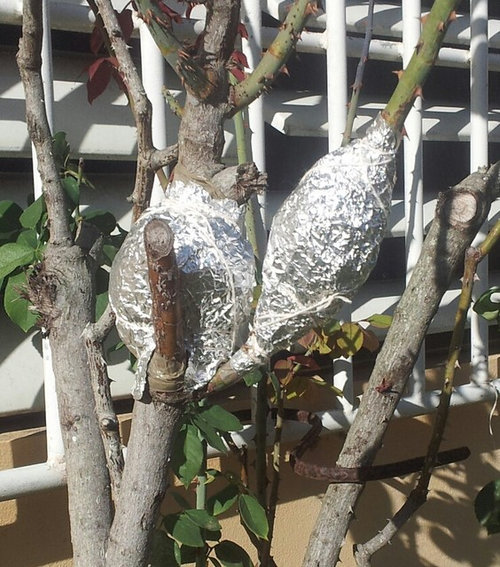
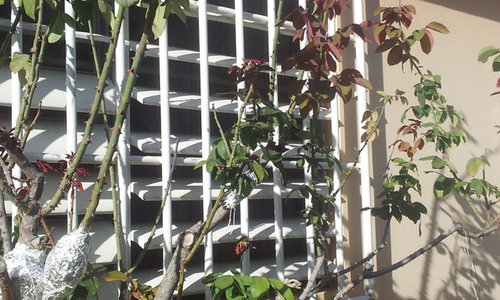
Project: Save that Rose!
10 years ago
last modified: 10 years ago

Sort by:Oldest
Comments (4)

Related Stories

LANDSCAPE DESIGNGet Along With Less Lawn — Ideas to Save Water and Effort
Ditch the mower and lower your water bill while creating a feast for the eyes with diverse plantings and gathering places
Full Story
ROOM OF THE DAYRoom of the Day: White Paint and Gold Polka Dots Save a Rental Bedroom
A few low-cost design moves transform a tiny bedroom with an awkward ceiling into an enticing space for rest
Full Story
LANDSCAPE DESIGNWater-Saving Landscaping Ideas for Traditional Homes
Who says you need a lawn and roses in front of your traditional house? Try some of these drought-tolerant beauties instead
Full Story
Replace Your Windows and Save Money — a How-to Guide
Reduce drafts to lower heating bills by swapping out old panes for new, in this DIY project for handy homeowners
Full Story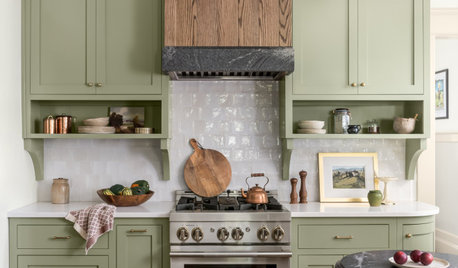
KITCHEN DESIGN7 Ways to Save on Your Kitchen Remodel
Discover key areas where you can economize and still get the kitchen of your dreams
Full Story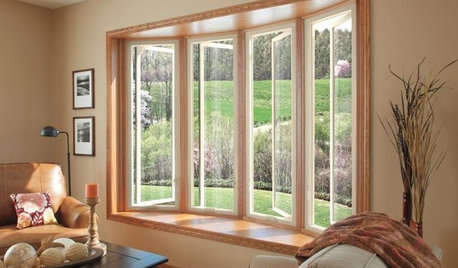
GREAT HOME PROJECTSUpgrade Your Windows for Beauty, Comfort and Big Energy Savings
Bid drafts or stuffiness farewell and say hello to lower utility bills with new, energy-efficient windows
Full Story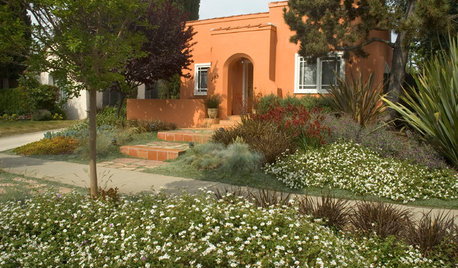
GREAT HOME PROJECTSHow to Replace Your Lawn With a Garden
New project for a new year: Lose the turfgrass for energy savings, wildlife friendliness and lower maintenance
Full Story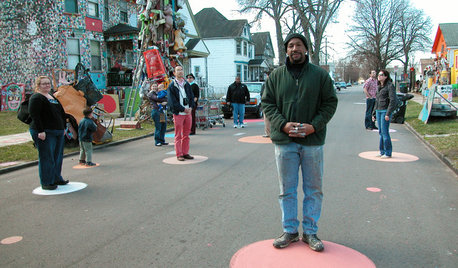
FUN HOUZZDecorated Houses Help Save a Detroit Neighborhood
Art's a start for an inner-city community working to stave off urban blight and kindle a renaissance
Full Story
GREEN BUILDINGWater Sense for Big Savings
Keep dollars in your pocket and preserve a precious resource with these easy DIY strategies
Full Story
ARCHITECTURESaving Grace: Reconstruction Rescues a Michigan Barn
Working-farm rustic goes stylishly modern, thanks to the loving reinvention efforts of a determined homeowner
Full Story
More Discussions
mcnastarana
Maria Elena (Caribbean - USDA Zone 13a)Original Author
Related Professionals
Palm Bay Landscape Architects & Landscape Designers · Covington Landscape Architects & Landscape Designers · Philadelphia Landscape Architects & Landscape Designers · Fort Wayne Landscape Architects & Landscape Designers · Providence Landscape Architects & Landscape Designers · Denver Landscape Architects & Landscape Designers · Austin Landscape Contractors · Victoria Landscape Contractors · Dalton General Contractors · Rolla General Contractors · Spartanburg General Contractors · Elmira General Contractors · Williamsport General Contractors · Bozeman General Contractors · Cody General ContractorsMaria Elena (Caribbean - USDA Zone 13a)Original Author
Maria Elena (Caribbean - USDA Zone 13a)Original Author