

How to apply polycrylics
10 years ago
last modified: 10 years ago
Sort by:Oldest
Comments (5)
Related Stories
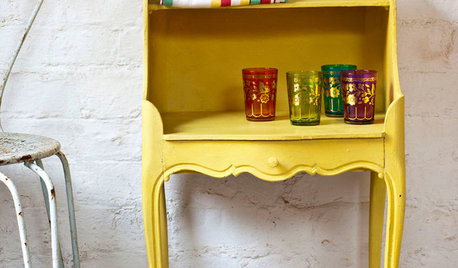
PAINTINGWhat to Know About Milk Paint and Chalk Paint — and How to Use Them
Learn the pros, cons, cost and more for these two easy-to-use paints that are great for giving furniture a vintage look
Full Story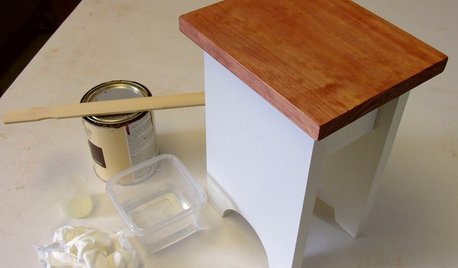
DIY PROJECTSCool Tip: Mimic Stain With a DIY Color Wash
Get the look of an oil-based stain without all the bother, using this easy wash made with paint
Full Story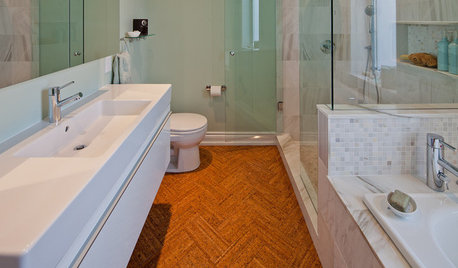
FLOORSWill Cork Float for Your Bathroom Floor?
Get the facts on advantages, disadvantages, costs and installation to see if a cork bathroom floor is right for you
Full Story
PRODUCT PICKSGuest Picks: Handy Finds for Painting Projects of All Kinds
Make over rooms and furniture more easily and with better results with the right paint and gear
Full Story
BUDGET DECORATINGBudget Decorator: 8 Ways to Make Old Furniture Look Brand New
Learn stripping, staining, painting and reupholstering basics to make bargain-basement furniture worthy of center stage at home
Full Story
REMODELING GUIDESCarrara vs. Calacatta Marble: What Is the Difference?
The answer is in the color and veining of these popular Italian marbles
Full Story
DIY PROJECTSUpcycle Furniture Finds With Paint
There are products out there designed to help you transform your thrift-store scores
Full Story
KITCHEN DESIGN10 Creative Kitchen Backsplashes
Patterns, bold colors, natural wood, beveled mirror — even a favorite photo — sub for standard white behind the counter
Full Story

User
bobjaxOriginal Author
Related Professionals
Lake Charles Interior Designers & Decorators · Jacksonville Interior Designers & Decorators · Fergus Falls Interior Designers & Decorators · Lancaster Interior Designers & Decorators · Indianapolis Bathroom Remodelers · Shreveport Bathroom Remodelers · Salisbury Bathroom Remodelers · Tulsa Bathroom Remodelers · New London Bathroom Remodelers · Temecula Bathroom Remodelers · Hot Springs Kitchen & Bathroom Designers · Beckley Kitchen & Bathroom Designers · Waterbury Kitchen & Bathroom Designers · Grand Rapids Kitchen & Bathroom Designers · Cornwall Kitchen & Bathroom DesignersMichael
User
bobjaxOriginal Author