

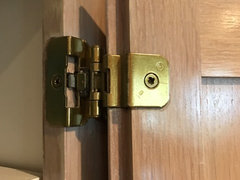
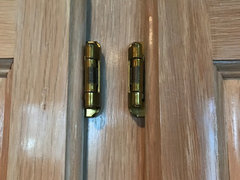
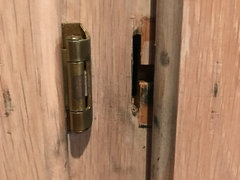
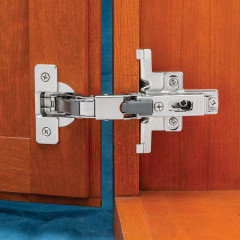
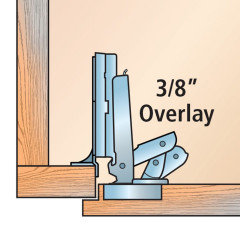
Replacing double demountable hinges with hidden hinges.
9 years ago
Featured Answer
Sort by:Oldest
Comments (19)
 PRO9 years ago
- 9 years ago
Related Professionals
Ashland Interior Designers & Decorators · Frisco Interior Designers & Decorators · Hudson Interior Designers & Decorators · Phoenix Interior Designers & Decorators · Montgomery Architects & Building Designers · Bowling Green Architects & Building Designers · Hempstead Architects & Building Designers · Rome Kitchen & Bathroom Designers · Greenville Kitchen & Bathroom Designers · Starkville Kitchen & Bathroom Designers · Georgetown Kitchen & Bathroom Designers · Huntington Kitchen & Bathroom Designers · Trenton Kitchen & Bathroom Designers · Lake Havasu City Kitchen & Bathroom Designers · Clearlake Kitchen & Bathroom Designers 9 years ago
- 7 years ago
- 6 years ago
 5 years ago
 5 years ago
- 5 years ago
- 5 years ago
- 5 years ago
 5 years ago
- 5 years ago
- 5 years ago
- 5 years ago
- 5 years ago
- 5 years ago
 4 years ago
 4 years ago
Related Stories
GARDENING GUIDES9 Garden Gates That Hinge on Charm
Stacked stone, rustic wood and fragrant blooms help beckon the eye to these inviting entries
Full Story
MOST POPULARKitchen Evolution: Work Zones Replace the Triangle
Want maximum efficiency in your kitchen? Consider forgoing the old-fashioned triangle in favor of task-specific zones
Full Story
GREAT HOME PROJECTSHow to Replace or Revamp Your Garage Doors
Boost curb appeal and maybe even security with new garage doors. Find out cost ranges and other important details here
Full Story
STORAGEHidden in Plain Sight: 10 Cleverly Closeted Home Spaces
Tuck your home office, wine collection or even your entire kitchen behind closed doors for all of the function and none of the clutter
Full Story
REMODELING GUIDESThe Hidden Problems in Old Houses
Before snatching up an old home, get to know what you’re in for by understanding the potential horrors that lurk below the surface
Full Story
ENTRYWAYSDutch Doors: Double-Duty Entryways
Today's stylish Dutch doors offer light, breeze, and two levels of security
Full Story
FUN HOUZZSecret Passages and Hidden Spots
What's behind that door — a bar, bath, laundry room or loo?
Full Story
ORGANIZINGThe Case for Hidden Storage
Imagine how much more peaceful your home would feel with cleared surfaces. And that’s just one reason to stow your supplies
Full Story
BEFORE AND AFTERSReader Kitchen: An Ontario Update for $13,700
A homeowner keeps costs down while replacing cabinetry, appliances and more in her 100-square-foot 1974 kitchen
Full Story
STORAGETap Into Stud Space for More Wall Storage
It’s recess time. Look to hidden wall space to build a nook that’s both practical and appealing to the eye
Full Story

Troy Auth