Software
Houzz Logo Print
toxcrusadr

How to Replace Seat on Old Oak Chair

7 years ago
last modified: 7 years ago
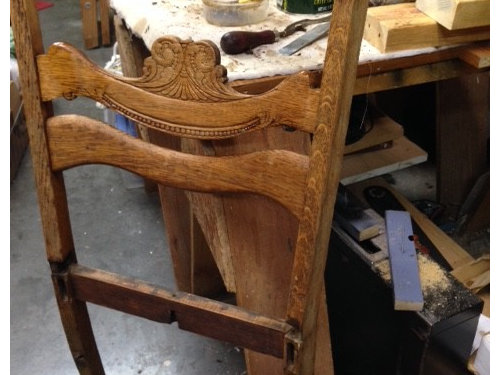
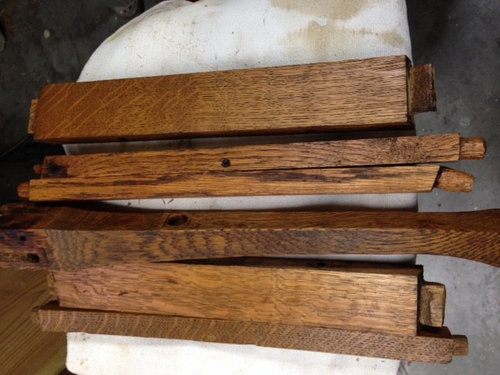
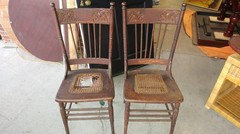
I have this old quartersawn white oak kitchen chair that I'm completely refurbing. It was badly refinished in the past, has some broken tenons and nails here and there trying to shore it up. Most of the old hide glue joints were loose so I ended up knocking it apart. Here's a couple picks so you can see the style.

The back is still holding together so it's in one piece, shown here after stripping:


Seat framing and front leg after stripping and restaining:


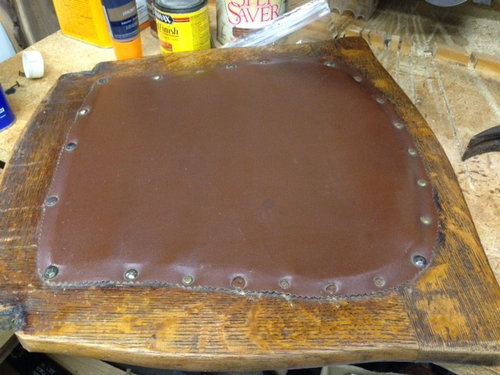
The seat had what was clearly a replacement piece of vinyl, held down with 4 different types of brass tacks. It was hard and lumpy underneath.


Underneath that was what appeared to be hardboard at first, but very warpy, but now I think it's very stiff leather. I am not sure if this is original or not. The workmanship does not look factory and it's in bad shape.


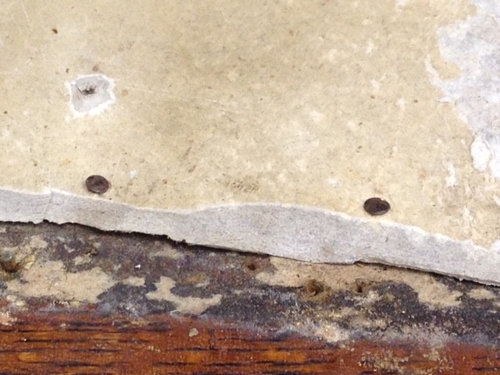
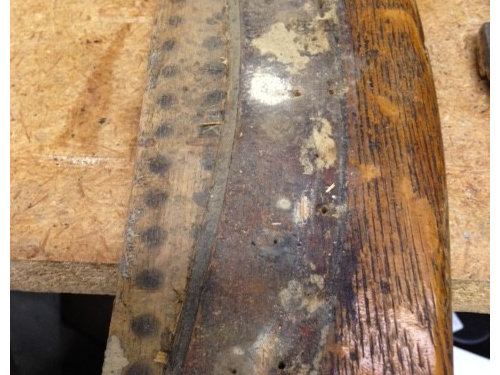
Once I popped that off, I can see little round dark marks as though there was an original cane seat or something. There are a lot of tack holes from the various things that were stuck on it.


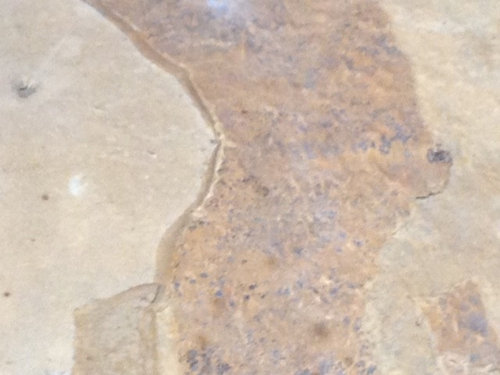
The refinishing and replacement of the seat has left various lines so it's kind of hard to tell where the original seat ended.

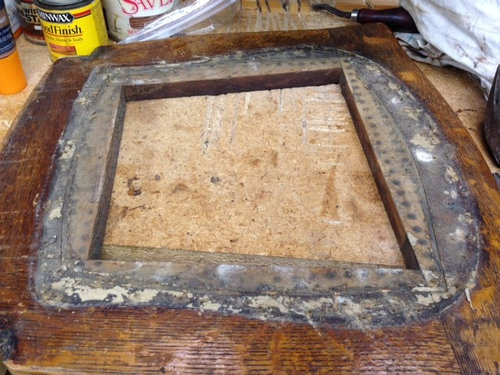
Also in that last pic you can see there is an embedded strip all the way around, about 3/16 wide, just outside the row of dots. Almost like a groove for caning but the wood strip completely fills it very tightly. I'm not sure what that is. It kind of appears to be the limit of the original seat maybe? Here's one more pic of the whole seat with everything removed.


Any suggestsions for seat material? I plan to strip the entire seat but what to put back on it for the center?

Comments (11)

  • 7 years ago

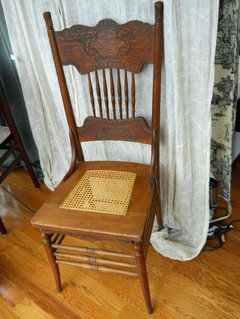
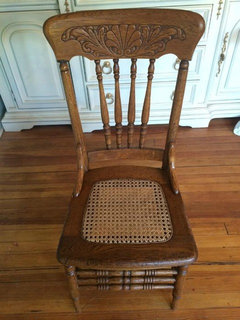
    There are a lot of pics of pressed-back chairs with cane bottoms on the web so this is starting to make sense. I'm fairly handy but have not installed a cane bottom. Looks like maybe I was on the right track with that strip, it's for a cane seat, and I would have to dig it out and use that groove to install a new cane seat, right?


    It's going to leave a lot of holes where the replacement seats were nailed on, I'd just have to fill them in I guess. Or sand smooth and leave them as a conversation piece.

  • 7 years ago

    Wow, thanks for those instructions! I think I can do that. When I started this thread I really had no idea what to put on this chair and kind of figured out the caning as I went, but I was not sure how to actually install it. Your directions are very clear. I will find a place to get some caning, already have glycerin around and all the tools.

  • 7 years ago

    One more question, based on the color of my restained pieces in the second pic, do you think the cane should be left natural or is it possible/advisable to stain it? Seems like it would be very bright and maybe distract from the rest of the chair, but I don't know.

  • 7 years ago

    That looks to me like a woven in place cane seat (search for "caning a chair"), not one of the ones where you use pre-woven material and press it in place with a spline. It takes more than a couple of minutes to cane one, but it's not rocket surgery. and is fun to do-- lots of patterns can be created. Here's a link to one of the many instructional pages available.

    The press-in-place cane was a later, cheaper way to do it that doesn't stand up nearly as well.

  • 7 years ago

    The holes from previous repairs don't bother me near as much as prospects of getting stains out of wood where it was covered by leather seat. I would finish up with stain and clear coat before buying cane. You may have no choice but go back with leather to cover deep black stains. Fine old chair,any known history?

  • 7 years ago

    New cane will be light....and cane doesn't take stain well....but does darken with time. the under side of the cane is porous and will take stain....but there is no point in that.
    Your new cane will look pretty much like the pictures you found of other similar chairs with caned seats.
    Oh and don't forget....as the caning dries it will shrink a bit....so don't worry about minor sags....but also don't make it so tight that when it dries it pulls the spline out of the groove.

  • 7 years ago

    I pried the old spline out of the groove and there were still bits of cane under it as you would expect. I don't know how you'd tell if a chair was hand-woven or not, but there are no holes all the way through the seat, only the groove. Given the time I've already put in, I think I'll be using pre-woven just to get it done.


    I'm pretty good at cleaning up stained old wood so I'll sand some of the crud off, strip off the finish and stain and see where we're at. If necessary I'll use some wood bleach on it to get it to an even color and go from there. Not expecting miracles, just a decent serviceable chair.


    As for the history, I got this chair free while picking up some other furniture for a charity furniture bank I used to run. We'd take broken things if they seemed to have value, or just to be nice to the donor. :-D So I have no idea of its provenance. It's been underfoot for several years, disassembled and partially stripped. BTW on top of the sloppy refinishing and former repairs and loose joints and bad seat, it had candle wax dripped all over it. I do love a basket case sometimes.

  • 7 years ago

    A chair with a woven in place cane seat has holes around the seat through which to weave the new caning. Your chair never had that kind of seat.
    you probably pick up drunken derelicts on the street and turn them into productive humans too....
    Just as a suggestion, it might be easier to re do the seat if you do it after you get the chair put together, unless yoj can find another pair of hands.
    Show pictures when it's done.


  • 7 years ago

    I guess the pattern of dark spots I was looking at around the edge are actually a dirt shadow rather than filled in holes, I stand corrected. Since it already has a routed groove you should use the spline method.

  • 7 years ago

    I'll definitely come back with an after photo! These things can take awhile but eventually...


    Thanks for all the help and advice. This place is great.