

Bluestar Backsplash
7 years ago
Sort by:Oldest
Comments (13)
Related Stories
KITCHEN COUNTERTOPS10 Great Backsplashes to Pair With Stainless Steel Counters
Simplify your decision-making with these ideas for materials that work well with stainless steel counters
Full Story
MOST POPULARBattle of the Backsplashes: Glass Mosaics vs. Natural Stone
Read about the pros and cons — and see great examples — of these two popular kitchen backsplash materials
Full Story
KITCHEN DESIGN10 Gorgeous Backsplash Alternatives to Subway Tile
Artistic installations, back-painted glass and pivoting windows prove there are backsplash possibilities beyond the platform
Full Story
KITCHEN MAKEOVERSKitchen of the Week: Light and Airy With a Bright Backsplash
A designer helps a couple update the kitchen with an efficient layout and custom details like a walnut-topped peninsula
Full Story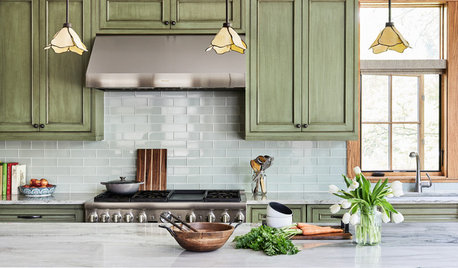
KITCHEN DESIGN11 Must-Haves in a Designer’s Dream Kitchen
Custom cabinets, a slab backsplash, drawer dishwashers — what’s on your wish list?
Full Story
KITCHEN DESIGNHow to Lose Some of Your Upper Kitchen Cabinets
Lovely views, display-worthy objects and dramatic backsplashes are just some of the reasons to consider getting out the sledgehammer
Full Story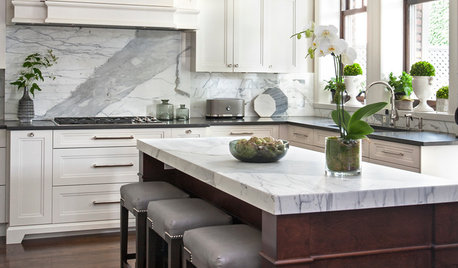
WHITE KITCHENSNew This Week: 3 Kitchens Rock a Gray-and-White Palette
White cabinets with gray walls or accents provide a soothing foundation with a lot of potential for elegance
Full Story
BEFORE AND AFTERS6 Kitchen Transformations Where Color Plays a Role
See how paint on cabinets and walls gives these kitchens a fresh look
Full Story
TRENDING NOWThe 10 Most Popular New Kitchen Photos on Houzz Right Now
Get ideas for your remodel from the top kitchen photos uploaded to Houzz in summer 2020
Full Story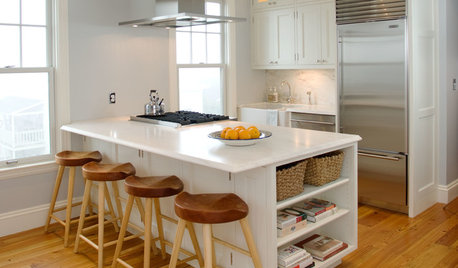
KITCHEN DESIGN20 Kitchen Must-Haves From Houzz Readers
We asked you to tell us your top kitchen amenities. See what popular kitchen features made the list
Full Story

Brian HoltOriginal Author
Patricia Colwell Consulting
Related Professionals
Effingham Kitchen & Bathroom Designers · Myrtle Beach Kitchen & Bathroom Designers · Colorado Springs Kitchen & Bathroom Designers · Lansing Architects & Building Designers · Jackson Kitchen & Bathroom Designers · Texarkana Kitchen & Bathroom Designers · Salt Lake City Kitchen & Bathroom Designers · Sedalia Kitchen & Bathroom Designers · Southaven Kitchen & Bathroom Designers · Jackson Kitchen & Bathroom Designers · Salisbury Kitchen Remodelers · Chattanooga Kitchen Remodelers · Lawrenceburg Kitchen Remodelers · Fort Worth Kitchen Remodelers · Mission Viejo Kitchen RemodelersBrian HoltOriginal Author
vinmarks
Brian HoltOriginal Author
HU-958303978
lepetit matin
HU-958303978
lepetit matin
lepetit matin
HU-958303978
HU-958303978
HU-7176565