

Bluestar Rangetop with thick backsplash
3 years ago
last modified: 3 years ago
Sort by:Oldest
Comments (7)
Related Stories
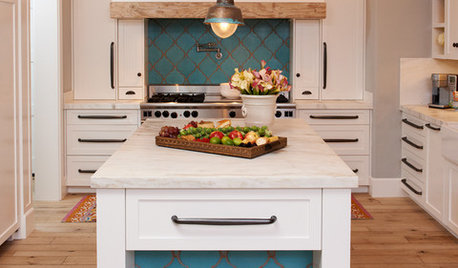
KITCHEN DESIGN10 Gorgeous Backsplash Alternatives to Subway Tile
Artistic installations, back-painted glass and pivoting windows prove there are backsplash possibilities beyond the platform
Full Story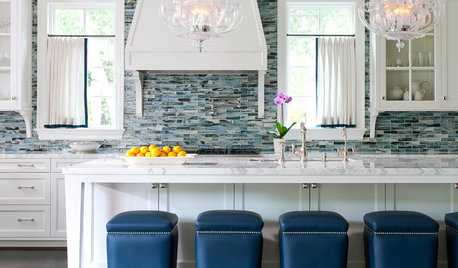
MOST POPULARBattle of the Backsplashes: Glass Mosaics vs. Natural Stone
Read about the pros and cons — and see great examples — of these two popular kitchen backsplash materials
Full Story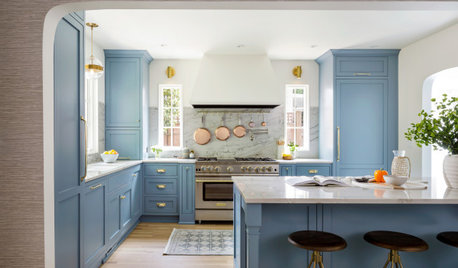
NEW THIS WEEK9 New Kitchens With Beautiful Backsplashes
Get ideas for backsplash tile and slab details that create a striking style statement
Full Story
KITCHEN DESIGNHouzz Quiz: Which Kitchen Backsplash Material Is Right for You?
With so many options available, see if we can help you narrow down the selection
Full Story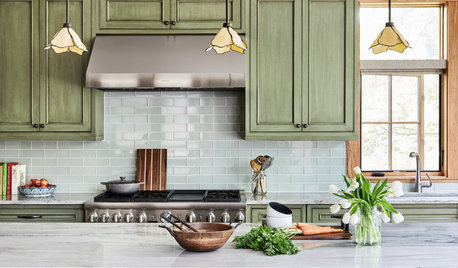
KITCHEN DESIGN11 Must-Haves in a Designer’s Dream Kitchen
Custom cabinets, a slab backsplash, drawer dishwashers — what’s on your wish list?
Full Story
KITCHEN DESIGNHow to Lose Some of Your Upper Kitchen Cabinets
Lovely views, display-worthy objects and dramatic backsplashes are just some of the reasons to consider getting out the sledgehammer
Full Story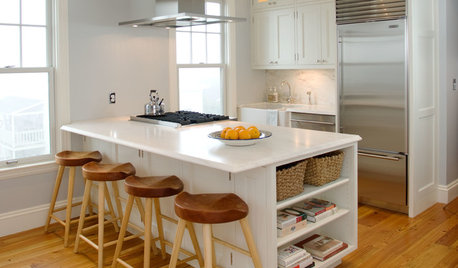
KITCHEN DESIGN20 Kitchen Must-Haves From Houzz Readers
We asked you to tell us your top kitchen amenities. See what popular kitchen features made the list
Full Story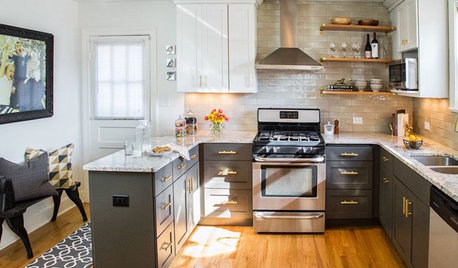
MOST POPULARBefore and After: 13 Dramatic Kitchen Transformations
See the wide range of ways in which homeowners are renovating their kitchens
Full Story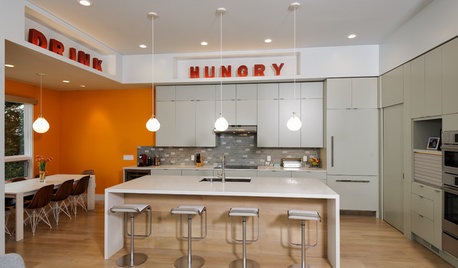
HOUZZ CALLShow Us the Best Kitchen in the Land
The Hardworking Home: We want to see why the kitchen is the heart of the home
Full Story
SMALL KITCHENS12 Ways to Make Your Kitchen Look and Feel Bigger
Try these clever design moves to get more storage and create a roomier feel
Full Story
artemis78
Joseph Corlett, LLC
Related Professionals
Brunswick Bathroom Remodelers · Brunswick Kitchen Remodelers · Elkton Kitchen Remodelers · Tacoma Kitchen Remodelers · Bloomington Interior Designers & Decorators · Cleveland Interior Designers & Decorators · Milwaukee Interior Designers & Decorators · Lebanon Architects & Building Designers · Potsdam Architects & Building Designers · Pittsburg Kitchen & Bathroom Designers · Lynchburg Kitchen & Bathroom Designers · Brattleboro Kitchen Remodelers · San Bernardino Kitchen Remodelers · Terre Haute Custom Countertops · Tulsa Custom CountertopsJoseph Corlett, LLC
kaseki
jaja06
jaja06
jaja06