

8 Quick Summer DIY Projects
Make use of dried flowers, beach glass and other inexpensive materials to give your home a welcoming touch

Summer is going by fast, but there’s still time to sneak in a few quick and summery DIY projects to spruce up your home. These eight ideas use items you may already have on hand — like a bit of extra paint, unused yarn and found glass bottles — to create little moments of beauty all around the house.
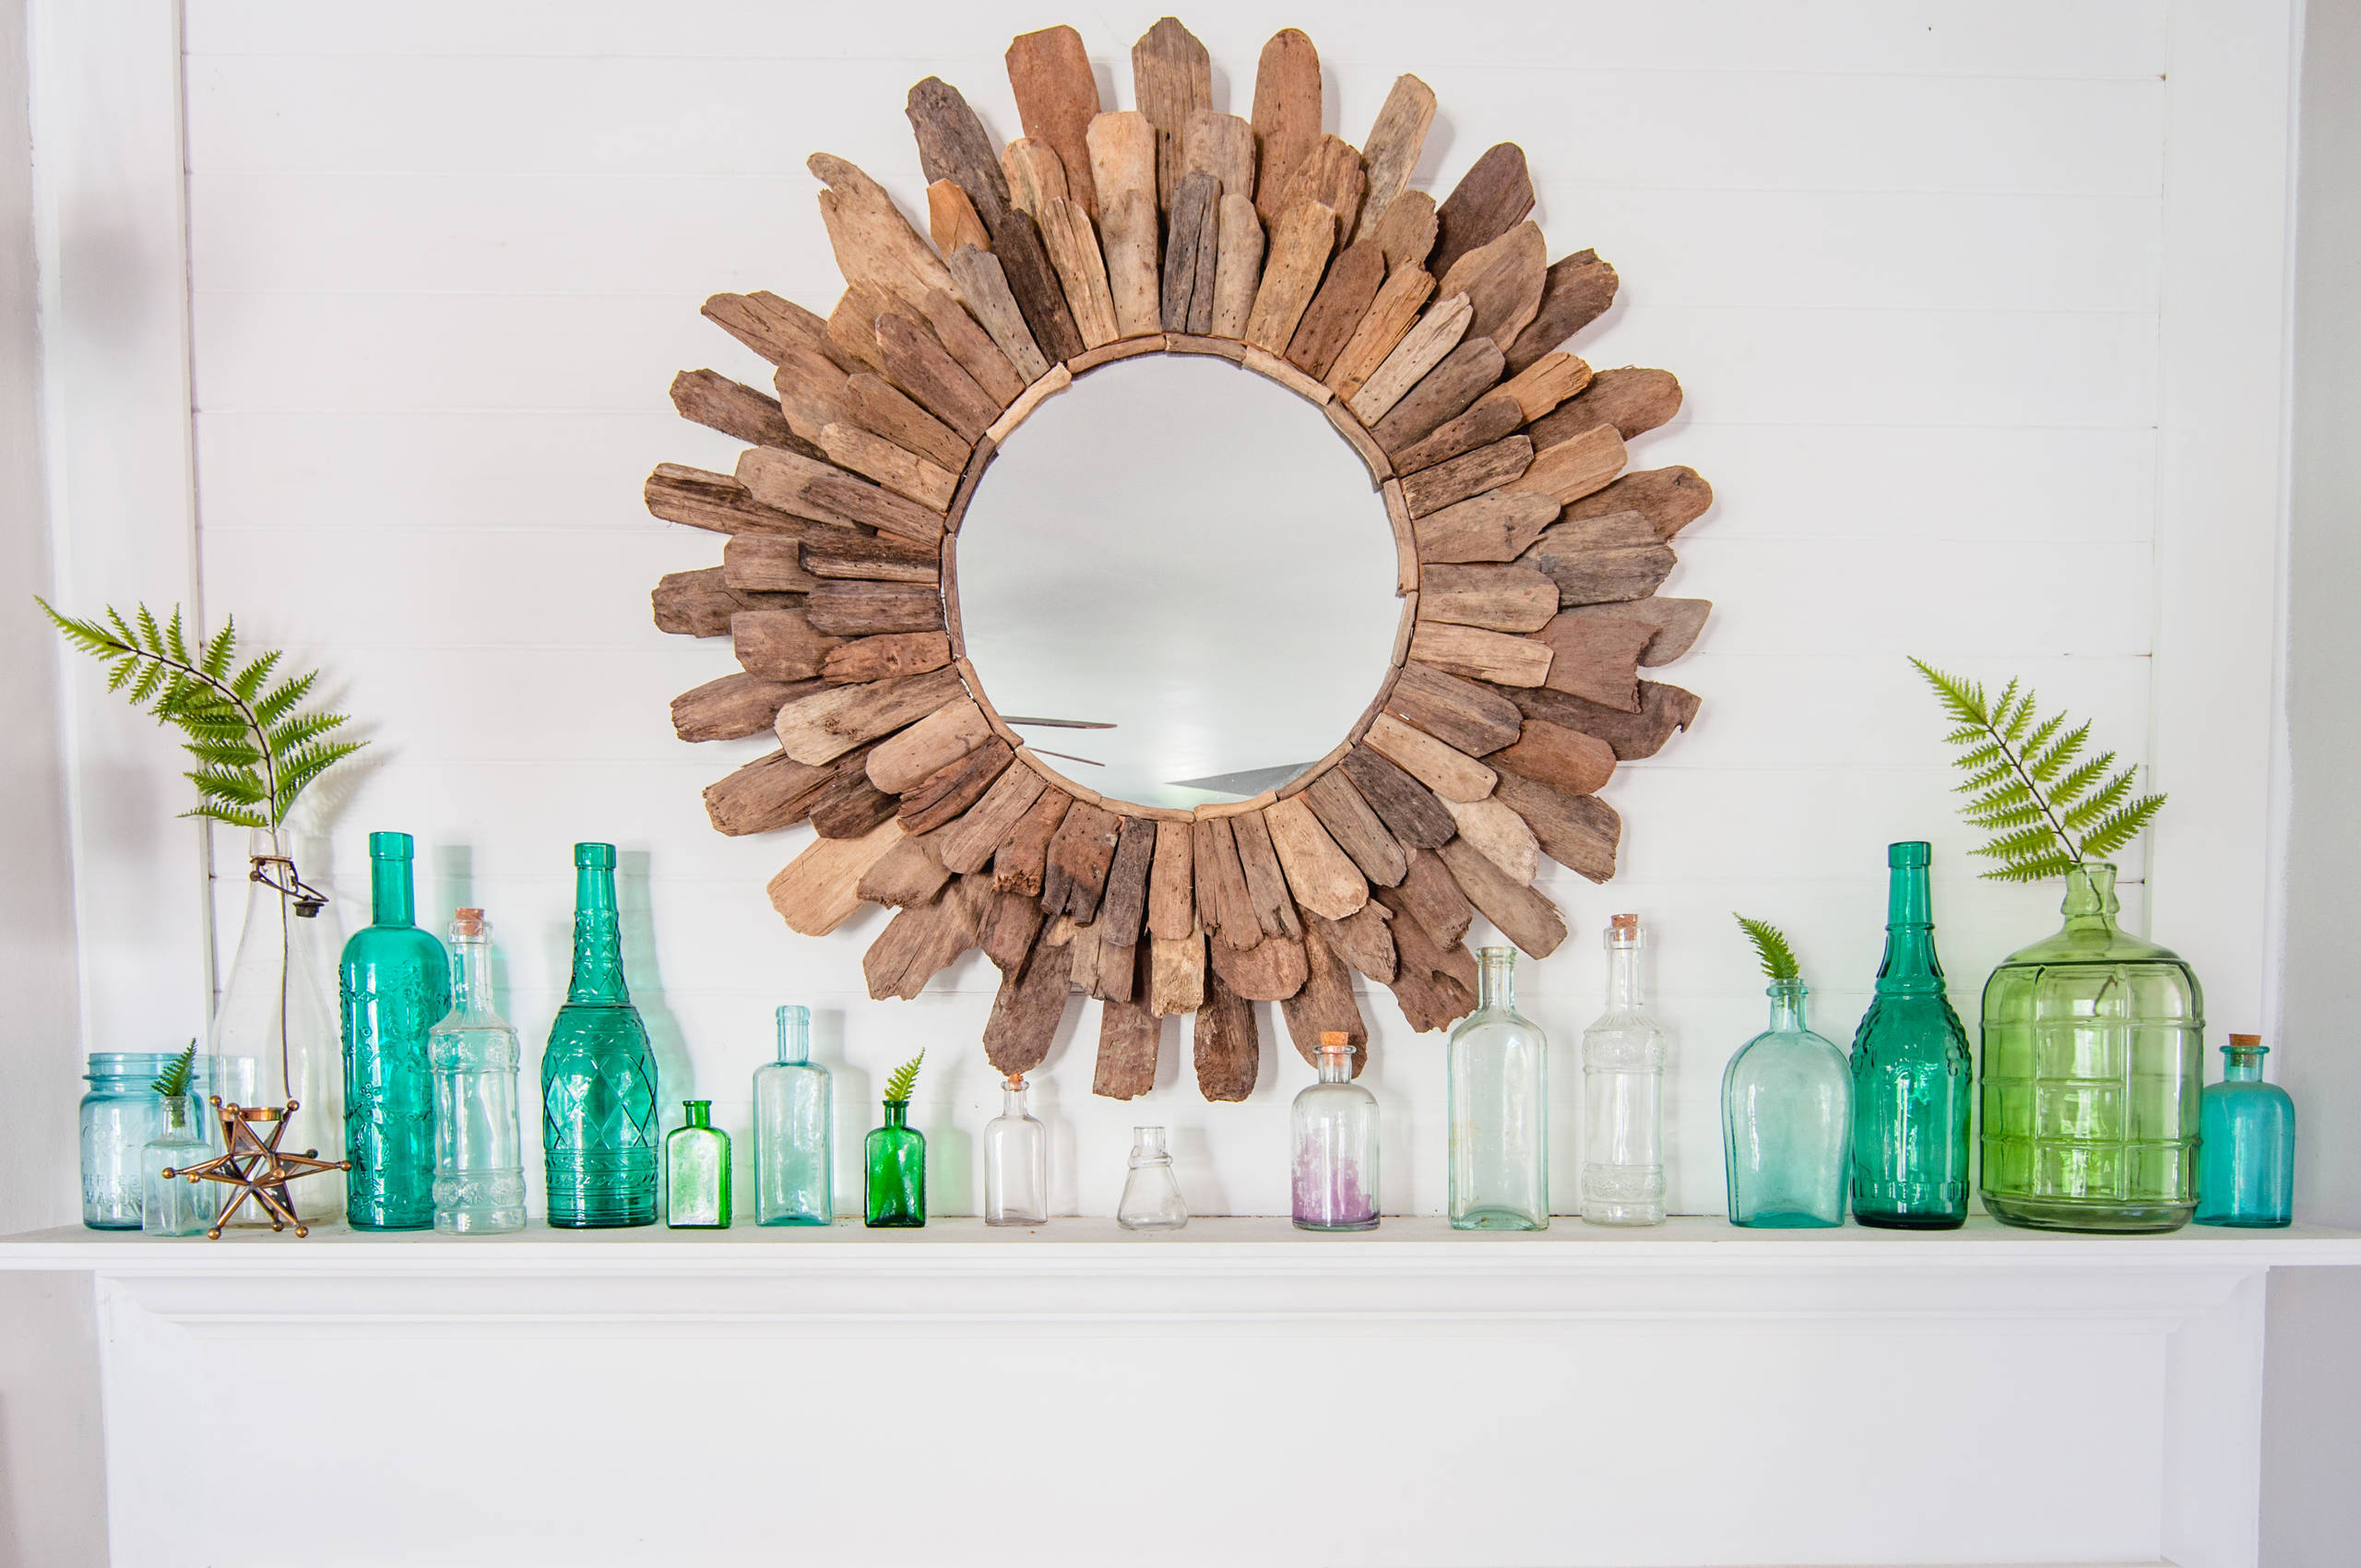
2. Beachy mantel makeover. Keep an eye out at yard sales, rummage sales and on the beach for bottles in sea-inspired colors and interesting shapes. Once you have a collection, line them up on your mantel. Fill a few with sprigs of greenery snipped from the garden, and leave others empty to reflect the light.
Tip: Transform clear bottles into a colorful display by swirling craft paint inside them after they’ve been cleaned and dried. Pour out the excess and let dry — the paint color will show through the glass.
Tip: Transform clear bottles into a colorful display by swirling craft paint inside them after they’ve been cleaned and dried. Pour out the excess and let dry — the paint color will show through the glass.
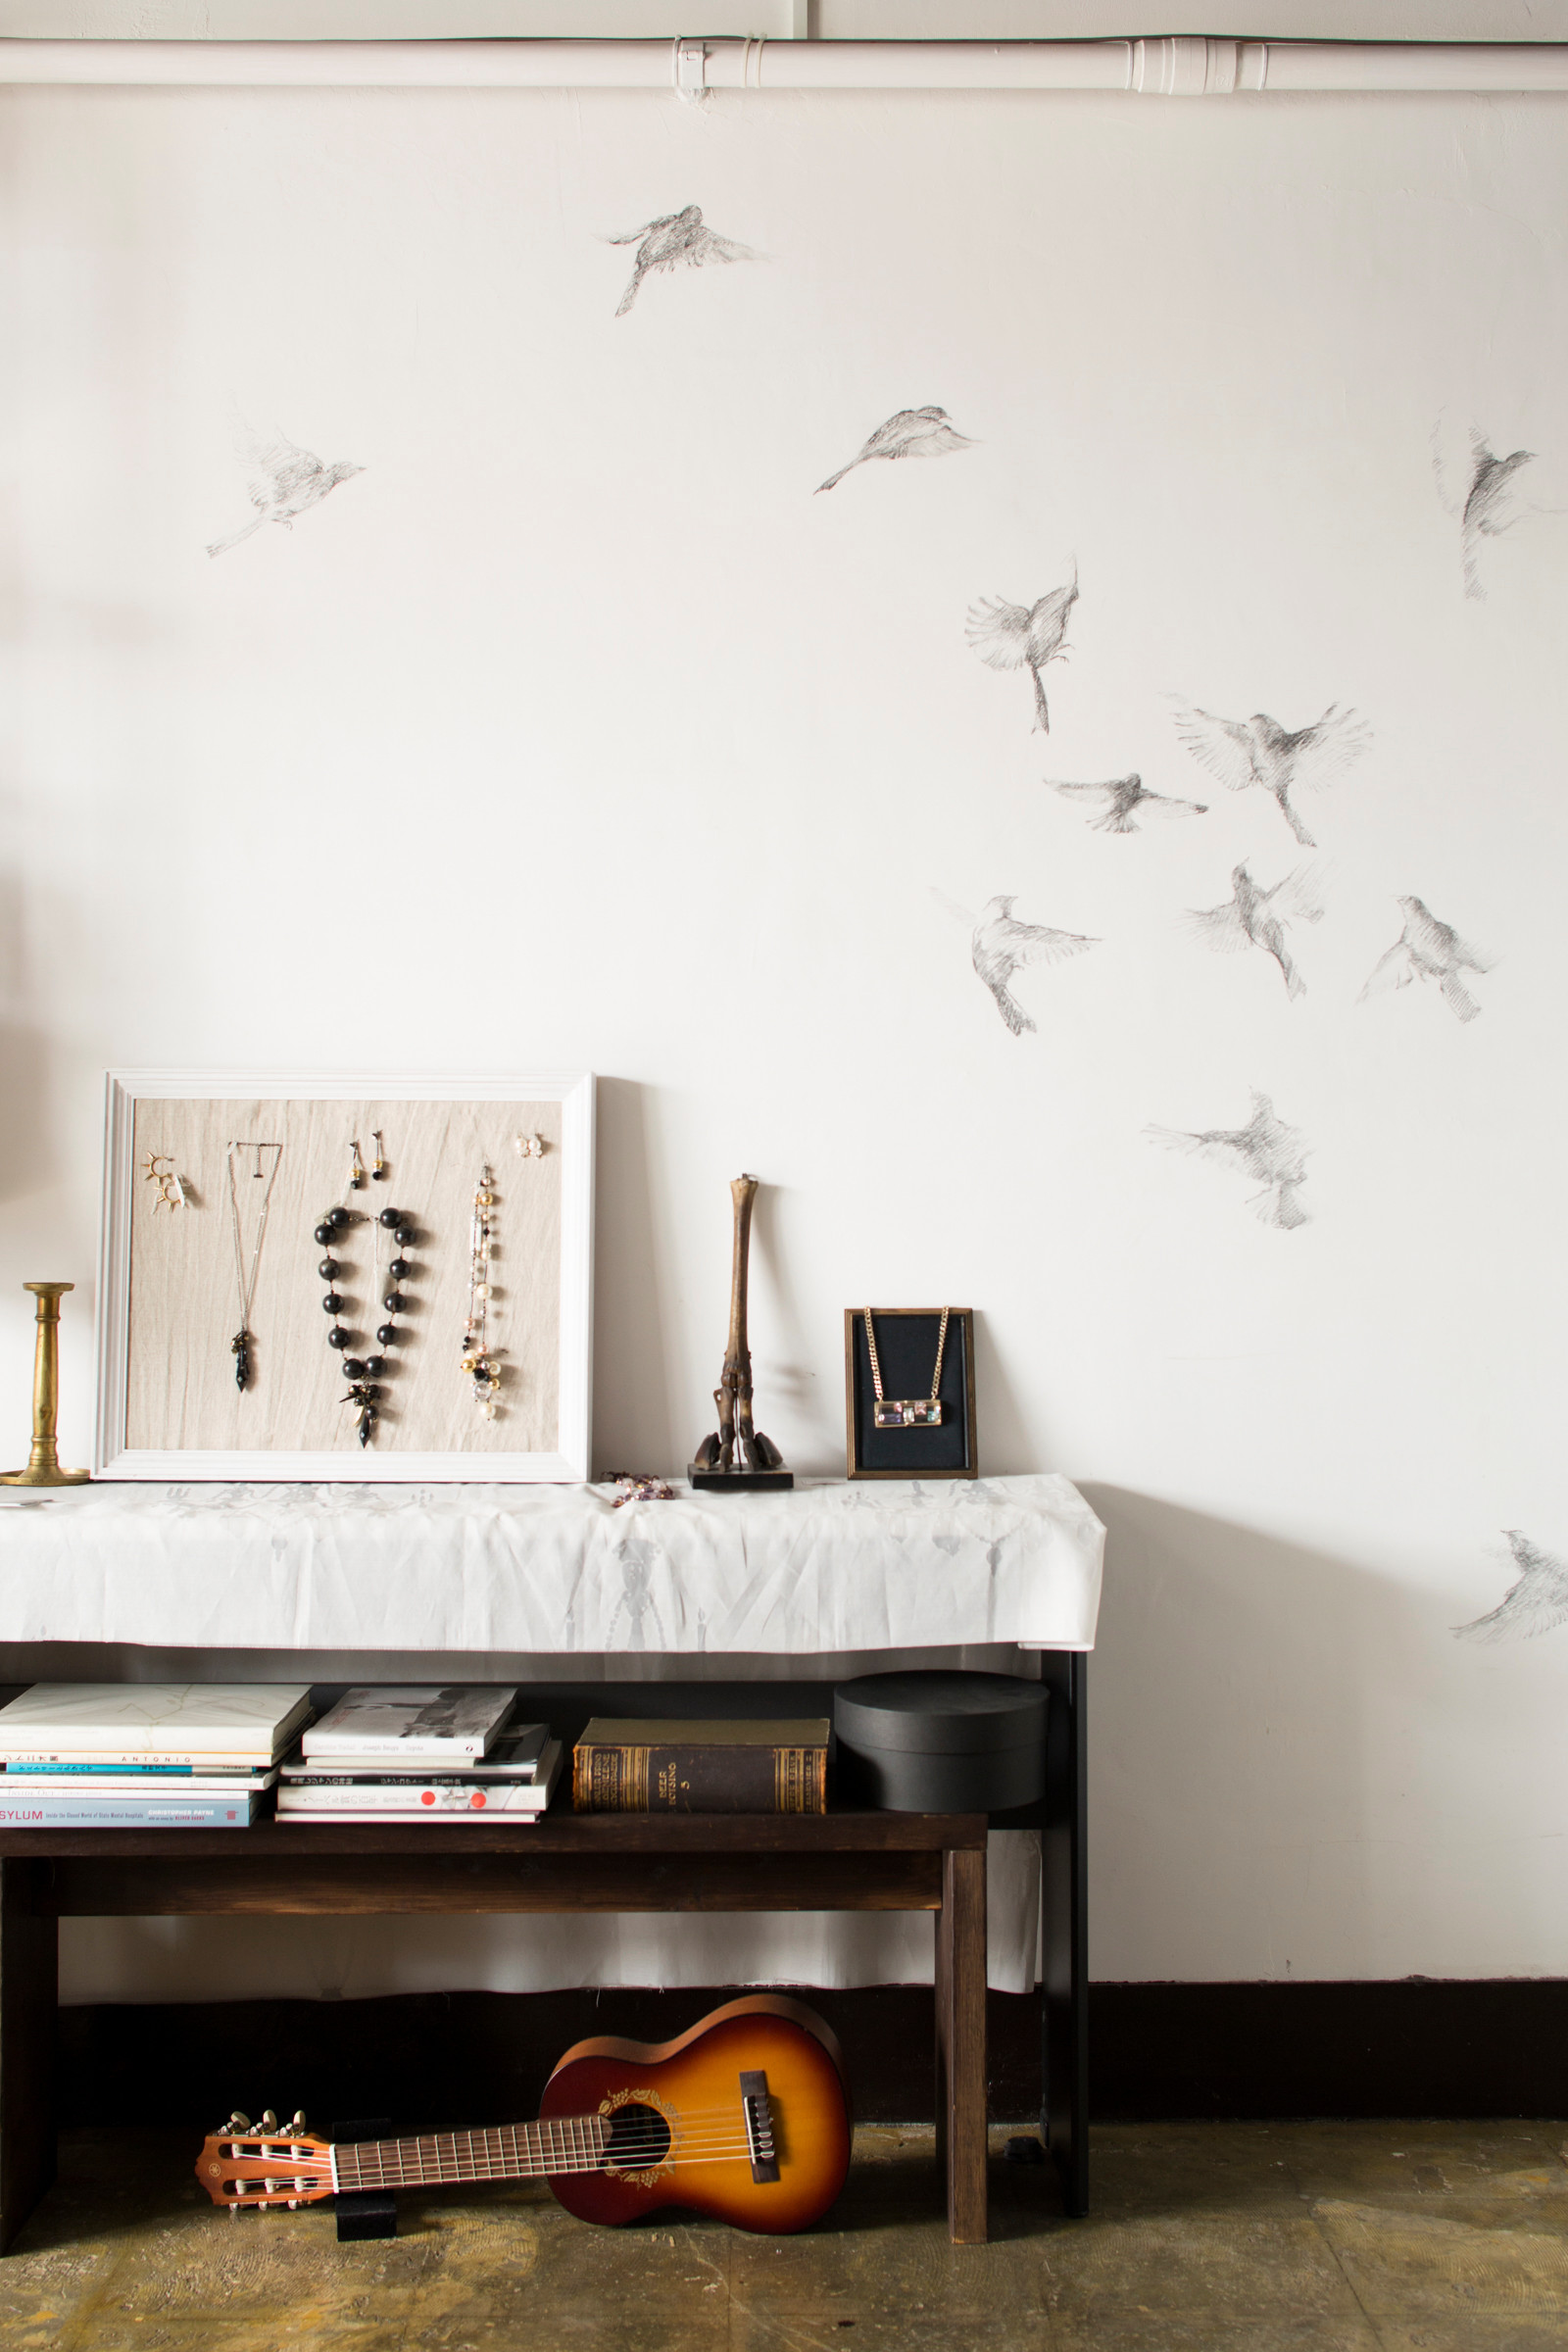
3. Linen-covered jewelry storage. If you have an old picture frame and a scrap of pretty fabric, you already have most of the supplies needed for this beautiful project. You’ll also need a piece of cork or foam core cut to fit, plus T-pins to hang your jewelry.
- Cover the cork or foam core with the fabric of your choice, securing it on the back with glue or duct tape.
- Remove the glass from the frame and replace it with the fabric-covered cork or foam core.
- Use T-pins to hang your favorite necklaces and earrings.
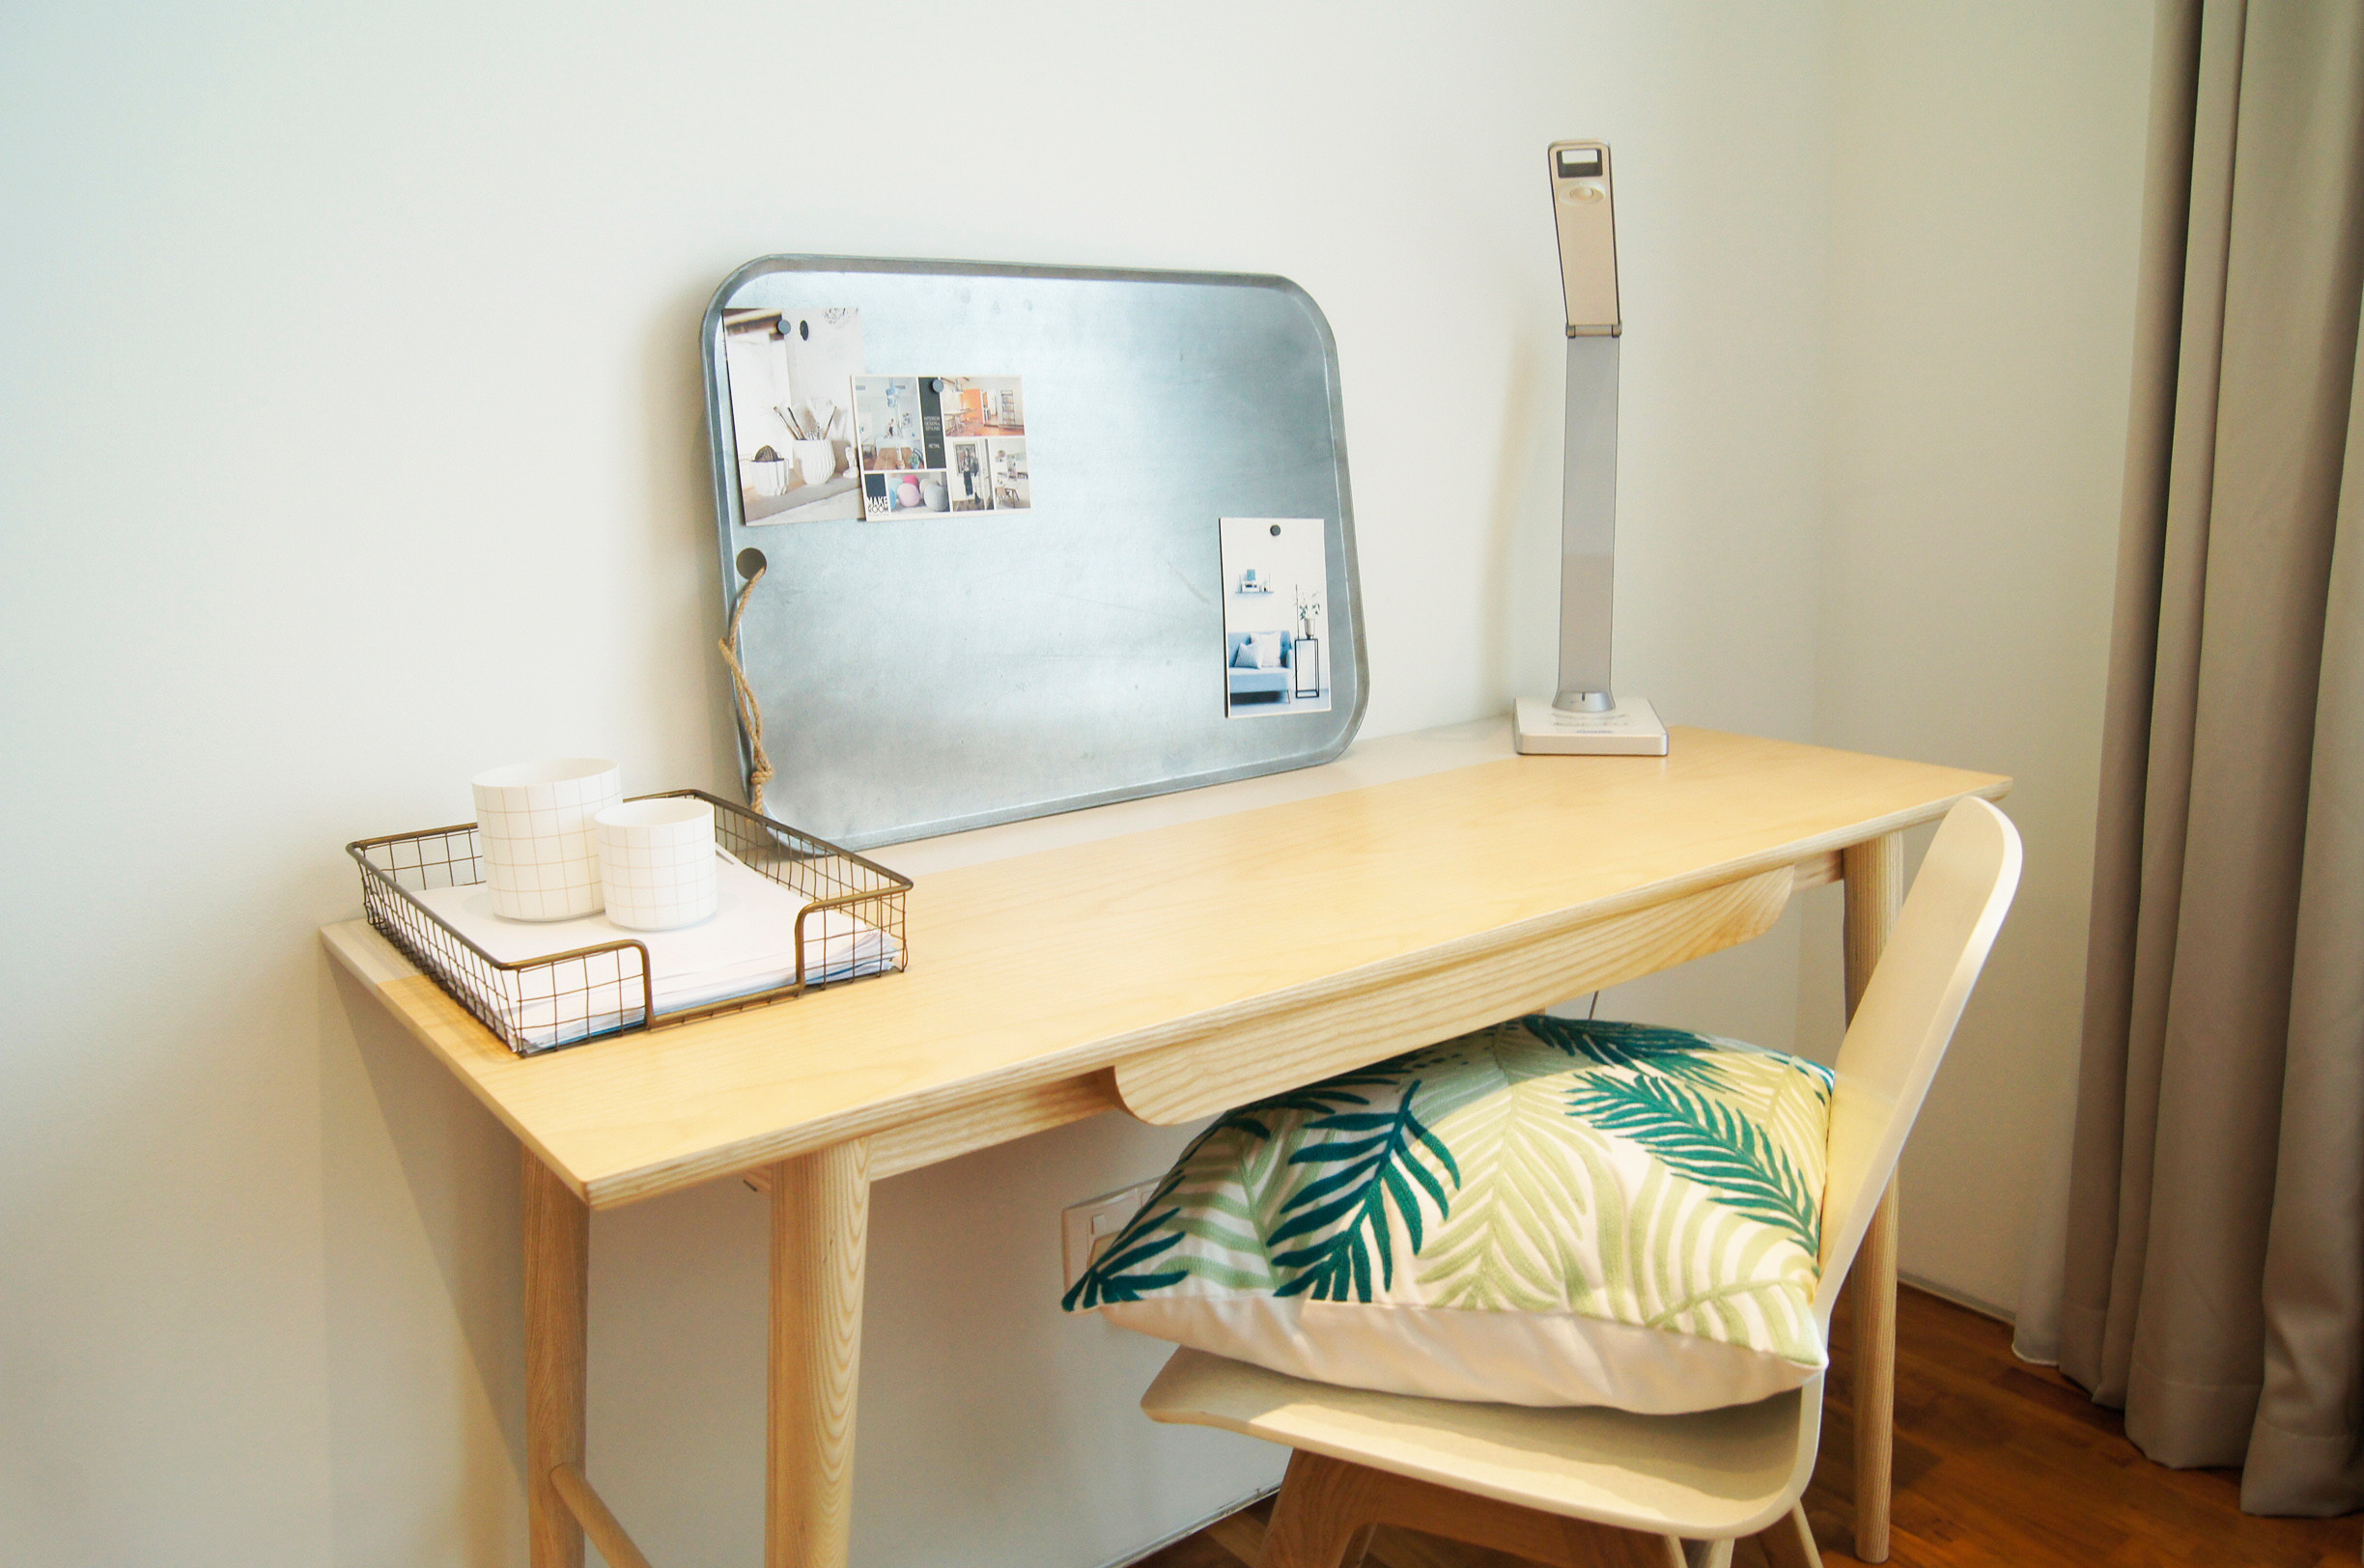
4. Magnetic message board. Have a metal tray that you hardly ever use? Put it to work as a message board with the addition of a few magnets and bits of inspiration.
Tip: When shopping for vintage metal trays to repurpose, bring along a small magnet to test the surface before you buy.
Tip: When shopping for vintage metal trays to repurpose, bring along a small magnet to test the surface before you buy.
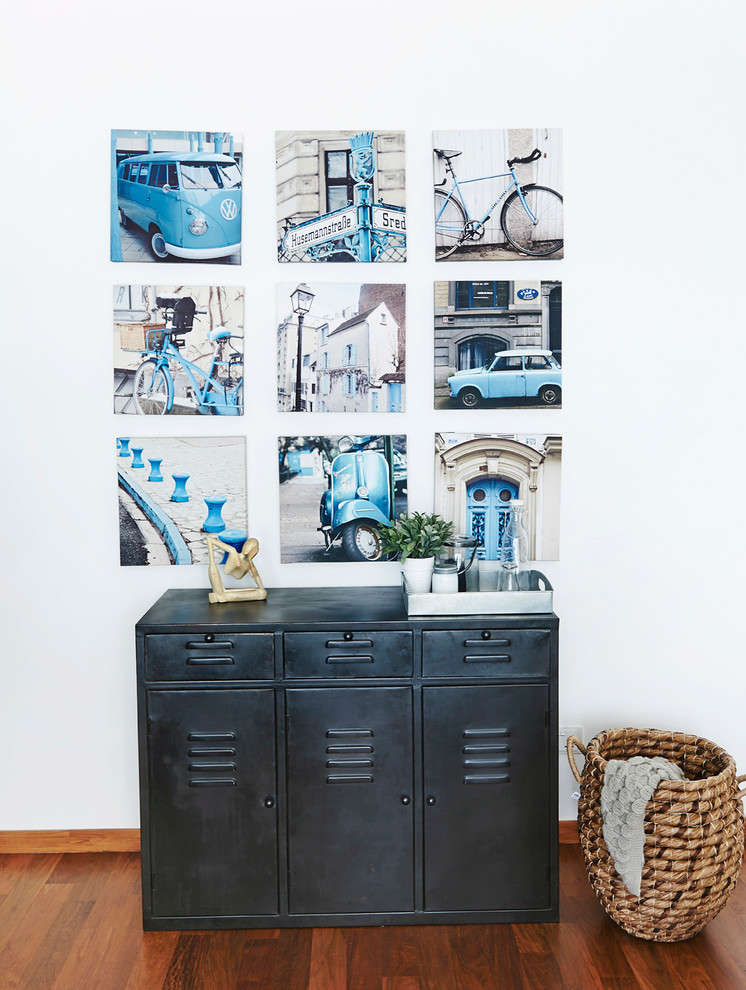
5. Color-themed photo collection. If you’re looking for a project to get your creative juices flowing, consider embarking on a color-themed photography project. Be on the lookout for objects of a certain color and snap away. Once you have four or more that you’re happy with, print them out and put them on display.
Tip: Want to speed things along? Instead of taking new photos, look through your backlog of digital photos, earmarking ones that feature the color of your choice. Print, hang and, voilà, you’re done!
Tip: Want to speed things along? Instead of taking new photos, look through your backlog of digital photos, earmarking ones that feature the color of your choice. Print, hang and, voilà, you’re done!
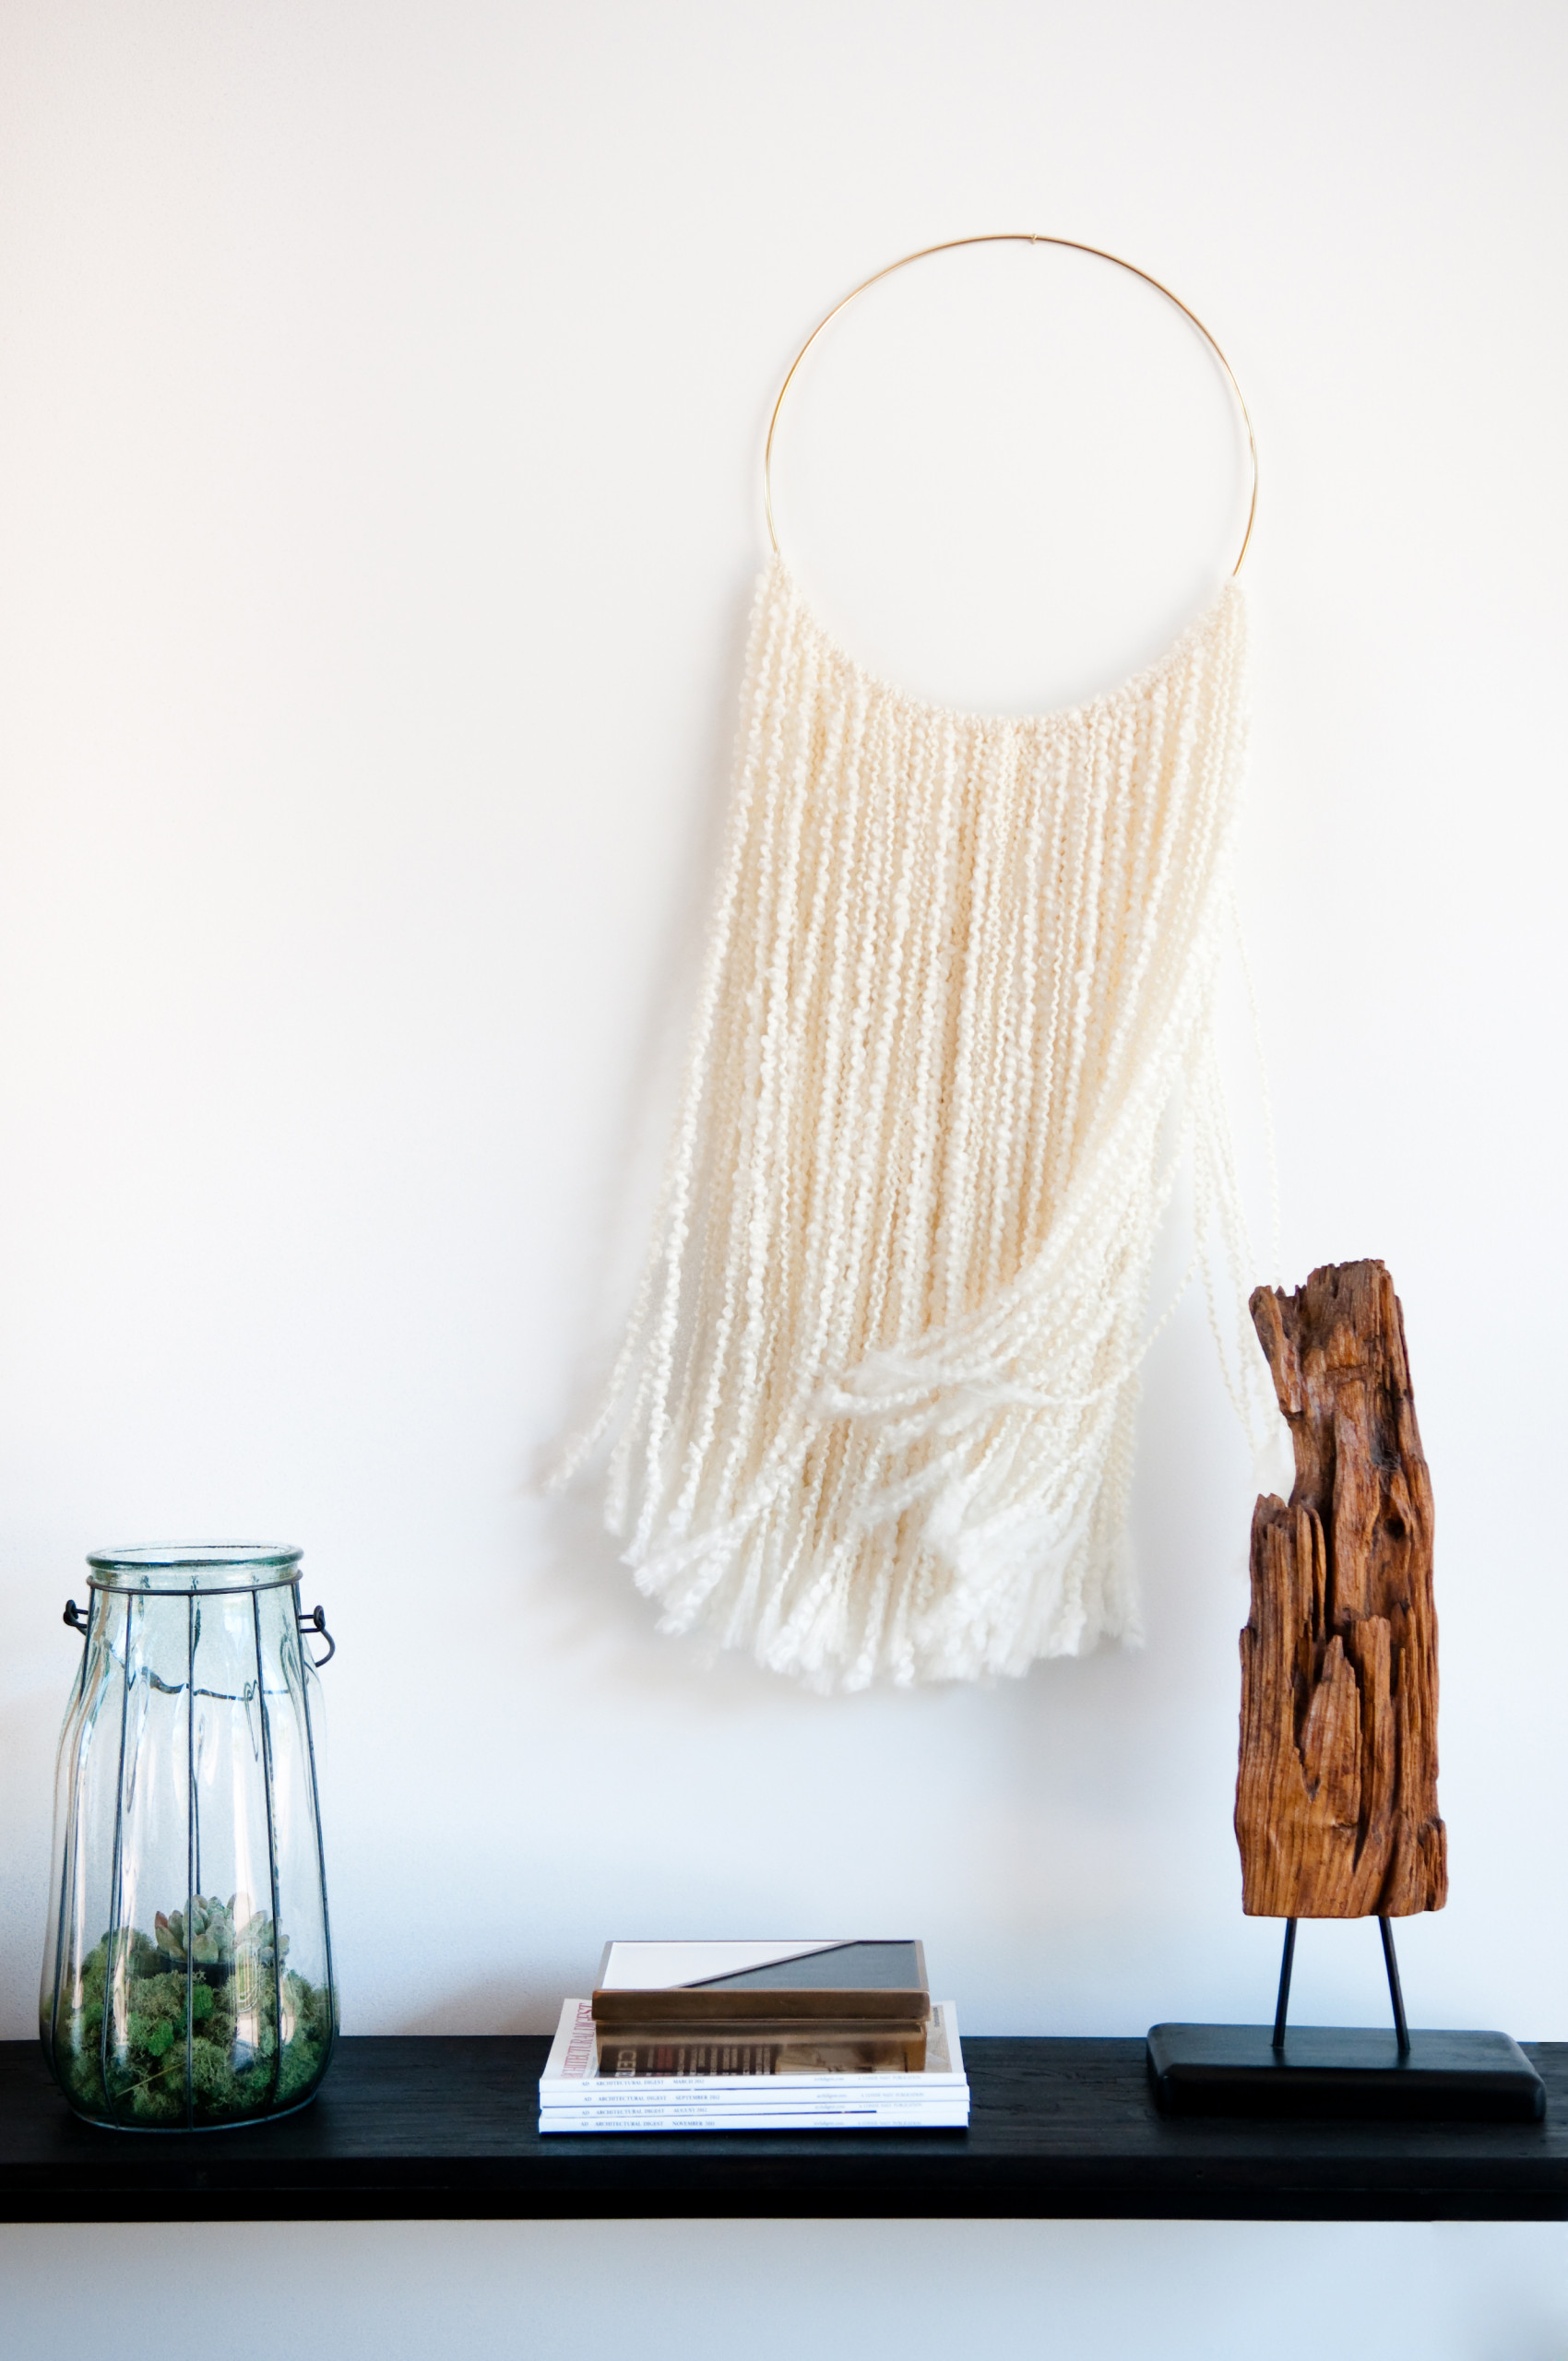
6. Yarn art. This airy, bohemian-style wall hanging is easy to create from a stash of leftover yarn.
- Start with an embroidery hoop, or create your own circle from flexible wire.
- Cut equal-length pieces of yarn and then knot each one in the middle to attach to the hoop.
- Repeat until the piece is as full as you’d like.
- Hang it on a small hook to display.
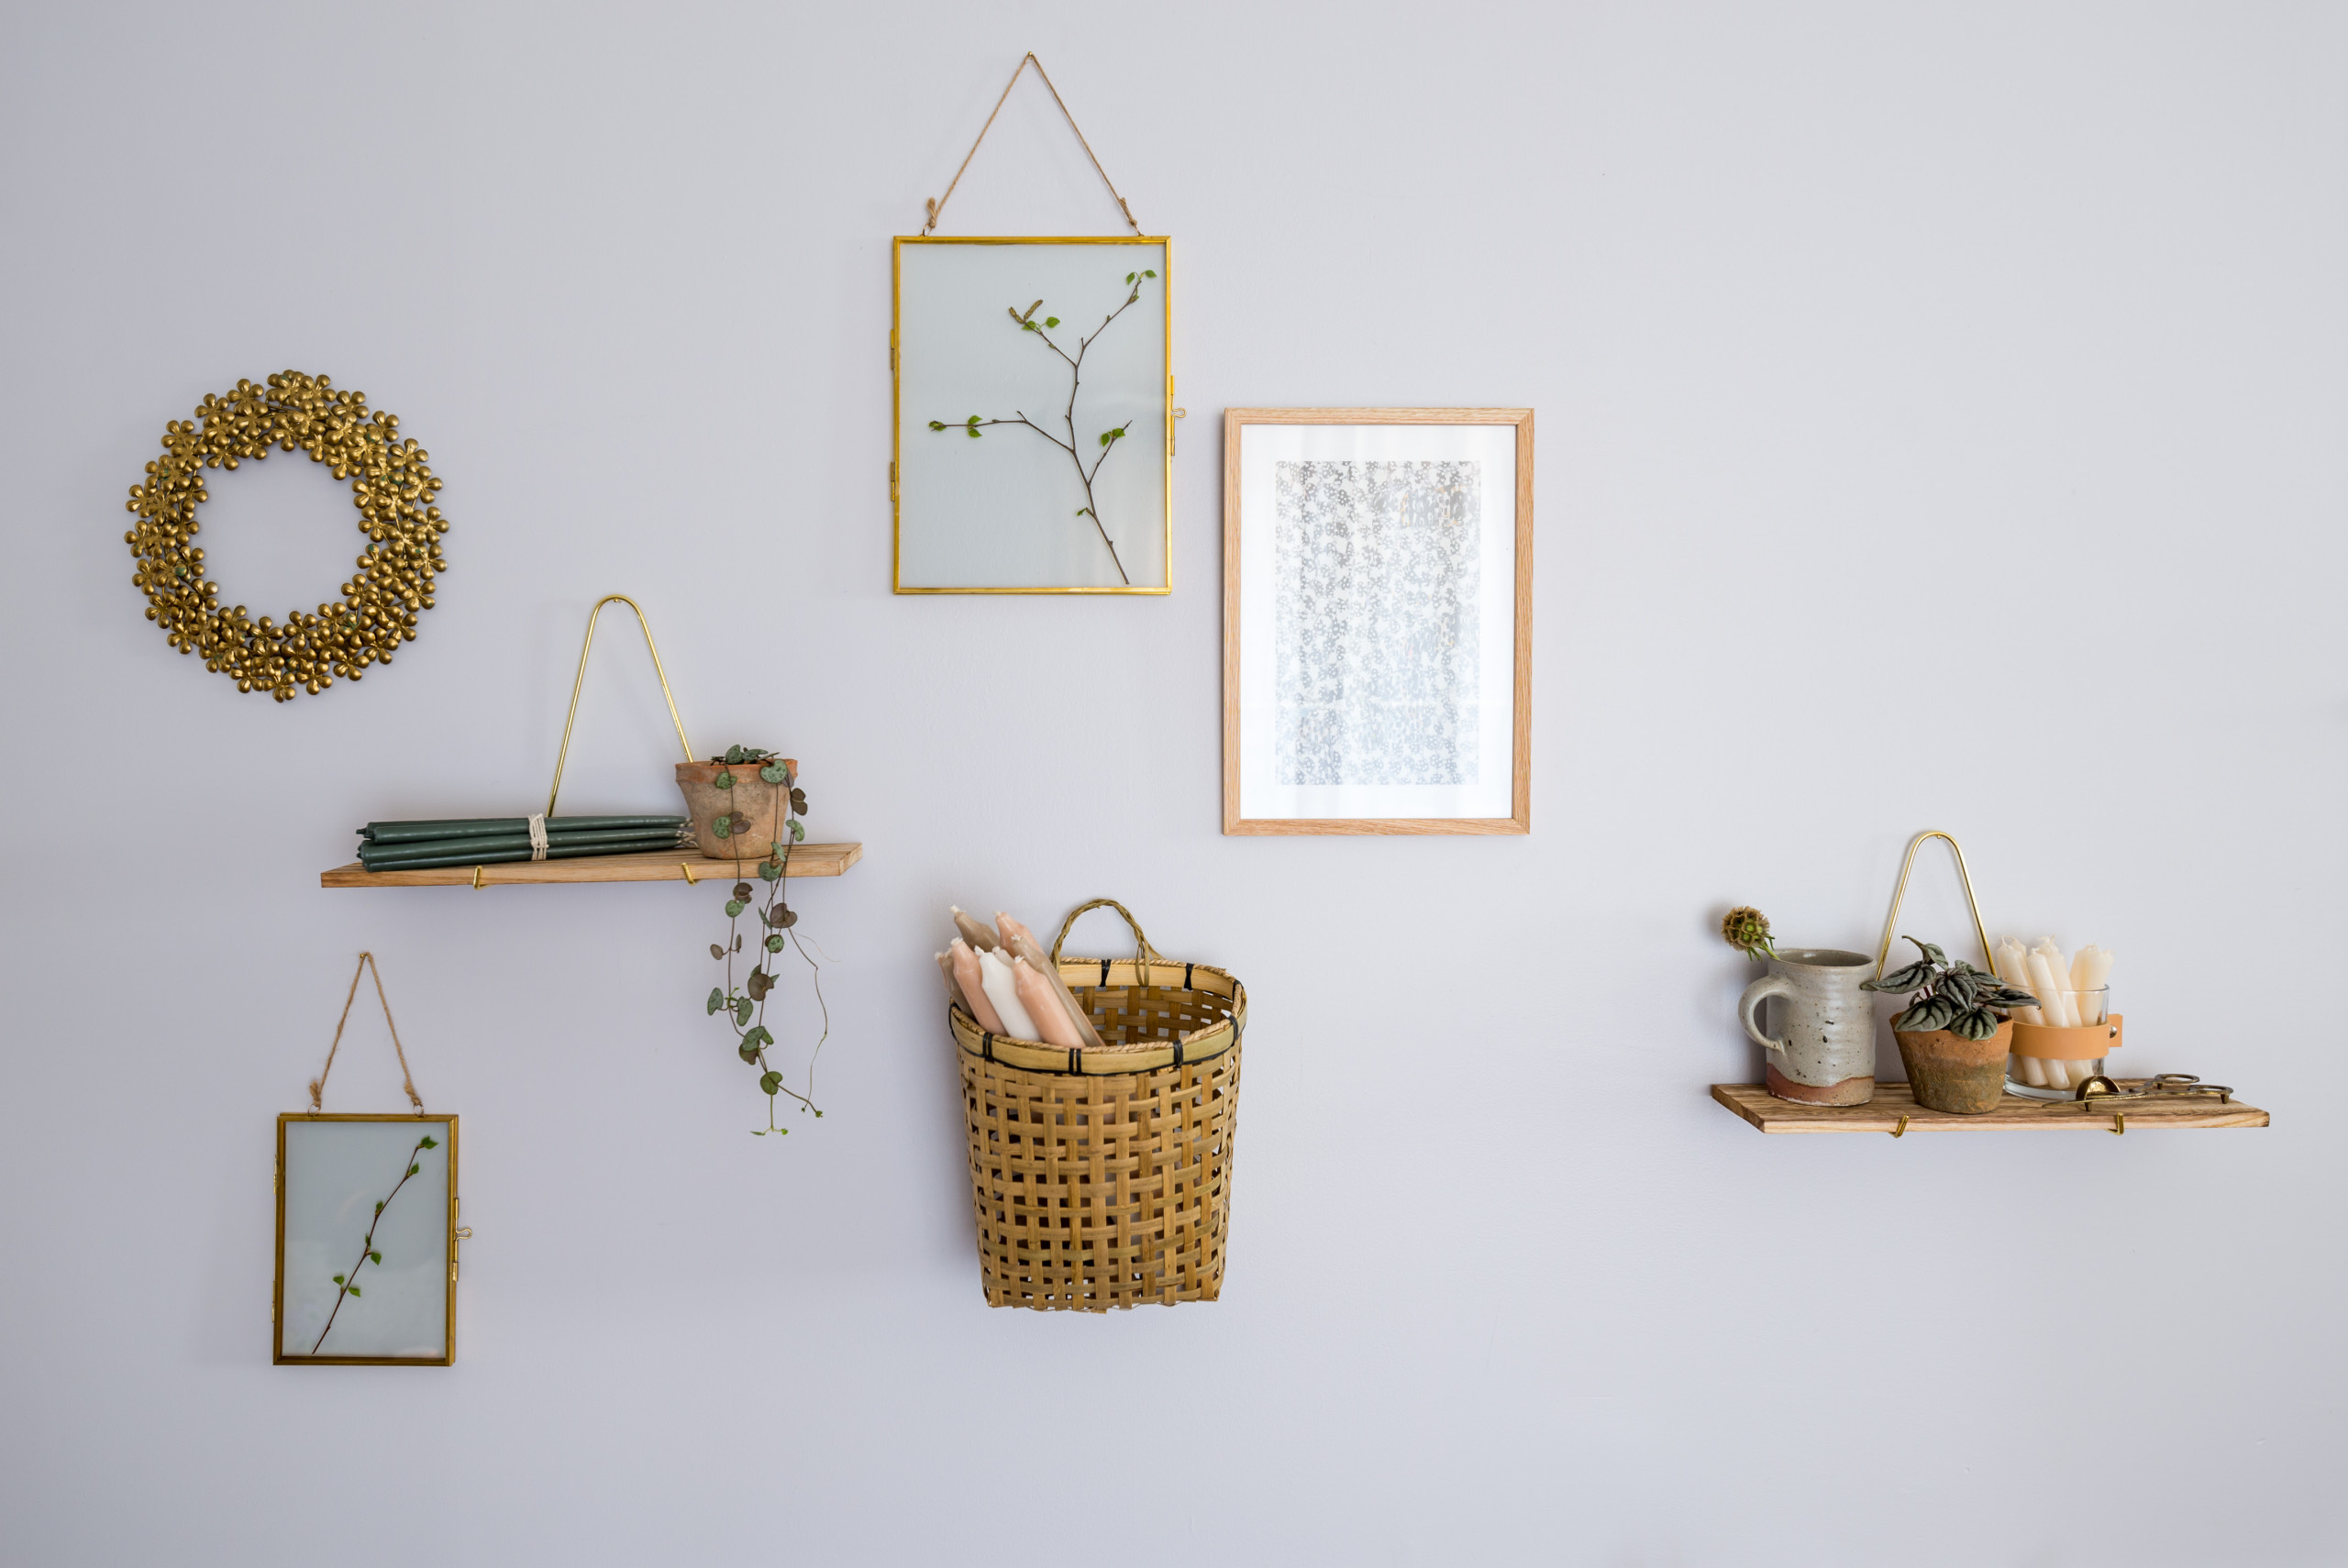
7. Pressed botanicals. Preserve your summer nature experiences by displaying pressed flowers and leaves in glass-backed frames. Use a flower press (or a heavy book) to press your botanical specimens until dry and then place them in the frames. Hang them on a wall or from a ribbon in front of a window where they can catch the light.
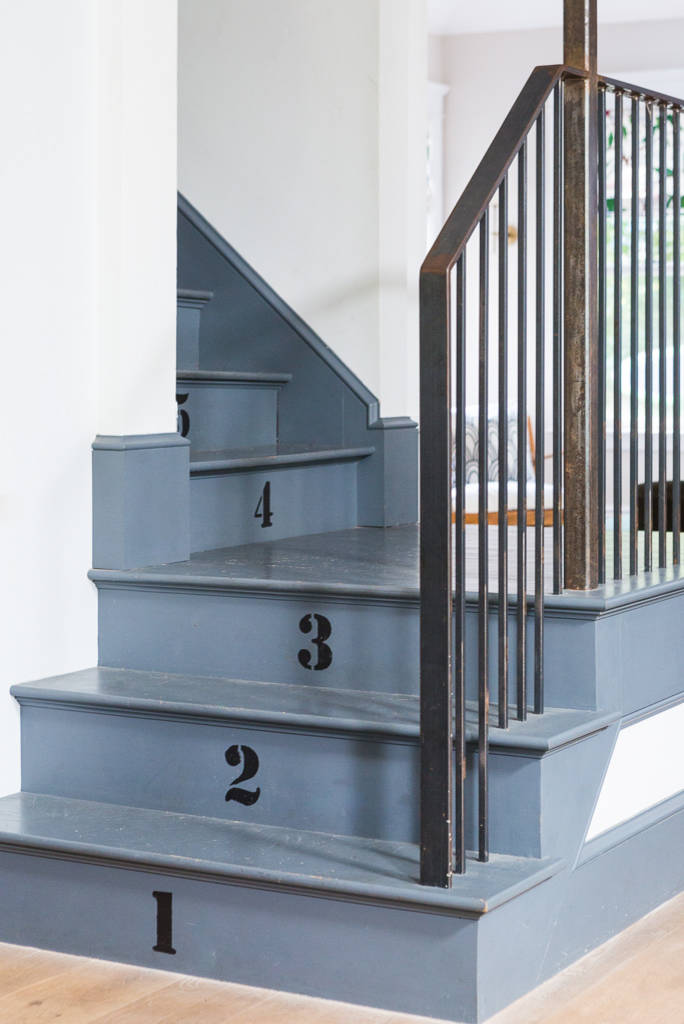
8. Stenciled stairs. Give a wooden staircase an update by applying stenciled numbers, letters or patterns to the risers. Before you begin, be sure the stairs are clean and dry, and carefully mark the position of the stencil on each step with a pencil.
Tell us: What DIY project are you most proud of? Share a photo in the Comments!
More: Read about other craft projects on Houzz
Tell us: What DIY project are you most proud of? Share a photo in the Comments!
More: Read about other craft projects on Houzz

Sponsored

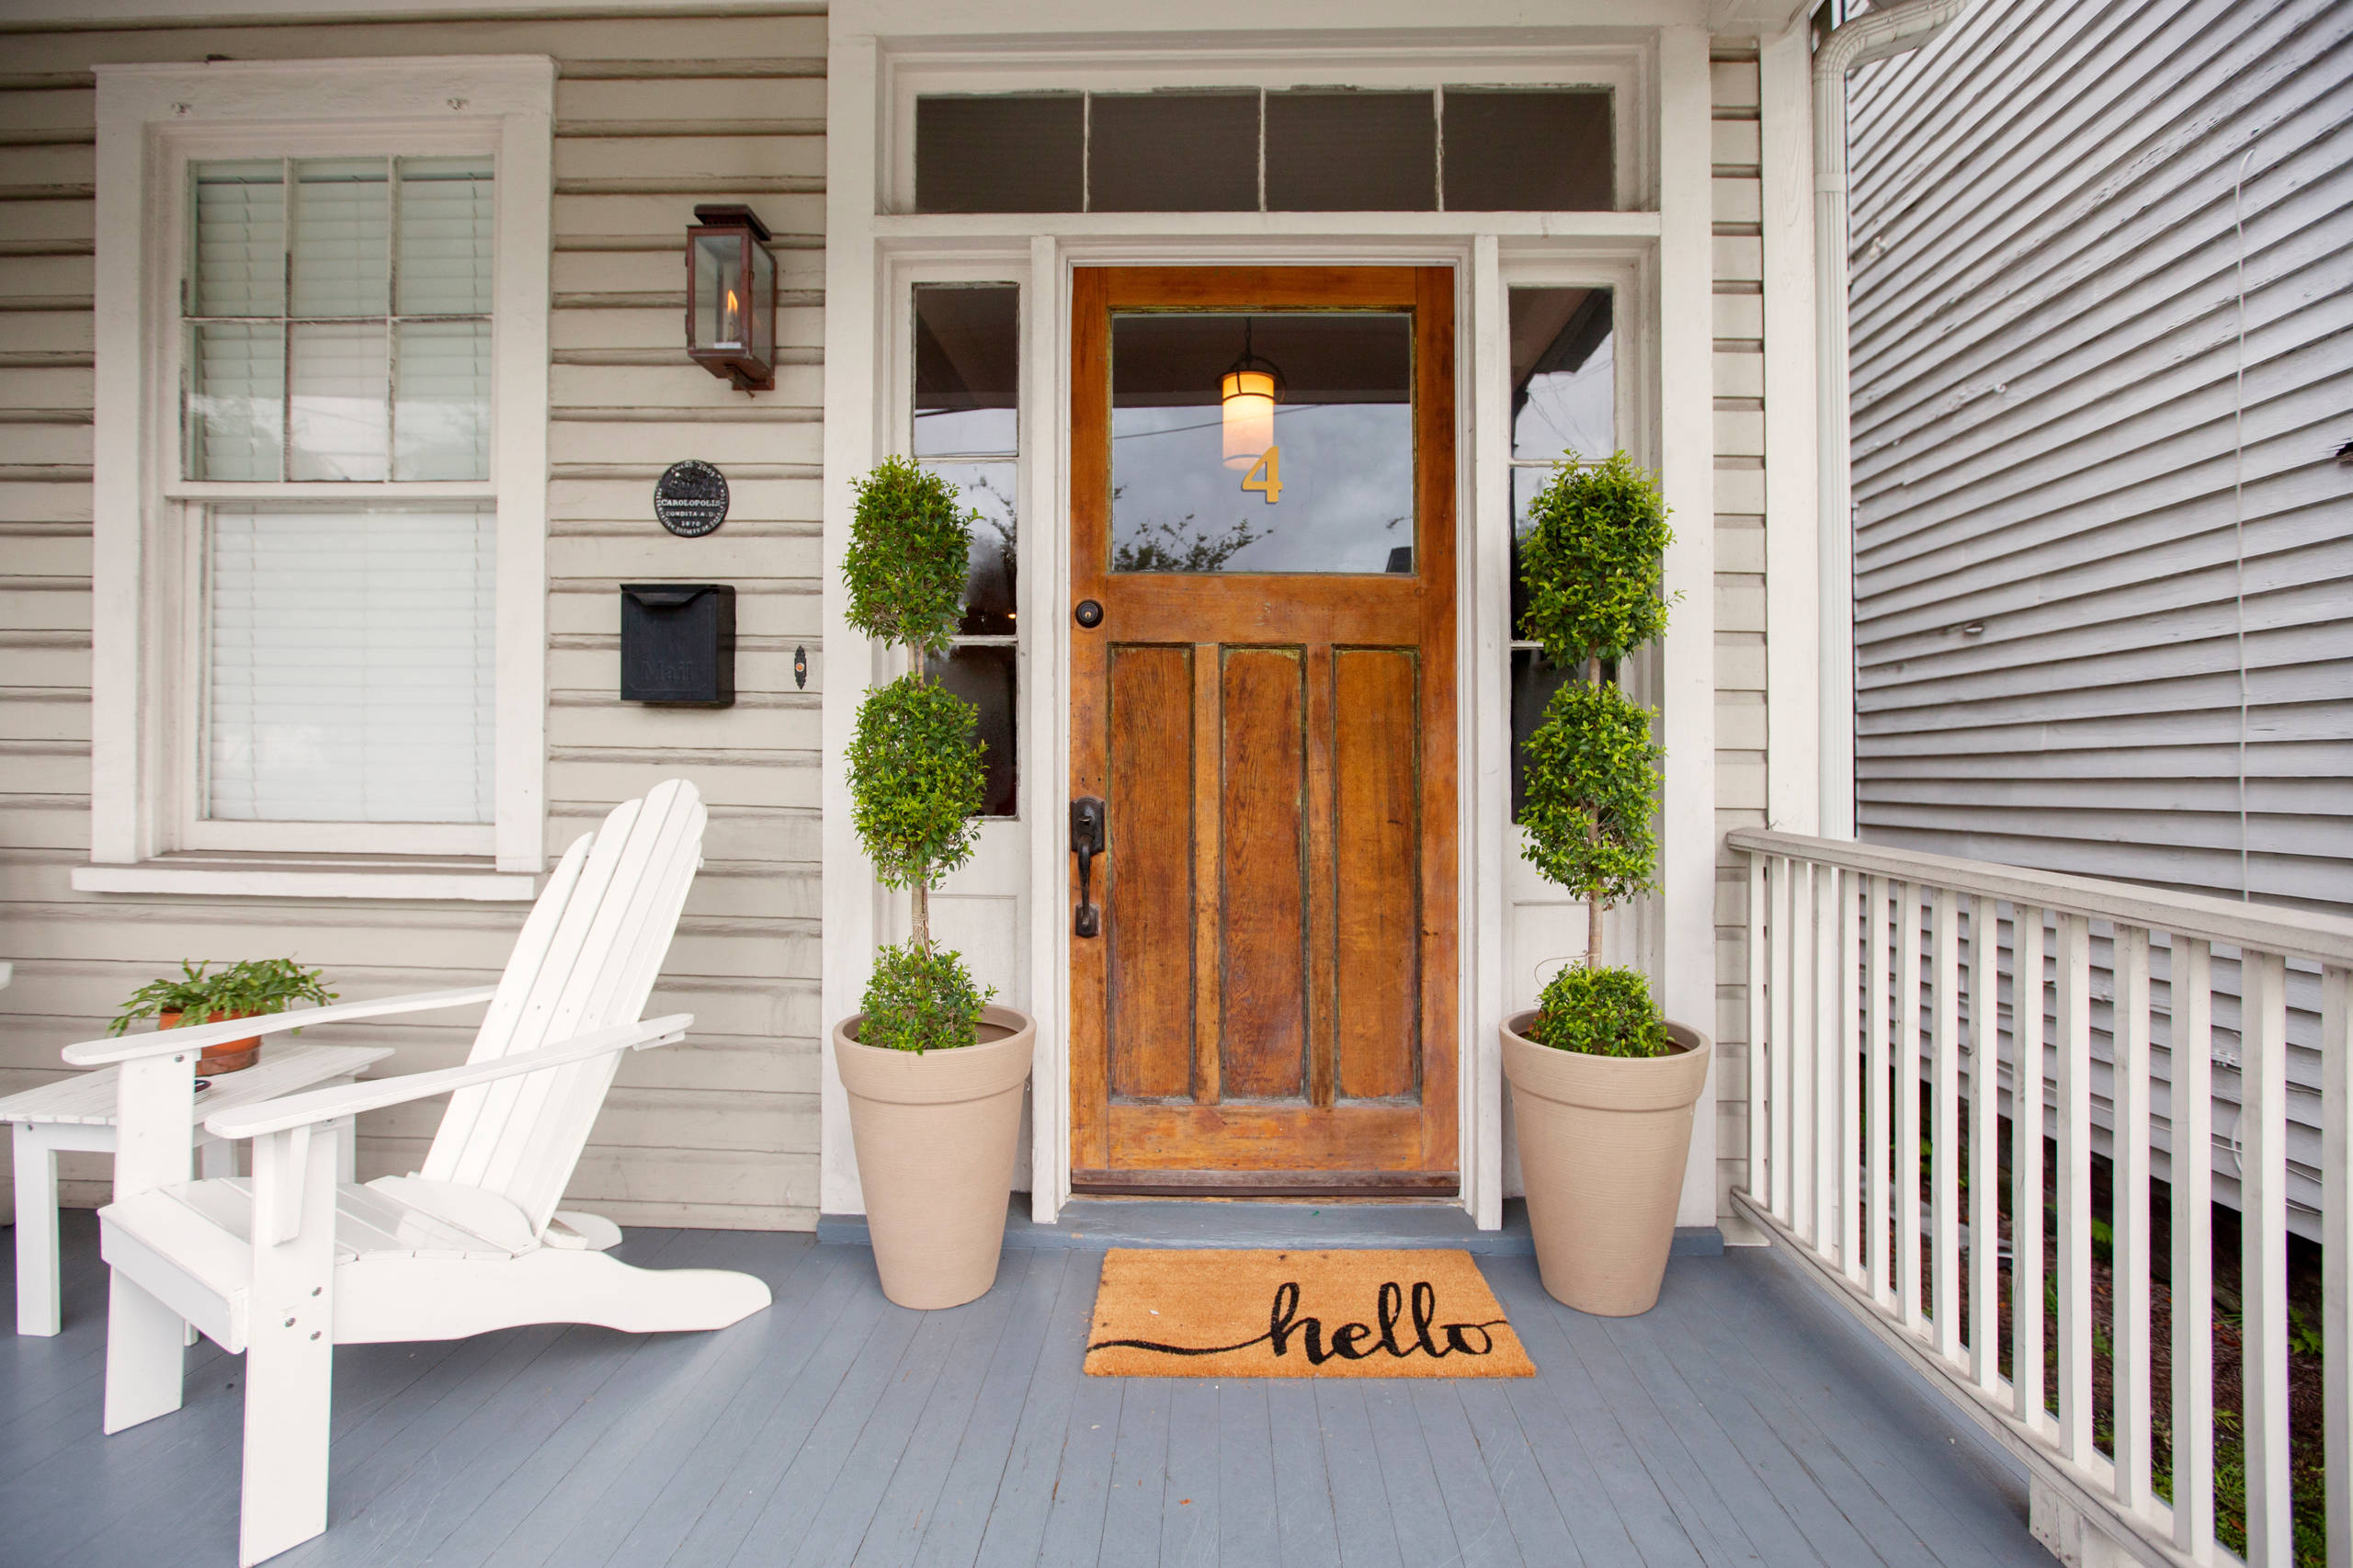
- Position the stencil of your choice on the doormat and secure it with tape. You may need to experiment to find tape that will adhere to your mat — if lighter tapes aren’t doing the trick, try duct tape.
- Paint, using a bristle brush or a foam brush; allow to dry between coats. You may need two or three coats for full coverage and vibrant color.
- Let the paint dry completely before removing the stencil.
Browse doormats in the Shop section