

Accessories
Easy DIY: Triangular Plant Stand
This quick project creates a small display table that will fit into any corner of your home

Whether you’re hoping to raise plants up off the ground and out of the reach of your furry friends or you just want to add interest to a forgotten corner of your house, this triangular plant stand is sure to do the trick.
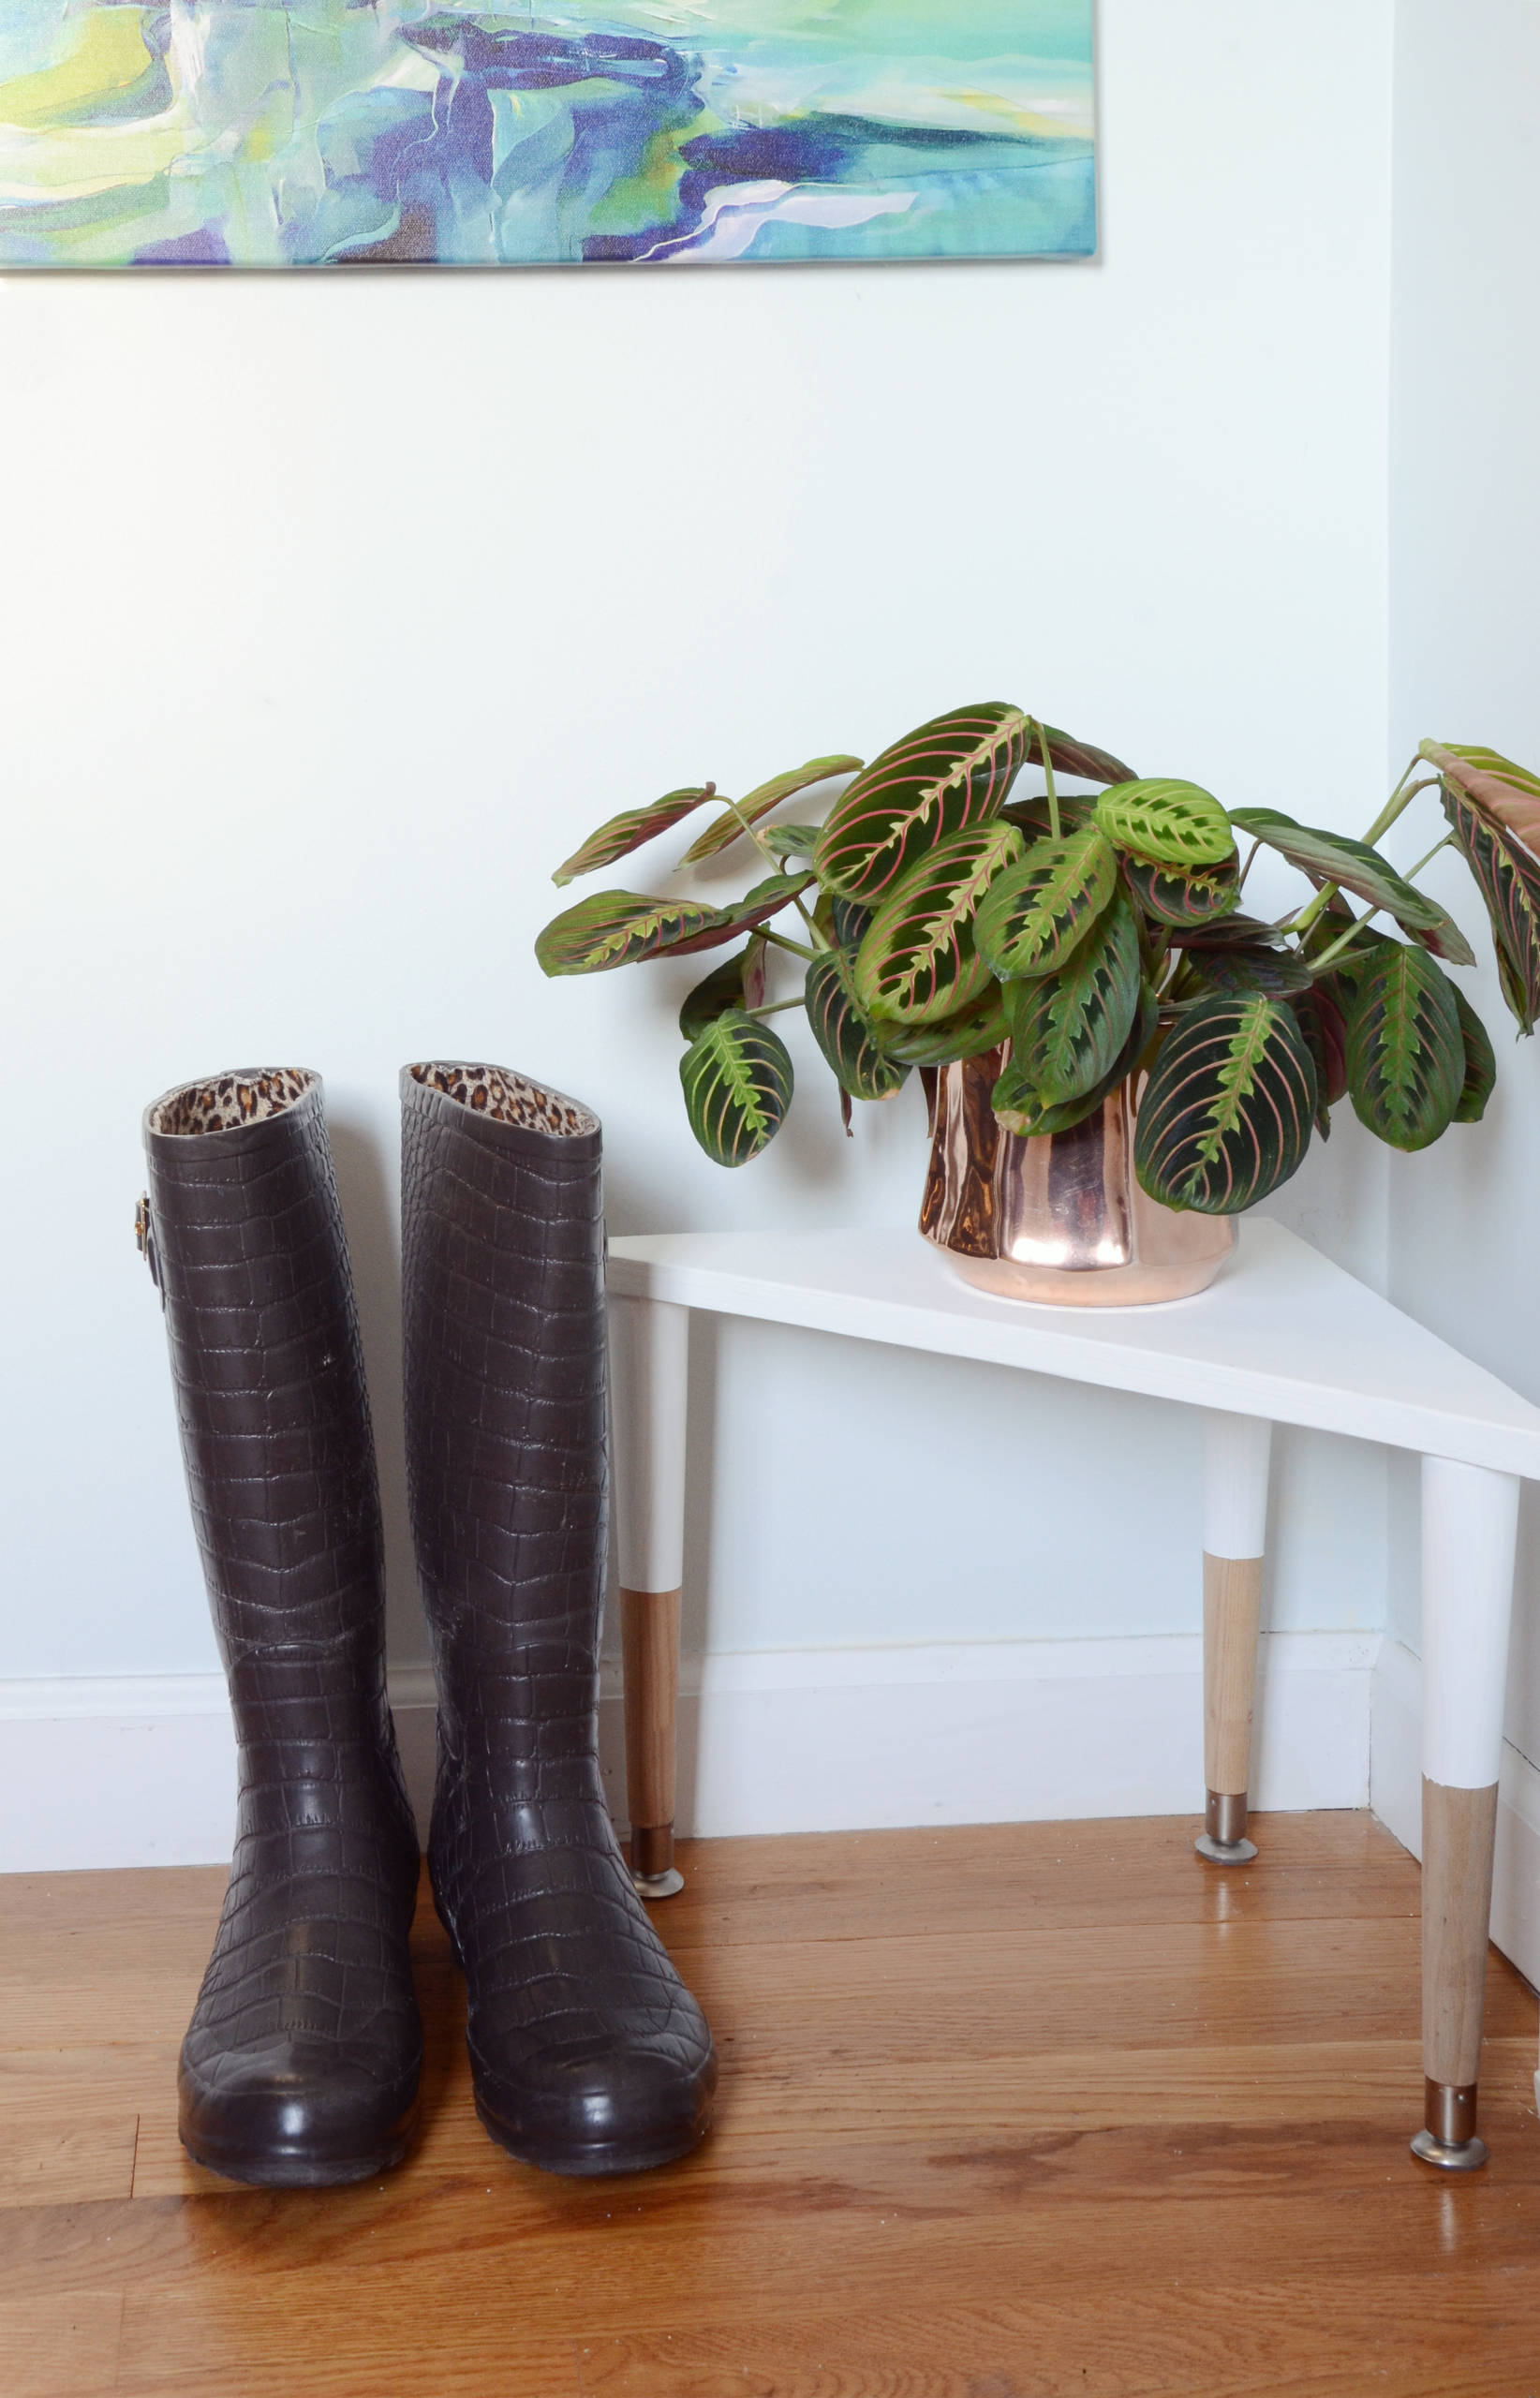
The stand is simple to assemble, especially because you use ready-made table legs. And the right-triangle shape allows it to fit into any corner of your home without protruding into your living space. Add your own decorative touches; we used white paint to highlight the top and parts of the legs.
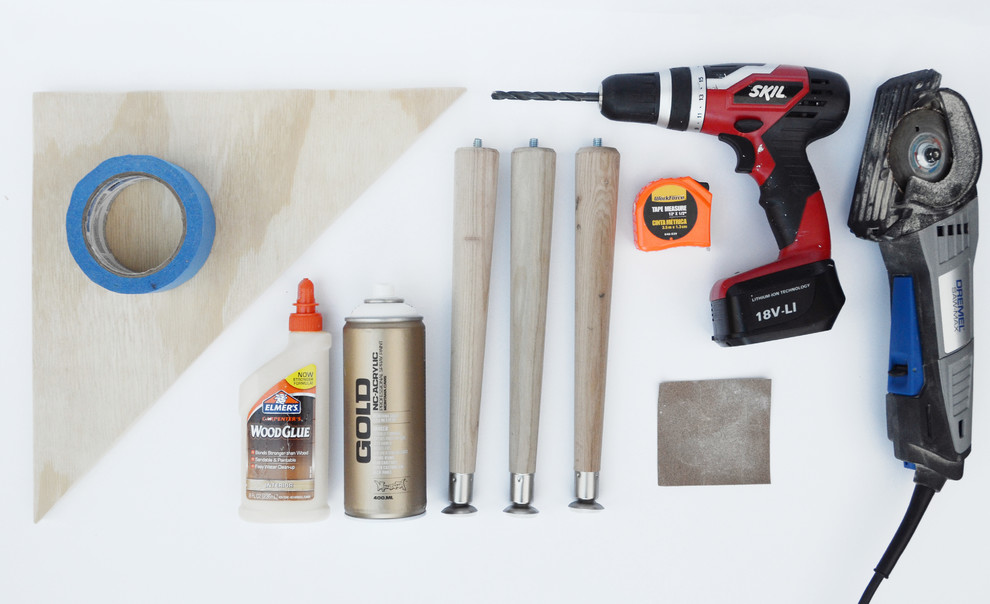
Tools and Materials
- ¾-inch-thick plywood or similar wood, at least 14 by 14 inches
- Measuring tape
- Pencil
- Straightedge
- Handsaw
- Fine-grit sandpaper
- Drill with a bit that matches the diameter of the screws in the top of the table legs
- Three 11½-inch-high wooden table legs
- Wood glue
- Painters tape
- White spray paint
Assembling the Table
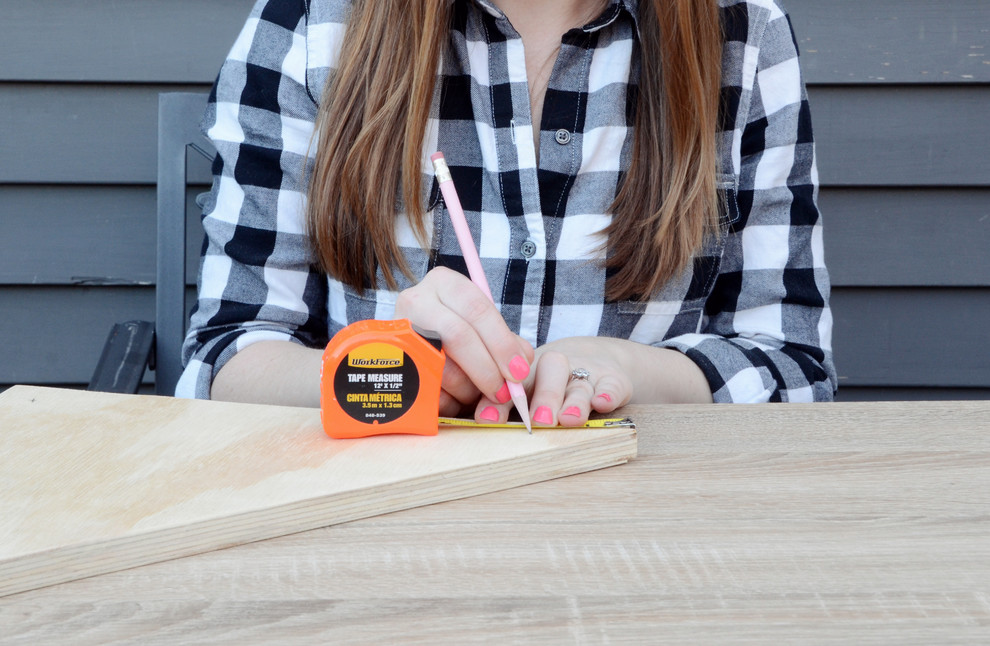
Decide which two edges of your board will form the right angle, which will be 90 degrees. Measure 14 inches from that corner on each side and mark those spots with a pencil.
Using a straightedge, draw a line to connect the two marks. The finished length of this line should be just about 20 inches. Each of the angles formed by this should be 45 degrees.
Saw along the line. Sand any rough edges.
Decide which two edges of your board will form the right angle, which will be 90 degrees. Measure 14 inches from that corner on each side and mark those spots with a pencil.
Using a straightedge, draw a line to connect the two marks. The finished length of this line should be just about 20 inches. Each of the angles formed by this should be 45 degrees.
Saw along the line. Sand any rough edges.
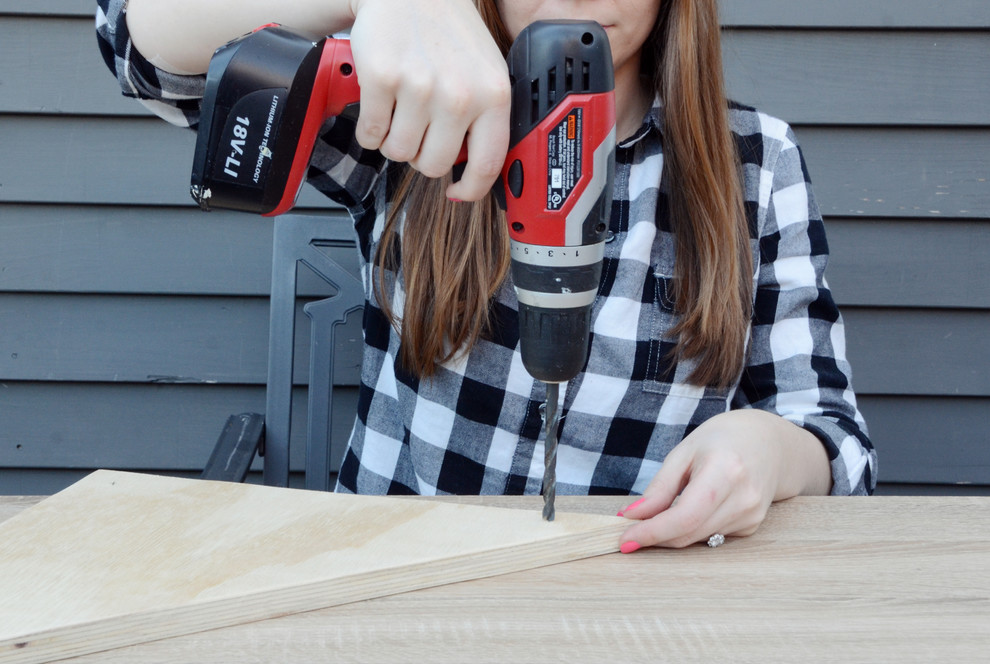
Next, measure 1½ inches in from a corner that has a 45-degree angle and place a pencil mark centered between the two edges. Do the same on the other corner with a 45-degree angle. On the 90-degree-angle corner, measure 1 inch in from the corner and mark that spot.
At each of the pencil marks, drill down a half-inch. Sand the holes and brush away the sawdust.
At each of the pencil marks, drill down a half-inch. Sand the holes and brush away the sawdust.
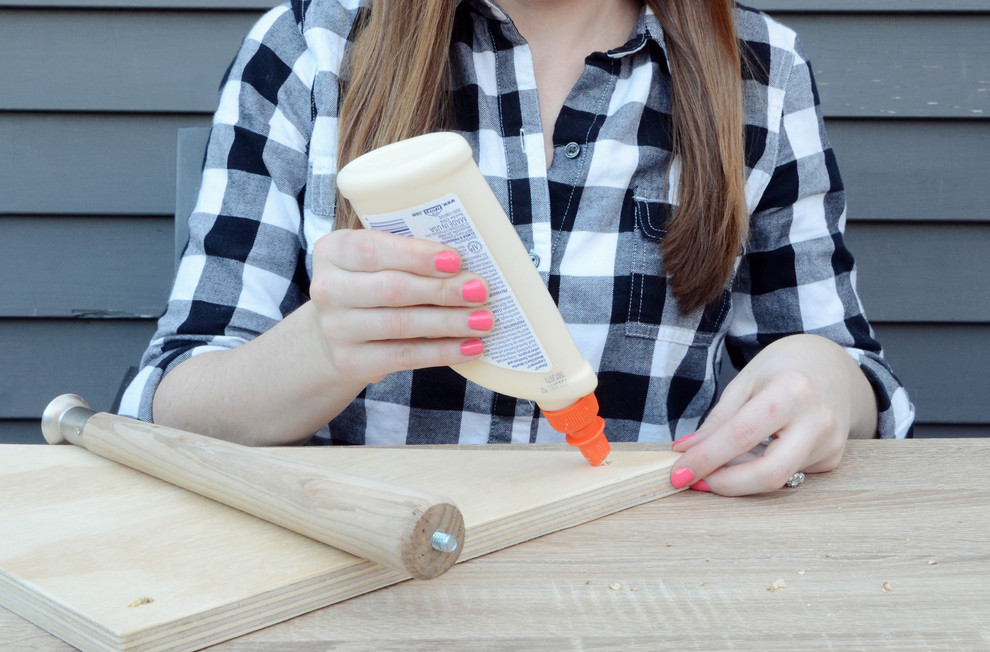
Apply wood glue in one of the holes and to a diameter of 1½ inches around it. Insert a leg in the hole and twist it until it feels secure. Repeat this process for the other two legs.
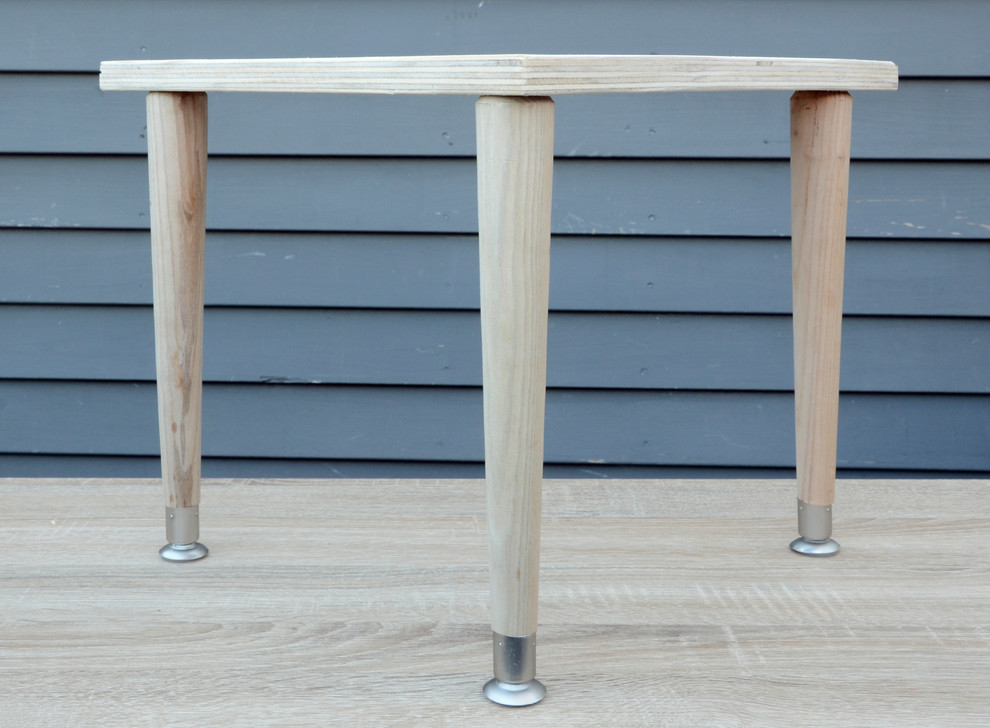
With the table upside down, let the legs dry until they are tacky, about 10 minutes. Then flip the plant stand right-side up and adjust the legs so that they look straight. Let the stand dry overnight in this position.
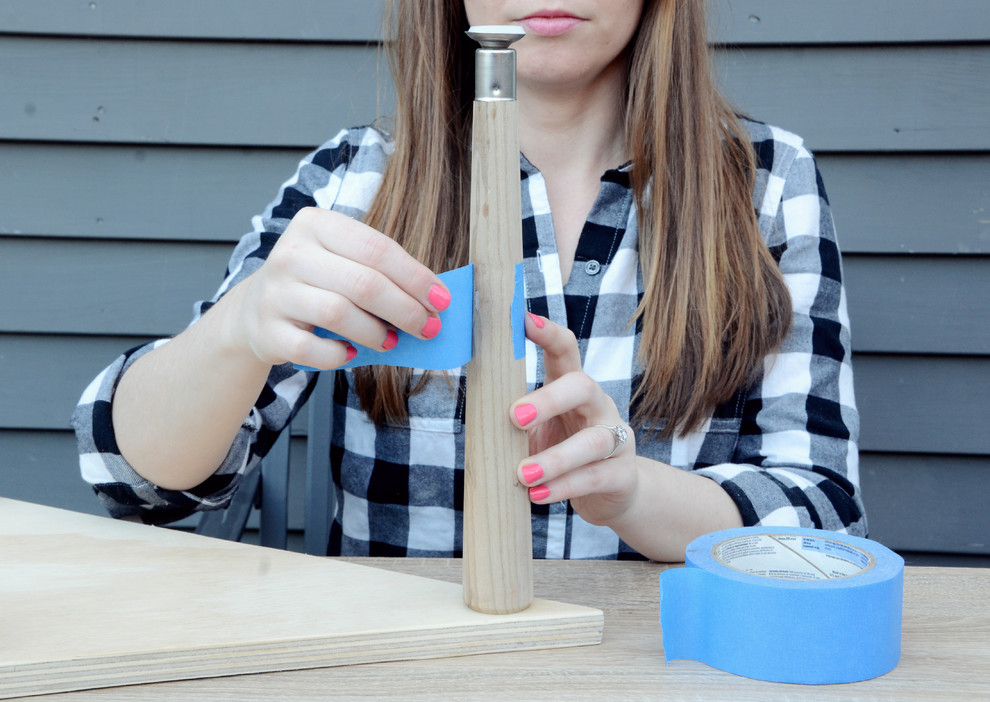
Starting halfway down from the tabletop, tape off the bottom of each leg with painters tape. The tape should be wide enough to prevent any paint from getting on the bottom half of the legs, but it doesn’t need to extend all the way to the end.
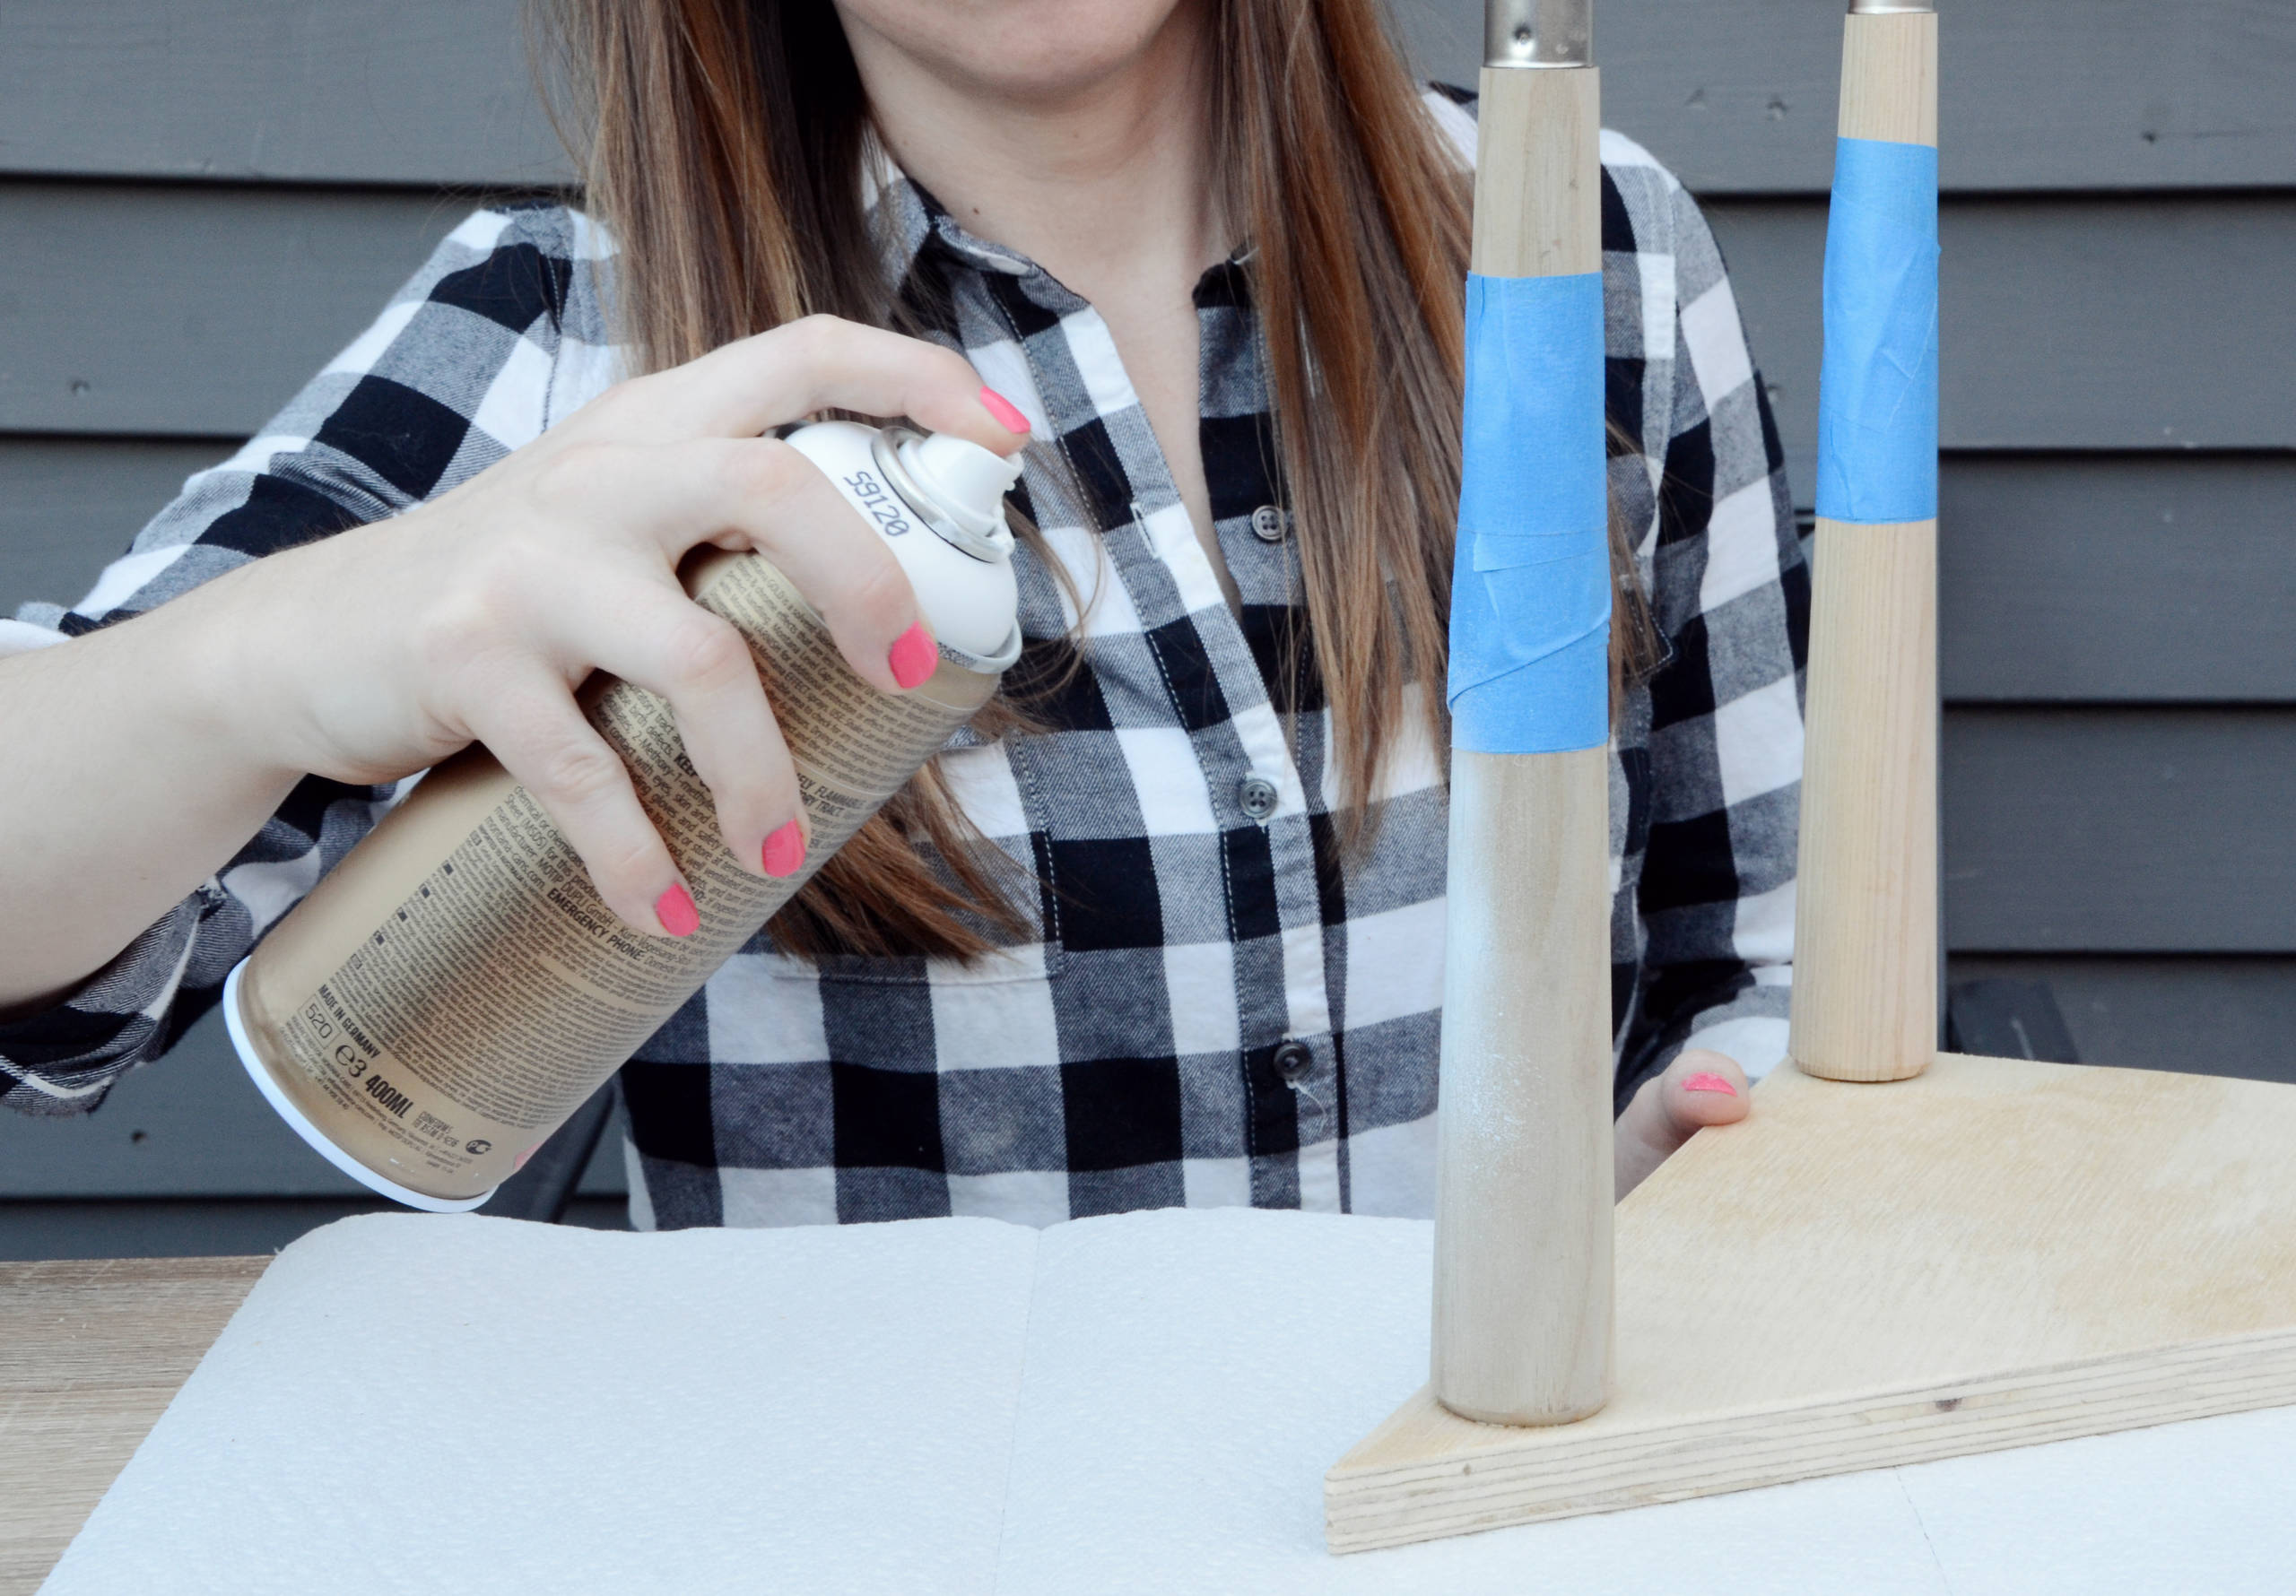
Spray-paint the tabletop and the tops of the legs. Apply two or three thin coats, letting each dry for 20 minutes before adding the next.
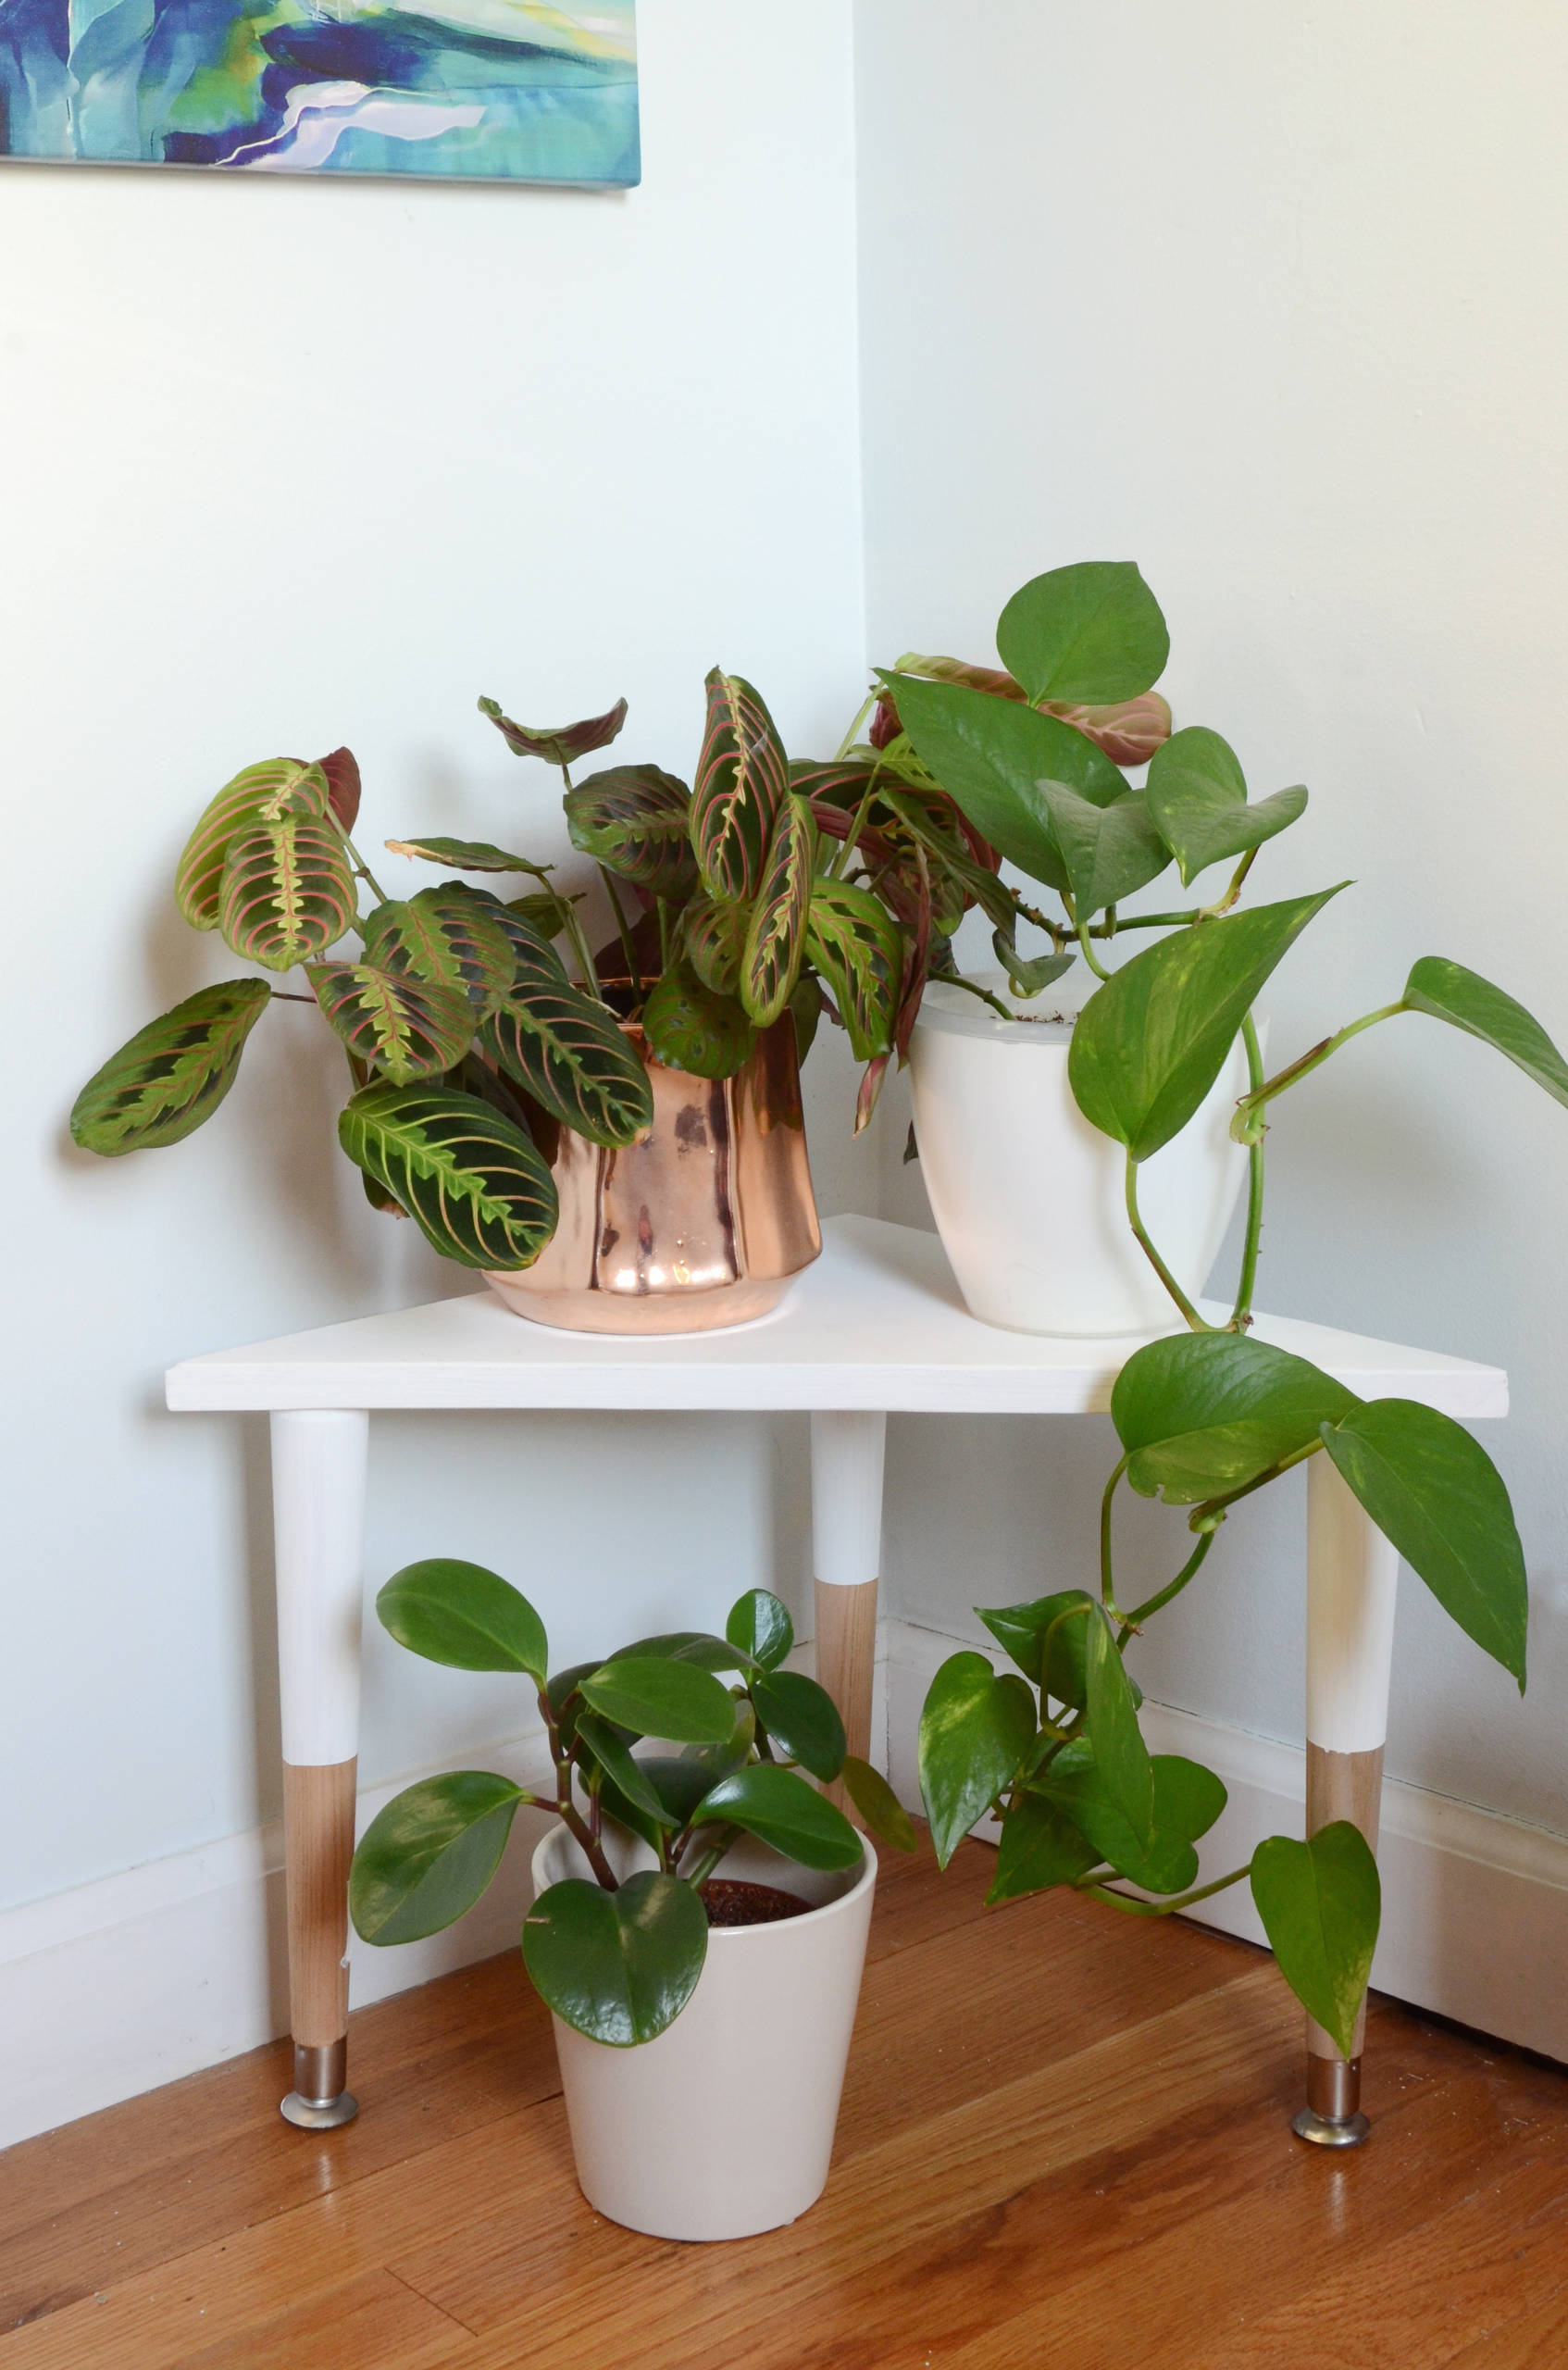
Once the paint is thoroughly dry, remove the tape. Place your stand in any corner of your home to display your favorite houseplants.
Explore more DIY projects
Explore more DIY projects

Sponsored
