
Search results for "Audio tips" in Home Design Ideas
 SW designs
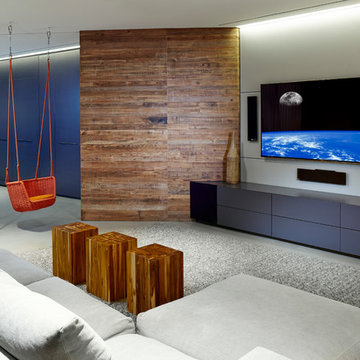
Reclaimed wood panel hides sliding doors that provides privacy to the guest bedroom. Photography by Moris Moreno
Trendy family room photo in Miami
Trendy family room photo in Miami
 Studio Sage Interiors
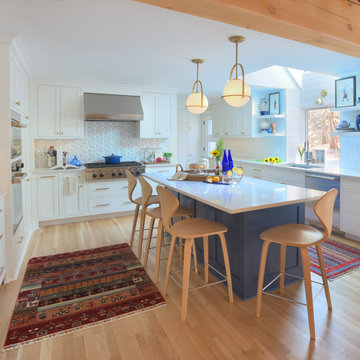
The original kitchen, although generous in size, was out of touch with our clients personal style. When a plumbing mishap caused significant damage to the space, the homeowners seized the opportunity to create the culinary workspace of their dreams.
At the top of their wish list was a well designed kitchen, both aesthetically and functionally. State of the art appliances were selected based on the client's functional requirements and the optimal layout was tailored to family dinners and occasional entertaining. At the heart of the existing kitchen was a large and highly utilized island, keeping this was a high priority. An unused audio cabinet with outdated components was removed to create a much needed dry bar. The large refrigerator, and beverage fridge drawers were concealed behind custom made cabinetry panels and were positioned adjacent to the family seating area for easy access. Attributes such as spice storage, silver dividers and a tall pantry storage ensured everything had its place.
Sherwin Williams, indigo batik (as seen on the island) was carried through the home allowing a visual connection throughout the home while the bright white perimeter cabinets created lightness and dramatic contrast. Brass hardware and decorative lighting gave the space a hint of understated glamour while pulling the warm tones found in the lattice of veining in the cambria quartz countertop.
It is hard not to notice, however, the dramatic impact of the large ceramic, three dimensional, hexagon tiles that highlight the range wall. Companion subway tiles created continuity throughout the expansive kitchen, adorning the backsplash through the rest of the space.

Find the right local pro for your project
 Interiors by Steven G
Barry Grossman Photography
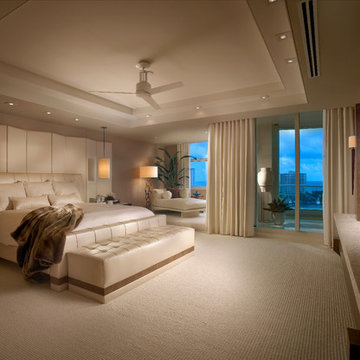
Trendy master carpeted bedroom photo in Miami with no fireplace and gray walls
Trendy master carpeted bedroom photo in Miami with no fireplace and gray walls
 Spire Integrated Systems Inc.
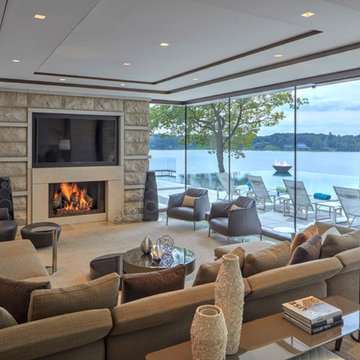
Awarded "Best Smart Home of the Year" by EH, this home's living area features Meridian 7200 speakers and Sonance in wall and in ceiling speakers. In order for the homeowners to enjoy different music and entertainment in various rooms, 14 zones of video and 26 zones of audio were necessary.
To control the lighting and offer privacy from the large windows, Spire installed Lutron motorized shades that seamless descends from hidden soffits.
Spire outfitted this beautiful Michigan home with the best in high quality luxury technology. The homeowners enjoy the complete control of their home, from lighting and shading to entertainment and security, through the Savant Control System.
 b+g design inc.
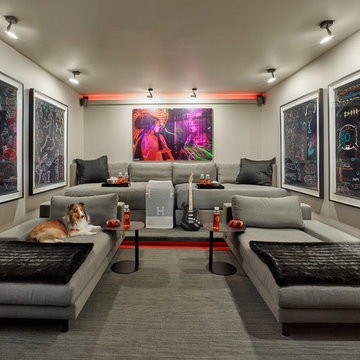
Example of a trendy enclosed carpeted and gray floor home theater design with gray walls
 Bill Fry Construction - Wm. H. Fry Const. Co.
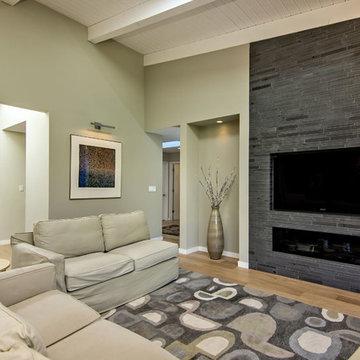
Large transitional open concept medium tone wood floor and brown floor family room photo in San Francisco with beige walls, a ribbon fireplace, a tile fireplace and a wall-mounted tv
 Grand Appliance and TV
The electric is the most commonly overlooked component to any TV install. Everyone seems to consider how they're going to connect everything, but rarely do our customers consider how they'll power it.
It's against code to fish your TV's power cable thru the wall (or any product's power cable for that matter). In addition, installing a traditional outlet behind the TV typically leaves the TV susceptible to a power surge.
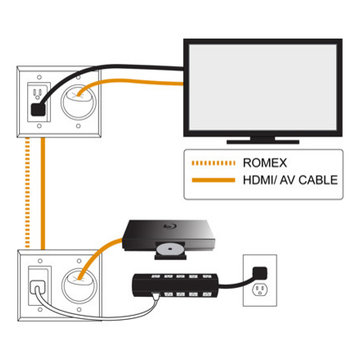
As a result, we typically install a power bridge. See the diagram below.
Start at the bottom right of the diagram with the standard electric outlet. It's important to start with this outlet because you're essentially plugging your TV into this outlet. The bridge simply extends it safely thru the wall to the TV via standard ROMEX electrical wiring.
Aside from avoiding unsightly exposed power cables, the key advantage to the power bridge is the ability to run your entire system -- mounted TV and all components -- thru a surge protector. As shown above, the surge protector plugs into the wall and everything else plugs into it.
When installed, the top and bottom portion of the power bridge are about the size of a standard quad outlet. See below for an image of where we marked off the bottom portion of the power bridge to cutout. This gives you size perspective in comparison to a standard cable or dual electric outlet.
 JMG Audio Video Inc
Kitchen Bar
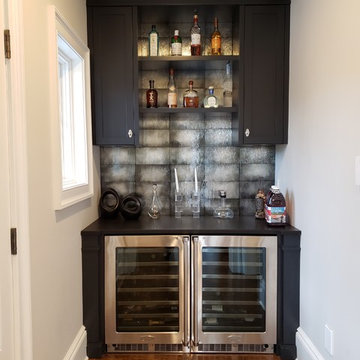
Home bar - transitional single-wall medium tone wood floor and brown floor home bar idea in New York with shaker cabinets, black cabinets, gray backsplash and black countertops
Home bar - transitional single-wall medium tone wood floor and brown floor home bar idea in New York with shaker cabinets, black cabinets, gray backsplash and black countertops

 Home System Solutions
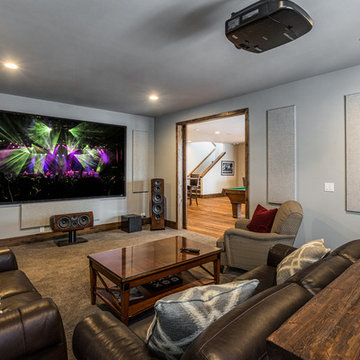
Having the right acoustical treatments and furniture can make a big difference in the sound, like in this dedicated home media room. We installed custom acoustical panels to create the best sound experience.


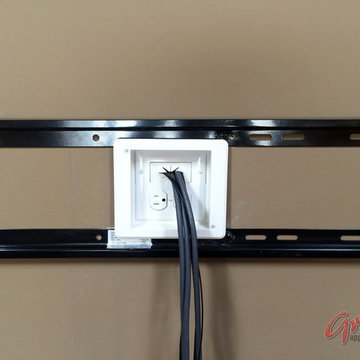 Grand Appliance and TV
Here are a few shots of the fished and finished power bridges. The first one is the top portion installed on its side within the frame of the TV wall bracket.
 DirectHiDef
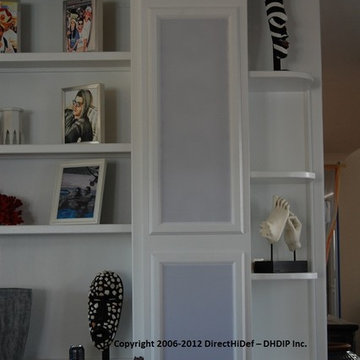
Inspiration for a mediterranean ceramic tile home theater remodel in Orange County with white walls and a media wall

 Electronic Lifestyle Associates (ela)
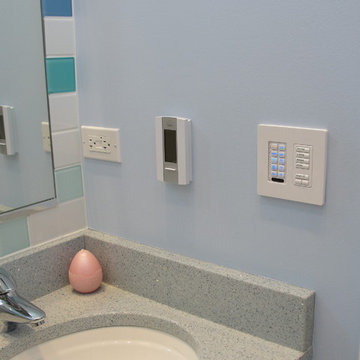
Providing convenience & comfort at the tip of your finger. The Lutron lighting control and music keypad make bath/shower time enjoyable. The Nu-Heat floor warming comes on in the morning and evening for a couple hours respectively. Motion sensors turn off the lighting and music after 30 minutes of inactivity.

 Alquimia Inc
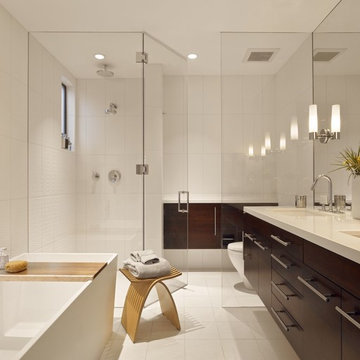
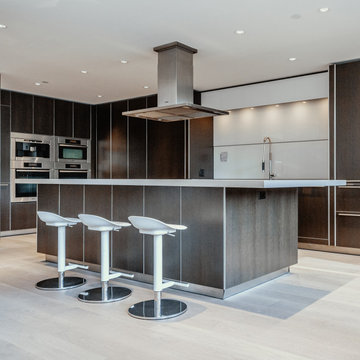
Full Custom Remodel
The project consisted of simple new floors and stairs and a few lights. It just happens that the client wanted the walls removed and the stairs relocated.
The project included new controlled lighting design and automation. Structural steel fabrication to remove all supporting walls and posts on the first floor. Custom doors and hidden hinges detailed out with 1/4 reveals around the doors meeting the floors. We removed door trim and baseboards. Precision sheetrock details and custom wide plank oak floors make this spectacular home feel warm and cozy.
Nothing compares to having a beautiful wide plank flooring in your home.
The home improvement project consisted of simple new floors and stairs and a few lights. It just happens that the client wanted the walls removed and the stairs relocated. Further complicated by 4th-floor location and no freight elevator.
This meant working with local architect Robert Fowler to detail out the structural framing, design, and details to create a beautiful loft gallery space.
Prior to installation, we reached out to the experts @carlislewideplankfloors. They truly understand what it takes to handcraft a floor that was worthy of the ultimate in urban living!
Samples of their engineered wood flooring were mailed and we had a choice of several colors. We tested them day and night in sun and in shadows. Once we had an idea of how this hardwood floors installation would look we ordered a few larger pieces. Solid hardwood flooring samples were also tested for thresholds and transitions.
The client was so happy with the product they increased the square footage and added more rooms to our scope of work.
One tip that was very important for a high-end job using this type of flooring is to lay out the boards ahead of time so you can look for color and wood grain to match. Engineered hardwood floors are a natural product and you will get some variation. Take your time and do the job correctly the first time.
We love this type of wood product and look forward to using them again on other projects.
 Grand Appliance and TV
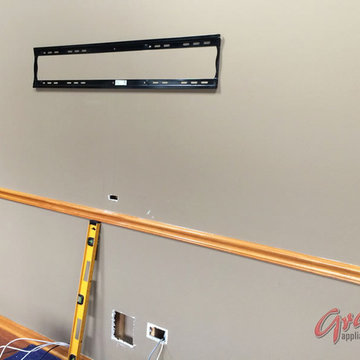
Here's the way it looked with just the TV bracket on the wall.
Notice the large hole cut in near the floor on the image above. This is the cutout for the bottom portion of the power bridge. This will be finished, clean and hidden behind the furniture before we're all done, but it provides a nice bit access point for wiring in the meantime!
Whenever possible, we try to install the top portion of the power bridge directly above the bottom portion. If we do so, we can simply let gravity do the fishing for us in many cases. Even if we need to break out the fish sticks and other tools of the trade, having a straight shot down makes the job MUCH easier.
Most jobs -- this one included -- require two HDMI cables. One to connect the cable/satellite box, one to connect something else (Blu-ray, gaming system, Roku, etc.). Just remember if you're planning a DIY install, if you want it to play on the screen, you need a cable from the device to the TV.
We typically use a four-meter HDMI cable for a job like this. While you may think that's longer than you'd need, the extra length provides much needed flexibility when connecting and placing the components in the cabinet and the TV on the wall.
1