
Search results for "Effective solution" in Home Design Ideas
 KM Home Design
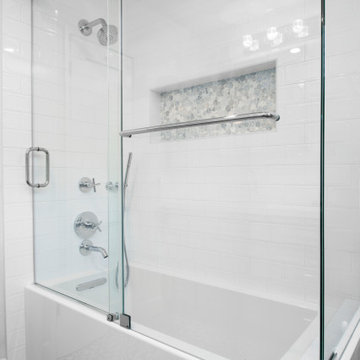
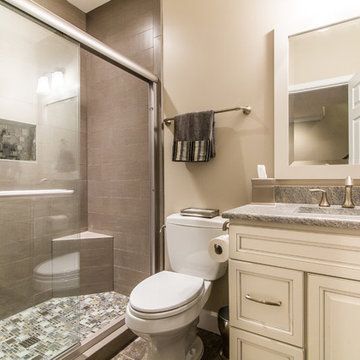
Example of a transitional bathroom design in Los Angeles with recessed-panel cabinets, gray cabinets, solid surface countertops and white countertops
 Realty Restoration, LLC
Casey Fry
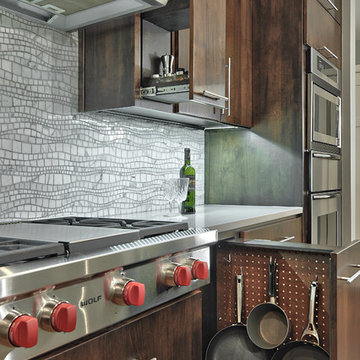
Kitchen - mid-sized contemporary single-wall medium tone wood floor kitchen idea in Austin with flat-panel cabinets, mosaic tile backsplash, stainless steel appliances, quartz countertops, gray backsplash and dark wood cabinets
Kitchen - mid-sized contemporary single-wall medium tone wood floor kitchen idea in Austin with flat-panel cabinets, mosaic tile backsplash, stainless steel appliances, quartz countertops, gray backsplash and dark wood cabinets
 Keith Anding Architect
Michael Hospelt Photography
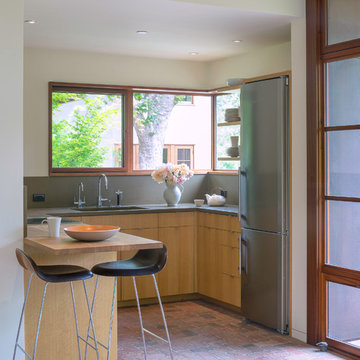
Open concept kitchen - small modern u-shaped brick floor and red floor open concept kitchen idea in San Francisco with flat-panel cabinets, gray backsplash, a peninsula, an undermount sink, light wood cabinets, concrete countertops, stone slab backsplash and stainless steel appliances
Open concept kitchen - small modern u-shaped brick floor and red floor open concept kitchen idea in San Francisco with flat-panel cabinets, gray backsplash, a peninsula, an undermount sink, light wood cabinets, concrete countertops, stone slab backsplash and stainless steel appliances
Find the right local pro for your project
 KraftMaster Renovations
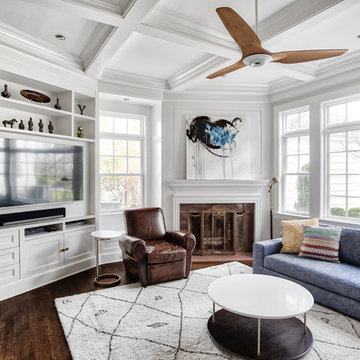
We adjusted the corner cabinetry for the TV to fit perfectly into the space, in addition to giving these homeowners some open shelves to display some treasured family items.
Photos by Chris Veith.

 THORCRAFT Custom Kitchens
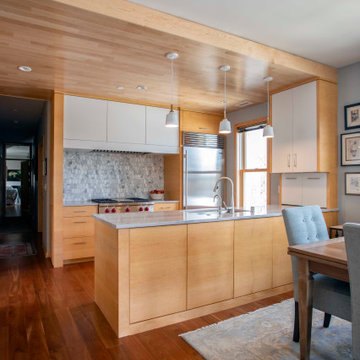
Trendy u-shaped brown floor and dark wood floor eat-in kitchen photo in Minneapolis with an undermount sink, light wood cabinets, gray backsplash, gray countertops, flat-panel cabinets, mosaic tile backsplash, stainless steel appliances and a peninsula
 Phase II, Inc.
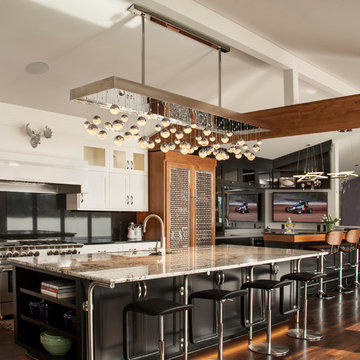
Mid-sized trendy galley dark wood floor open concept kitchen photo in Seattle with an undermount sink, shaker cabinets, white cabinets, black backsplash, an island, granite countertops, stone slab backsplash and stainless steel appliances

Sponsored
Sunbury, OH

J.Holderby - Renovations
Franklin County's Leading General Contractors - 2X Best of Houzz!
 Michael Lewis Architects PC
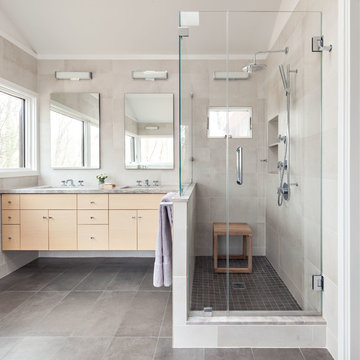
Inspiration for a large contemporary master beige tile, gray tile and ceramic tile ceramic tile and gray floor bathroom remodel in New York with flat-panel cabinets, light wood cabinets, gray walls, an undermount sink, a hinged shower door and gray countertops
 Etelamaki Architecture
Photos: MIkiko Kikuyama
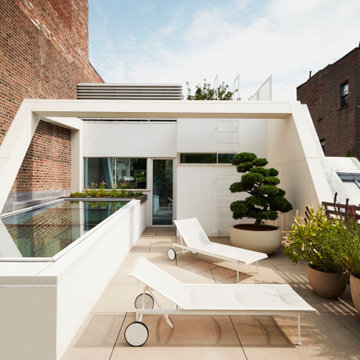
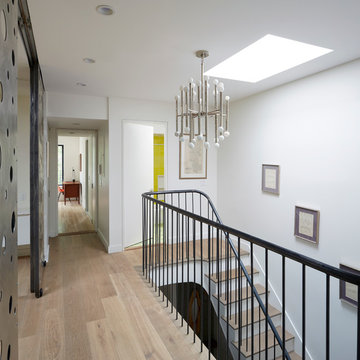
Home design - contemporary home design idea in New York
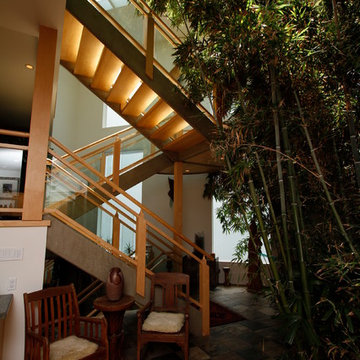
Home design - contemporary home design idea in New York
 Sandra Costa Design Group
I created my team in 1998 that evolved into a Global Group of highly talented and diverse professionals. We tend to focus on sustainable solutions and state of the art smart technology. My work includes but is not limited to the design, planning, project management of entertainment projects, restaurants, Health Center and Hospital Design, Mansions, High Rise Complexes, and multi-use projects. We have the experience to provide cost-effective solutions and innovative exciting fresh new ideas. In addition, we bring a professional commitment to being on time and within the budget. Freshing change, as most contractors will only give allowances and I like to give hard costs. I design and manufacture about 70% of the furnishing shown in my projects. The rest I buy from really great brands. I post various pieces on my furniture site however, call me when you want to go over an idea and I can give you a price on it.
Original Design and construction by Sandra Costa
Venice Retreat
Residential Images by Angelo Costa 310 985 5509


 Industrial Projects
Creating a comfortable outdoor living space is a priority for many homeowners and DIY enthusiasts. With rising summer temperatures, installing a shade tarp in your backyard offers an affordable and effective solution for sun protection. We’ve developed this detailed, step-by-step guide to help you confidently install a shade tarp that not only shields you from the sun but also adds aesthetic appeal to your outdoor area.
Benefits of Installing a Backyard Shade Tarp
Before diving into the installation process, let’s explore the key benefits of having a backyard shade tarp:
Provides UV Protection: Keeps your family and guests safe from harmful sun exposure.
Reduces Outdoor Temperatures: Creates a cooler, more enjoyable outdoor space.
Protects Outdoor Furniture: Extends the life of patio furniture by reducing sun damage.
Enhances Outdoor Aesthetics: Adds a modern, stylish look to your yard.
Budget-Friendly: More affordable compared to permanent structures like pergolas.
Materials and Tools You’ll Need
To begin your DIY backyard shade project, gather the following materials and tools:
Materials:
Shade tarp (UV-resistant and breathable)
Sturdy posts or existing structures (trees, fences, walls)
Mounting hardware (eye bolts, D-rings, turnbuckles, snap hooks)
Nylon or polyester rope, or stainless-steel wire
Concrete (if installing new posts)
Tools:
Power drill
Measuring tape
Level
Ladder
Wrench or adjustable spanner
Post hole digger (if installing new posts)
Step 1: Plan Your Shade Tarp Layout
The first step in installing your backyard shade tarp is careful planning. Take time to assess your outdoor area and answer these key questions:
Where is the sun’s path throughout the day?
What size and shape of tarp best suits your space?
Will you anchor the tarp to existing structures or install new posts?
What height do you want the tarp to sit at for maximum shade and airflow?
Pro Tip: Use string or garden hoses to visualize the tarp layout on the ground before making permanent decisions.
Step 2: Measure and Mark Anchor Points
Once you’ve determined the tarp’s location and orientation:
Measure the tarp dimensions.
Mark the exact points where each corner of the tarp will be anchored.
Ensure that the anchor points are at least 5–10% longer than the tarp size to allow for tensioning and slight adjustments.
Consider slope angles for water runoff. Aim for at least a 20-degree angle to prevent water pooling on the tarp.
Step 3: Install Support Posts (If Necessary)
If your backyard lacks existing anchor points like trees or fences, you’ll need to install sturdy support posts:
Dig post holes at least 24 inches deep and 8-12 inches wide for stability.
Set posts in concrete, making sure they remain plumb and level.
Allow the concrete to cure for at least 24–48 hours before applying tension from the tarp.
We recommend using pressure-treated wood, galvanized steel poles, or aluminum posts for longevity and strength.
Step 4: Install Mounting Hardware
With your anchor points ready, it’s time to install the necessary hardware:
Attach eye bolts or pad eyes securely into walls, posts, or other fixed structures.
For added flexibility and adjustability, install turnbuckles or tensioners to fine-tune the tarp’s tightness.
Connect snap hooks, D-rings, or carabiners to make assembly and disassembly easier.
Make sure all hardware is rated for outdoor use to prevent rust and corrosion.
Step 5: Attach and Tension the Shade Tarp
Now it’s time for the most satisfying part—mounting the shade tarp:
Begin by attaching one corner of the tarp to an anchor point.
Gradually attach the remaining corners, moving diagonally for even tension.
Adjust each connection point using your turnbuckles, ropes, or cables.
Pull the tarp tight enough to avoid sagging, but not so tight that it risks tearing.
Check that the tarp maintains the desired slope for rainwater runoff and adjust tension as needed.
Step 6: Final Adjustments and Safety Check
Before enjoying your new shaded area:
Inspect all anchor points and hardware for stability.
Test the tarp’s tension and make adjustments for even distribution.
Ensure that no sharp edges or loose connections remain that could damage the tarp or pose a safety hazard.
Confirm that the tarp is secure in windy conditions by giving it a gentle tug.
If you live in an area with frequent high winds, consider removing the tarp during storms to prevent damage.
Step 7: Enjoy Your Shaded Backyard Oasis
Once installed, your backyard shade tarp provides a comfortable and protective space for outdoor gatherings, relaxation, or family activities. You can decorate underneath with outdoor furniture, string lights, or potted plants to create a personalized outdoor retreat.
Maintenance Tips for Long-Lasting Shade Tarp Performance
To extend the life of your shade tarp, follow these maintenance guidelines:
Regularly check for wear and tear, especially around anchor points and seams.
Clean the tarp periodically with mild soap and water to prevent mildew buildup.
Store the tarp indoors during harsh weather seasons if it's not designed for year-round use.
Tighten hardware as needed to maintain proper tension and avoid sagging.
By following these simple care steps, your shade tarp will continue to deliver years of sun protection and outdoor comfort.
Conclusion: Upgrade Your Outdoor Space with a DIY Shade Tarp
Installing a shade tarp in your backyard is a cost-effective and rewarding DIY project. With careful planning, quality materials, and proper installation techniques, you’ll enjoy cool, shaded outdoor living all season long. This step-by-step guide ensures your project goes smoothly from start to finish.
 KBF by Audi Contractors
Visit Our State Of The Art Showrooms!
New Fairfax Location:
3891 Pickett Road #001
Fairfax, VA 22031
Leesburg Location:
12 Sycolin Rd SE,
Leesburg, VA 20175
Renee Alexander Photography
Sponsored
Columbus, OH

Wannemacher Interiors
Customized Award-Winning Interior Design Solutions in Franklin Cnty OH

 Bowley Builders
Irvin Serrano
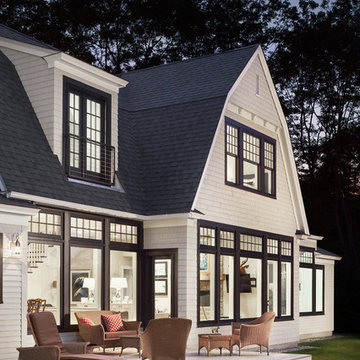
Beach style white two-story wood exterior home photo in Portland Maine with a gambrel roof
Beach style white two-story wood exterior home photo in Portland Maine with a gambrel roof

 thea home inc
Tessa Neustadt
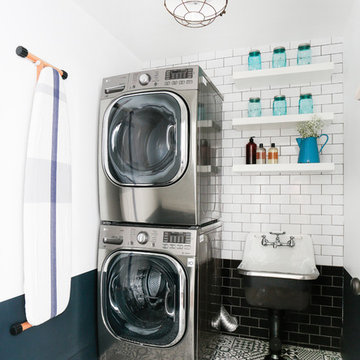
Transitional multicolored floor dedicated laundry room photo in Los Angeles with open cabinets, white cabinets, multicolored walls and a stacked washer/dryer
Transitional multicolored floor dedicated laundry room photo in Los Angeles with open cabinets, white cabinets, multicolored walls and a stacked washer/dryer


 Risa Boyer Architecture
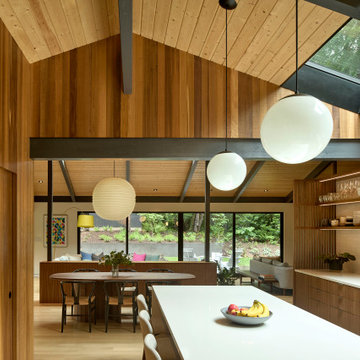
Inspiration for a 1950s l-shaped light wood floor and exposed beam eat-in kitchen remodel in Portland with a drop-in sink, medium tone wood cabinets, quartz countertops, white backsplash, subway tile backsplash, stainless steel appliances, an island and white countertops
 Johnston Home Interior Design
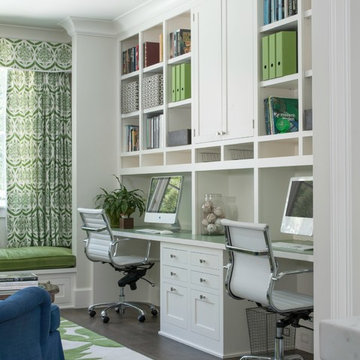
This study off the kitchen acts as a control center for the family. Kids work on computers in open spaces, not in their rooms. Green linoleum covers the desk for a durable and cleanable surface. The cabinets were custom built for the space. The chairs are from Overstock.com. photo: David Duncan Livingston
 Aspire Fine Homes
Felix Sanchez (www.felixsanchez.com)
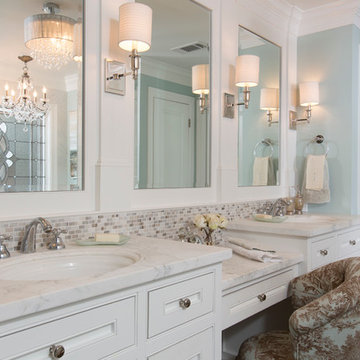
Inspiration for a huge timeless master mosaic tile, beige tile and gray tile dark wood floor, brown floor and double-sink claw-foot bathtub remodel in Houston with an undermount sink, white cabinets, blue walls, marble countertops, white countertops, recessed-panel cabinets and a built-in vanity
Inspiration for a huge timeless master mosaic tile, beige tile and gray tile dark wood floor, brown floor and double-sink claw-foot bathtub remodel in Houston with an undermount sink, white cabinets, blue walls, marble countertops, white countertops, recessed-panel cabinets and a built-in vanity
1