
Search results for "Epoxy basement" in Home Design Ideas



 Ollin Stone
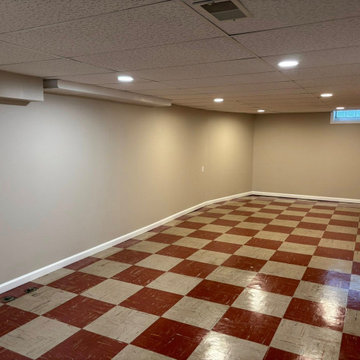
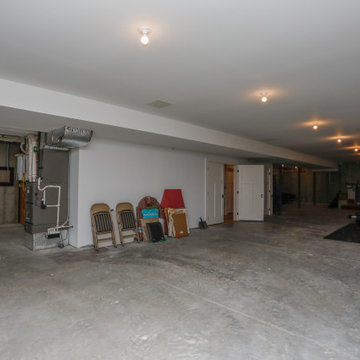
The cutting-edge technology and versatility we have developed over the years have resulted in four main line of Agglotech terrazzo — Unico. Small chips and contrasting background for a harmonious interplay of perspectives that lends this material vibrancy and depth.
Find the right local pro for your project



 Bradford Custom Homes & Remodeling
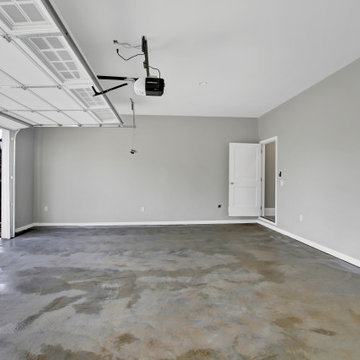
This side view shows the garage’s open floor area and finished gray walls. A white interior door sits at the far end, beside the overhead door opening.


Sponsored
Sunbury, OH

J.Holderby - Renovations
Franklin County's Leading General Contractors - 2X Best of Houzz!


 Global Garage Flooring and Design
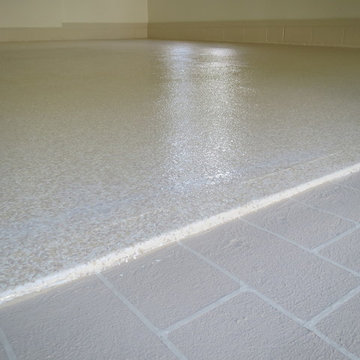
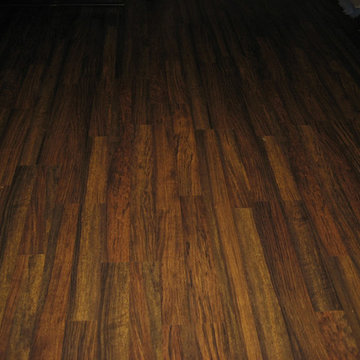
This garage floor was in dire need of a transformation. As you can see from the before picture, the slab was in pretty bad shape. The epoxy paint was all but worn off and years of water and road salts ate away at the slab causing significant spalling. We repaired the damaged floor and applied our polyaspartic floor coating in 1/4″ Brown Trout.
It took just one day to transform this slab from a disaster to a floor the homeowner will be thrilled to park his motorcycle collection on!

 Shelli Dierck - Closet Factory DFW
Inspiration for a large farmhouse gender-neutral carpeted and beige floor reach-in closet remodel with shaker cabinets and white cabinets


Sponsored
Sunbury, OH
J.Holderby - Renovations
Franklin County's Leading General Contractors - 2X Best of Houzz!




Sponsored
Delaware, OH

Buckeye Basements, Inc.
Central Ohio's Basement Finishing ExpertsBest Of Houzz '13-'21



 Tile Doctor Ltd
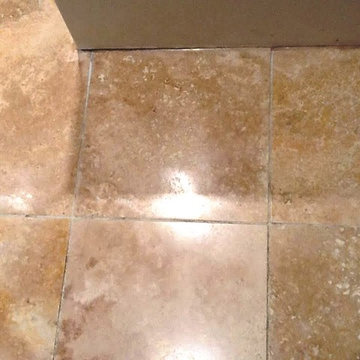
Earlier this month I was in the town of Northampton, to see a client who had reported a problem with her Travertine kitchen tiles. Basically the grout between the tiles was badly stained, to the point of appearing almost black.
The Travertine tiles were also in need of some maintenance, and so I was commissioned to provide a clean, polish and a fresh seal. Travertine is a popular choice for kitchen flooring due to its relatively high durability and distinct features. My task was to get this floor back to looking its best.
My priority was to address the badly stained grout so I cleaned the grout lines by hand using a combination of hand brushes and Tile Doctor Grout Clean-Up. The surface was pre-wet with water, before a solution of Grout-Clean Up and clean water was applied to the surface. The brushes were then used to agitate the solution. Grout Clean-Up contains a mix of concentrated phosphoric acid and cleaner designed to penetrate below the surface of the grout to remove grout stains, smears and mineral deposits.
As you can see from the photos, Grout Clean-Up made an immediate difference to the appearance of the tiles. This product is suitable for use on masonry and acid resistant surfaces. After completing the clean, I gave the floor a thorough rinse to neutralise the floor after cleaning and removed as much of the water as possible using a wet vacuum.
Following this, I paid attention to the tiles themselves, cleaning them to achieve a polished effect by using a system of burnishing pads. Tile Doctor burnishing pads comprise a set of four pads varying in grit type, from Coarse and Medium to Fine and Very Fine. I applied all four pads in turn to the floor, stopping to rinse the floor in between each. The result was a high quality polished finish.
I then left the floor to dry completely overnight, before commencing the seal the next day. My choice of sealing product was Tile Doctor Colour Grow which is a colour intensifying sealer that both enhances the natural appearance of the stone and provides a durable surface seal.
My client was very pleased with the finished product, and left the following comment on the Tile Doctor feedback system: “efficiently done”, yielding “good results”.
Phil Vissian
Northamptonshire Tile Doctor
129