
Search results for "Friend posted" in Home Design Ideas
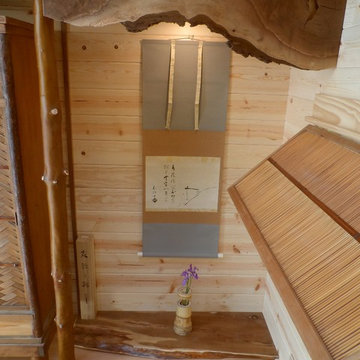
 Oregon Cottage Company
Example of a small zen open concept light wood floor living room design in Portland with brown walls and no tv

 Industrial Projects
Creating a comfortable outdoor living space is a priority for many homeowners and DIY enthusiasts. With rising summer temperatures, installing a shade tarp in your backyard offers an affordable and effective solution for sun protection. We’ve developed this detailed, step-by-step guide to help you confidently install a shade tarp that not only shields you from the sun but also adds aesthetic appeal to your outdoor area.
Benefits of Installing a Backyard Shade Tarp
Before diving into the installation process, let’s explore the key benefits of having a backyard shade tarp:
Provides UV Protection: Keeps your family and guests safe from harmful sun exposure.
Reduces Outdoor Temperatures: Creates a cooler, more enjoyable outdoor space.
Protects Outdoor Furniture: Extends the life of patio furniture by reducing sun damage.
Enhances Outdoor Aesthetics: Adds a modern, stylish look to your yard.
Budget-Friendly: More affordable compared to permanent structures like pergolas.
Materials and Tools You’ll Need
To begin your DIY backyard shade project, gather the following materials and tools:
Materials:
Shade tarp (UV-resistant and breathable)
Sturdy posts or existing structures (trees, fences, walls)
Mounting hardware (eye bolts, D-rings, turnbuckles, snap hooks)
Nylon or polyester rope, or stainless-steel wire
Concrete (if installing new posts)
Tools:
Power drill
Measuring tape
Level
Ladder
Wrench or adjustable spanner
Post hole digger (if installing new posts)
Step 1: Plan Your Shade Tarp Layout
The first step in installing your backyard shade tarp is careful planning. Take time to assess your outdoor area and answer these key questions:
Where is the sun’s path throughout the day?
What size and shape of tarp best suits your space?
Will you anchor the tarp to existing structures or install new posts?
What height do you want the tarp to sit at for maximum shade and airflow?
Pro Tip: Use string or garden hoses to visualize the tarp layout on the ground before making permanent decisions.
Step 2: Measure and Mark Anchor Points
Once you’ve determined the tarp’s location and orientation:
Measure the tarp dimensions.
Mark the exact points where each corner of the tarp will be anchored.
Ensure that the anchor points are at least 5–10% longer than the tarp size to allow for tensioning and slight adjustments.
Consider slope angles for water runoff. Aim for at least a 20-degree angle to prevent water pooling on the tarp.
Step 3: Install Support Posts (If Necessary)
If your backyard lacks existing anchor points like trees or fences, you’ll need to install sturdy support posts:
Dig post holes at least 24 inches deep and 8-12 inches wide for stability.
Set posts in concrete, making sure they remain plumb and level.
Allow the concrete to cure for at least 24–48 hours before applying tension from the tarp.
We recommend using pressure-treated wood, galvanized steel poles, or aluminum posts for longevity and strength.
Step 4: Install Mounting Hardware
With your anchor points ready, it’s time to install the necessary hardware:
Attach eye bolts or pad eyes securely into walls, posts, or other fixed structures.
For added flexibility and adjustability, install turnbuckles or tensioners to fine-tune the tarp’s tightness.
Connect snap hooks, D-rings, or carabiners to make assembly and disassembly easier.
Make sure all hardware is rated for outdoor use to prevent rust and corrosion.
Step 5: Attach and Tension the Shade Tarp
Now it’s time for the most satisfying part—mounting the shade tarp:
Begin by attaching one corner of the tarp to an anchor point.
Gradually attach the remaining corners, moving diagonally for even tension.
Adjust each connection point using your turnbuckles, ropes, or cables.
Pull the tarp tight enough to avoid sagging, but not so tight that it risks tearing.
Check that the tarp maintains the desired slope for rainwater runoff and adjust tension as needed.
Step 6: Final Adjustments and Safety Check
Before enjoying your new shaded area:
Inspect all anchor points and hardware for stability.
Test the tarp’s tension and make adjustments for even distribution.
Ensure that no sharp edges or loose connections remain that could damage the tarp or pose a safety hazard.
Confirm that the tarp is secure in windy conditions by giving it a gentle tug.
If you live in an area with frequent high winds, consider removing the tarp during storms to prevent damage.
Step 7: Enjoy Your Shaded Backyard Oasis
Once installed, your backyard shade tarp provides a comfortable and protective space for outdoor gatherings, relaxation, or family activities. You can decorate underneath with outdoor furniture, string lights, or potted plants to create a personalized outdoor retreat.
Maintenance Tips for Long-Lasting Shade Tarp Performance
To extend the life of your shade tarp, follow these maintenance guidelines:
Regularly check for wear and tear, especially around anchor points and seams.
Clean the tarp periodically with mild soap and water to prevent mildew buildup.
Store the tarp indoors during harsh weather seasons if it's not designed for year-round use.
Tighten hardware as needed to maintain proper tension and avoid sagging.
By following these simple care steps, your shade tarp will continue to deliver years of sun protection and outdoor comfort.
Conclusion: Upgrade Your Outdoor Space with a DIY Shade Tarp
Installing a shade tarp in your backyard is a cost-effective and rewarding DIY project. With careful planning, quality materials, and proper installation techniques, you’ll enjoy cool, shaded outdoor living all season long. This step-by-step guide ensures your project goes smoothly from start to finish.
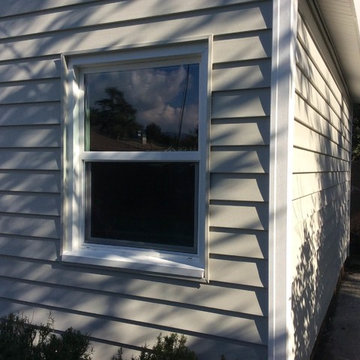
 Ameriside
Close-up of Energy Star rated LoE window, siding, corner post, and soffit. The insulated vinyl siding is in Greystone with white corner posts and white vinyl soffit up in the eaves.
Find the right local pro for your project
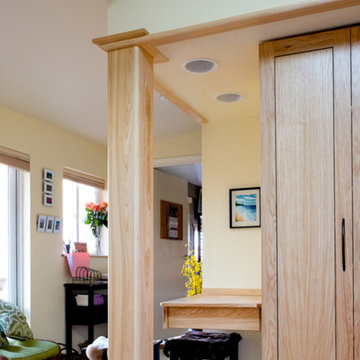
 Walls of Time Builders, LLC
Inspiration for a craftsman beige floor hallway remodel in San Diego with beige walls
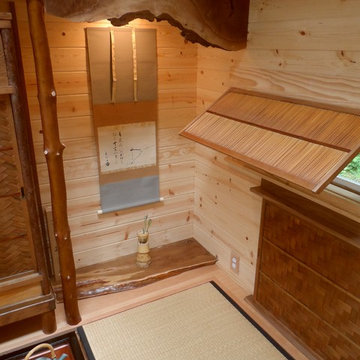 Oregon Cottage Company
Small open concept light wood floor living room photo in Portland with brown walls and no tv

 Beyond Beige Interior Design Inc.
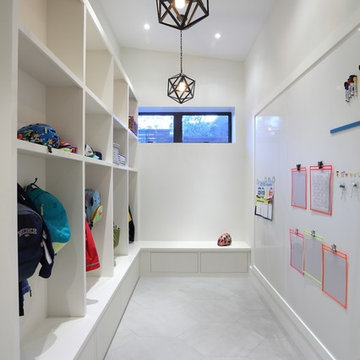
Beyond Beige Interior Design | www.beyondbeige.com | Ph: 604-876-3800 | Best Builders | Ema Peter Photography | Furniture Purchased From The Living Lab Furniture Co.

Sponsored
Sunbury, OH

J.Holderby - Renovations
Franklin County's Leading General Contractors - 2X Best of Houzz!
 Tucker Homes
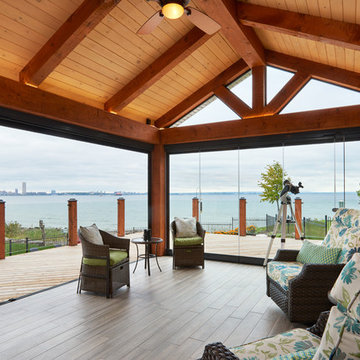
This sunroom is 14'x20' with an expansive view of the water. The Lumon balcony glazing operates to open the 2 walls to the wrap around deck outside. The view is seamless through the balcony glazing and glass railing attached to matching timber posts. The floors are a wood look porcelain tile, complete with hydronic in-floor heat. The walls are finished with a tongue and groove pine stained is a custom colour made by the owner. The fireplace surround is a mosaic wood panel called "Friendly Wall". Roof construction consists of steel beams capped in pine, and 6"x8" pine timber rafters with a pine decking laid across rafters.
Esther Van Geest, ETR Photography
 The Workroom
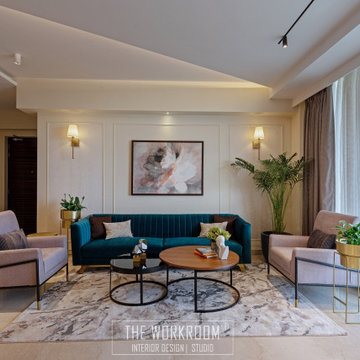
The interiors of this high end luxury apartment spanning over 3500sqft in M3M GolfEstate, one of the most sought after societies in G-town, is an exquisite blend of classic and contemporary aesthetics dominated by abundant natural light & fresh breeze swooshing through. This 5 bedroom home belonging to a family of 2 and a shih tzu, had an advantage of 10 feet high ceilings, which contributed immensely to the grandeur of the space.
Formal area-
On entering the apartment, the visitor will be blown by the resplendence of the formal area. The use of different textures along with muted tones with a subtle pop of teal and tall palms, the luster of exotic backlit marble, and a very unconventional ceiling design helped conjure the chic and welcoming vibe.
For the dining area, we let the gift of natural light play a major role in making the otherwise narrow space look more airy and bright by not only using lighter hues of beige and ivory, but also by adding just a single layer of sheer curtain.
We decided to steer away from the typical ‘chairs and console’ look for the 10 feet wide and 20 feet long passage leading to the bedrooms, and went with an offbeat conception of a crystal chandelier hovering over a state of the art horn and bone round table, that captivates anyone and everyone.
The smart play of wooden reapers on the ceiling, under lit onyx for the front counter, and a dramatic black & white marble on the backsplash make for the perfect ‘fun evening with friends’ corner as it exudes the right amount of warmth with brown tones, and an oomph factor with the rich looking onyx.
Master bedroom-
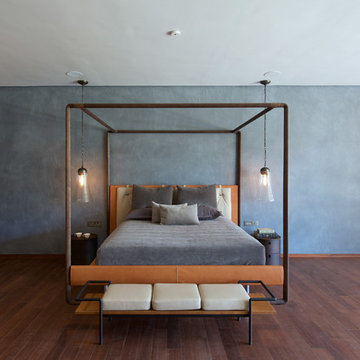
The client's vision of having a cool toned yet welcoming bedroom was achieved by using grey and brown hues. The flooring, which sets the main color scheme of any space, was swapped with glossy grey tiles from the warm beige Diana, to maximize the illusion of a bigger space. We took the liberty of accentuating the room with a faux archway of wooden louvered panels, which not only complement the rustic yet clean TV unit and wall color, but also take care of the cozy and relaxing vibe. To add some bling and that luxury quotient to the space, we chose a good quality vegan leather for the bed with some brushed gold metal strips on the headboard. In the form of color, some pink accents were used on armchairs, rugs and artworks, which was a crucial vastu rectification to make up for the nitty gritties.
Home office-
The one good that came with the pandemic was the need for most clients to have a home office, which for us designers meant that we can bring to life our very own rendition of the oh-so-aesthetic pinterest-y den / office concepts we come across. For this space, we kept the design minimal, clean and timeless with a classic tan chesterfield, an exposed white brick wall, a dark ceiling with customized sputnik inspired color changing lights, and a massive workstation doubling as a gaming altar for the end user. The client’s only wish was to have an office that was fit to entertain his friends post work hours.

 CHATTELS IN DESIGN
Chattels In Design custom outdoor cedar light posts in our Victorian style light header. Choose any light fixture of your choice. Custom light post colors available. Shown in our Viking Grey stain. Made by our team in Ontario, Canada.
www.chattelsindesign.com
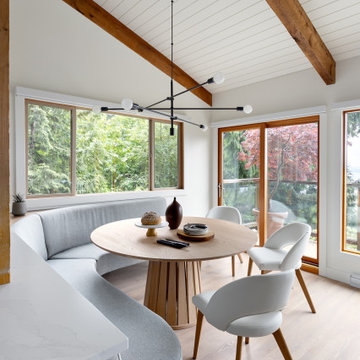
 Simply Home Decorating
The new owners of this 1974 Post and Beam home originally contacted us for help furnishing their main floor living spaces. But it wasn’t long before these delightfully open minded clients agreed to a much larger project, including a full kitchen renovation. They were looking to personalize their “forever home,” a place where they looked forward to spending time together entertaining friends and family.
In a bold move, we proposed teal cabinetry that tied in beautifully with their ocean and mountain views and suggested covering the original cedar plank ceilings with white shiplap to allow for improved lighting in the ceilings. We also added a full height panelled wall creating a proper front entrance and closing off part of the kitchen while still keeping the space open for entertaining. Finally, we curated a selection of custom designed wood and upholstered furniture for their open concept living spaces and moody home theatre room beyond.
This project is a Top 5 Finalist for Western Living Magazine's 2021 Home of the Year.


Sponsored
Columbus, OH

Structural Remodeling
Franklin County's Heavy Timber Specialists | Best of Houzz 2020!
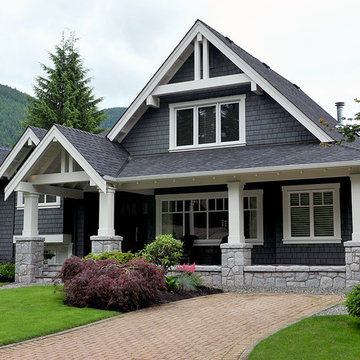
 Matthew T. Hansen Architect
Large craftsman blue two-story mixed siding exterior home idea in Vancouver with a shingle roof
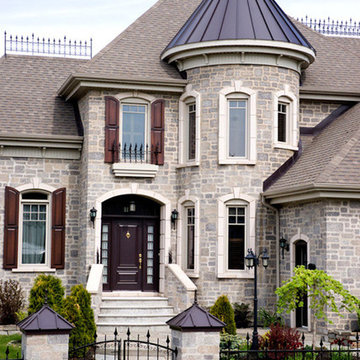
 Dundas WoodWindows & Specialities Inc.
Mid-sized victorian gray two-story stone house exterior idea in Toronto with a hip roof and a shingle roof
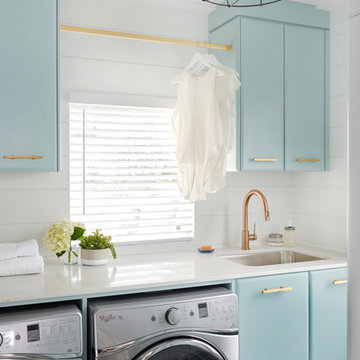
 Soda Pop Design Inc.
Stephani Buchman Photography
Transitional single-wall dedicated laundry room photo in Toronto with an undermount sink, blue cabinets, white walls and a side-by-side washer/dryer
Transitional single-wall dedicated laundry room photo in Toronto with an undermount sink, blue cabinets, white walls and a side-by-side washer/dryer
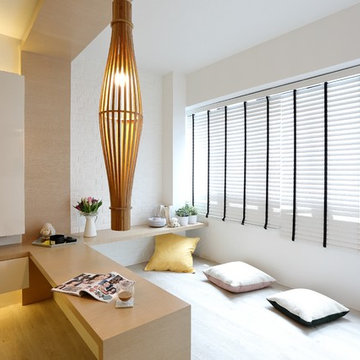
 Arte Living Design Studio Pte Ltd
Martin T
Danish light wood floor family room photo in Singapore with white walls
Danish light wood floor family room photo in Singapore with white walls
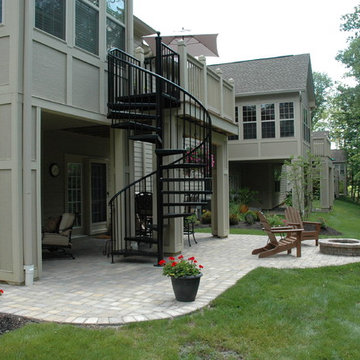
Sponsored
Columbus, OH
Free consultation for landscape design!

Peabody Landscape Group
Columbus' Reliable Landscape Design & Contracting
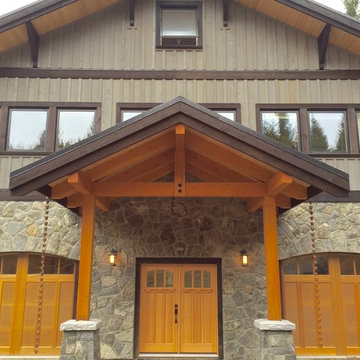
 SPACE Building
Example of a large arts and crafts gray three-story mixed siding gable roof design in Vancouver
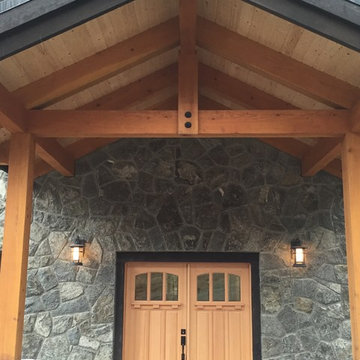 SPACE Building
Example of a large arts and crafts gray three-story mixed siding gable roof design in Vancouver
9