
Search results for "Leaving" in Home Design Ideas
 Cornerstone Remodeling, LLC
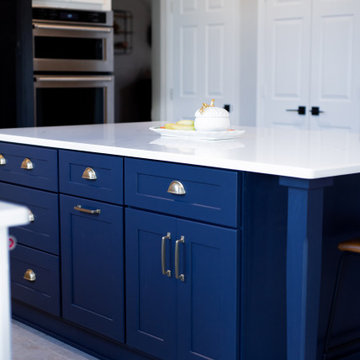
Inspiration for a mid-sized farmhouse l-shaped ceramic tile and beige floor eat-in kitchen remodel in Baltimore with a single-bowl sink, raised-panel cabinets, blue cabinets, quartz countertops, white backsplash, ceramic backsplash, stainless steel appliances, an island and white countertops
 Property Pros Construction, Inc.
Example of a mid-sized trendy 3/4 beige tile and matchstick tile terra-cotta tile tub/shower combo design in San Francisco with flat-panel cabinets, black cabinets, a two-piece toilet, beige walls and a pedestal sink
 Paper Moon Painting
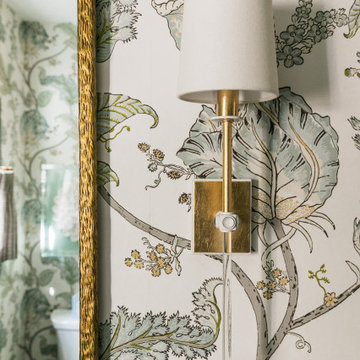
The design team at Bel Atelier selected lovely, sophisticated colors throughout the spaces in this elegant Alamo Heights home.
Wallpapered powder bath with vanity painted in Farrow and Ball's "De Nimes"
Find the right local pro for your project




 PrintMySpace
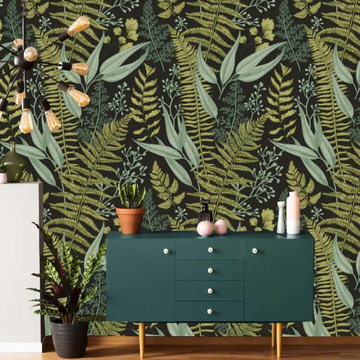
Buy Tropical Green Fern Leaf Wallpaper Online. Great quality wallpapers from printmyspace.com. Shop for a large range of wallpaper and mural patterns on www.etsy.com/shop/printmyspace. Free Shipping to USA, UK, Canada. Very low shipping charges to Australia and Europe!
 Full Bloom Cottage
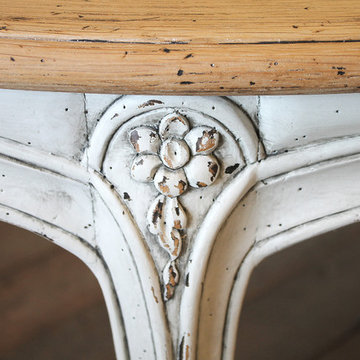
20th century French Provincial parquetry dining table. Beautiful French Provincial dining table with natural wood parquetry top. Table base has been painted in a soft oyster white finish, with subtle distressed edges, and finished with an antique glaze. Table is 48" diameter, with two 18" leaves to make this table 84" long Measures: 84" total length 48" W 30" H leg clearance 25" H Two 18" leaves 48 RD without leaves.
 Full Bloom Cottage
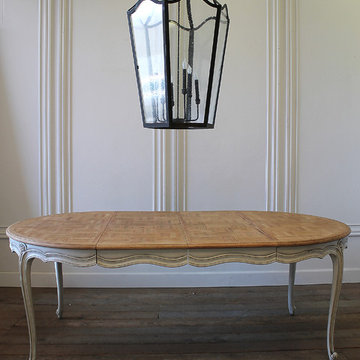
20th century French Provincial parquetry dining table. Beautiful French Provincial dining table with natural wood parquetry top. Table base has been painted in a soft oyster white finish, with subtle distressed edges, and finished with an antique glaze. Table is 48" diameter, with two 18" leaves to make this table 84" long Measures: 84" total length 48" W 30" H leg clearance 25" H Two 18" leaves 48 RD without leaves.
 Ashley Salmons Interiors
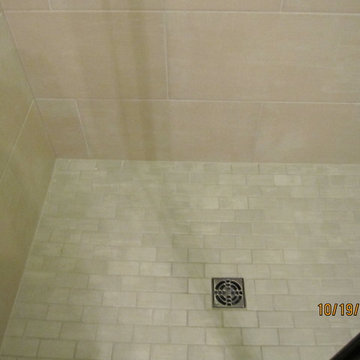
A close-up of guest bath floor tile.
Small transitional home design photo in Other
Small transitional home design photo in Other
 Cornerstone Remodeling, LLC
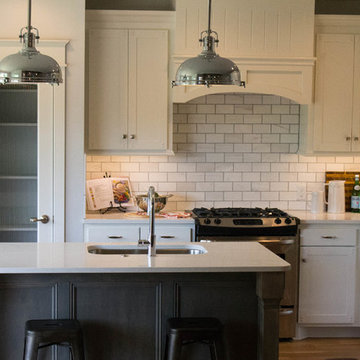
Inspiration for a mid-sized cottage l-shaped ceramic tile and beige floor eat-in kitchen remodel in Baltimore with a single-bowl sink, raised-panel cabinets, quartz countertops, white backsplash, ceramic backsplash, stainless steel appliances, an island and white countertops


 Meredith Hayward Richard
Meredith Richard
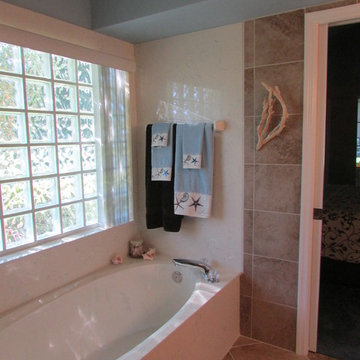
Bathroom - mid-sized transitional master brown tile and porcelain tile porcelain tile bathroom idea in Orlando with raised-panel cabinets, light wood cabinets, blue walls, an undermount sink and granite countertops
Bathroom - mid-sized transitional master brown tile and porcelain tile porcelain tile bathroom idea in Orlando with raised-panel cabinets, light wood cabinets, blue walls, an undermount sink and granite countertops
 Ashley Salmons Interiors
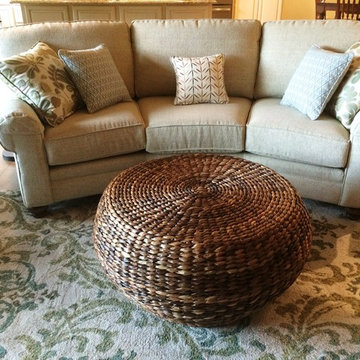
Here is photo of our conversation-style sofa, also ordered through Brashear's furniture, with our banana leaf coffee table, both perched on our beautiful and soft area rug from Loloi rugs.


 Tile Doctor Ltd
My client had recently moved into a bungalow in Godalming where they inherited the Limestone tiled kitchen floor pictured below. The previous owner had not looked after the floor very well and by the time they moved in it was pretty filthy. Limestone is a natural but porous stone where, unless sealed, attracts dirt into its tiny holes and as you would expect Cream Limestone shows the dirt easily. The protective seal had long since worn off this floor and was now ingrained with dirt it was now looking permanently dirty.
Before quoting I conducted a small test clean to work out the best method to renovate the stone and this also gives the client a good idea of how the floor will look after its finished. They were delighted with the initial result and happy with my quote gave me the go ahead.
On arrival first I helped the customer remove his tables and chairs and I then set about tapping up the plinths in the kitchen and the skirtings to protect them from cleaning solutions and equipment. The cleaning equipment I have invested in works more efficiently in open spaces, so it’s worth spending time at the beginning preparing the area first.
Next, I used a deck brush to apply a mixture of water and Tile Doctor Pro-Clean to the dirtiest tiles. Tile Doctor Pro-Clean works well when left to dwell for ten minutes or so. I also applied the same product to the grout over half the room so it could get a head start breaking down the dirt. Then using a stiff brush, I scrubbed the grout clean. Once it was worked loose, I extracted the now dirty solution with a wet vacuum.
With the grout clean I turned my attention back to the tiles with where the Pro-Clean had been left to soak in. Giving them a quick brush, I noted that what appeared to be permanently ingrained dirt had now come loose. To get the tiles really clean I used a 17″ rotary machine fitted with diamond encrusted buffer pads. This removes the tiny dots of dirt on the stone and with it comes any existing sealer and dirt.
A set of four burnishing pads were used, starting with a 400-grit, and finishing with a 3000-grit pad. The first 400-grit pad is coarse, and the grits become smoother as you work through the set. Water is used to lubricate the process and the released dirt is extracted in-between using the wet vacuum mentioned earlier. This process does take time but by the end of day one the floor was looking a lot better.
The next step is sealing however the floor needs to be bone dry for that, so I left a couple of industrial fans in place and left the Limestone to dry off overnight.
Returning the following day my first job was to ensure the floor was dry by taking multiple moisture readings with a damp meter. The readings were good, so I was able to make a start applying the sealer which for this floor was Tile Doctor Ultra Seal.
Ultra-Seal is an impregnating sealer that soaks into those small holes in the stone I mentioned earlier, I occupies the pores thus preventing dirt from becoming ingrained. The other feature of this sealer is it doesn’t change the appearance or colour of the stone leaving it with a very natural finish. Two coats of sealer were applied, leaving the seal to dry between each coat.
After the final coat was dried, I gave it a final polish with a soft nylon pad and the floor was finished. Before leaving we discussed after care which for this floor, I recommended Tile Doctor Stone Soap and I requested that the customer to stay out of the kitchen for a couple of hours while the sealer cured. They were over the moon with the new floor and could not believe the difference it had made to their kitchen.
Rupert Mcleod
West Surrey Tile Doctor
87