
Search results for "Risk developing" in Home Design Ideas
 Custom Surface Solutions
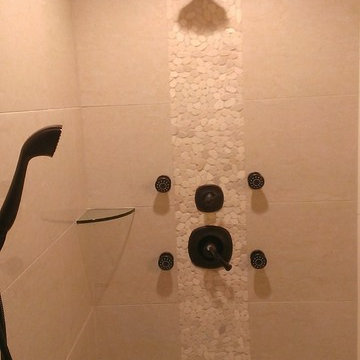
Custom Surface Solutions (www.css-tile.com) - Owner Craig Thompson (512) 430-1215. This project shows the remodel of a master bathroom with before and after pictures of the project. 32" x 16" tile was used on the walls and 32 x 8" tile on the floor. The accent and shower pan tile is flat pebble stones. The faucets are Delta.
 Seed Studio Landscape Design
images by: Travis Rhoads Photography
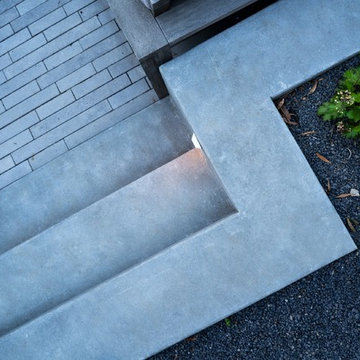
Photo of a small modern drought-tolerant and full sun backyard concrete paver landscaping in San Francisco with a fire pit.
Photo of a small modern drought-tolerant and full sun backyard concrete paver landscaping in San Francisco with a fire pit.

Find the right local pro for your project
 JM Carpets
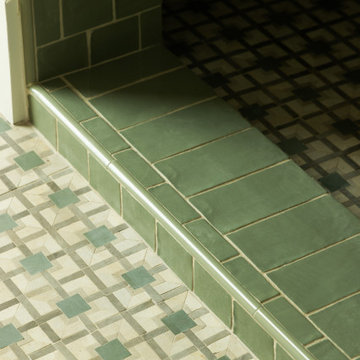
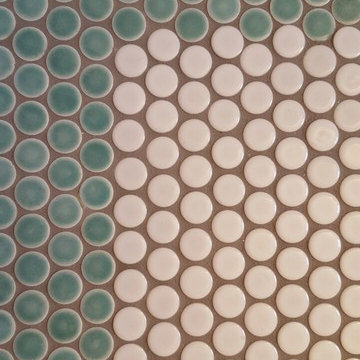
Example of a mid-sized transitional 3/4 mosaic tile floor bathroom design in Milwaukee with shaker cabinets, white cabinets and yellow walls
 Regenesis Ecological Design
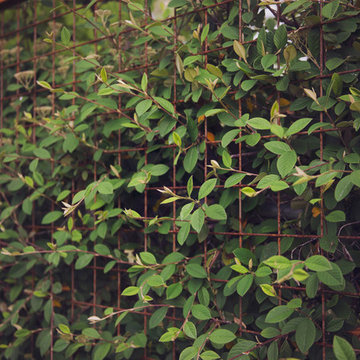
A modern steel mesh fence contrasts with spring growth of Cotoneaster multiflorus
http://annacaitlinphotography.com/
 Seves Glass Block Inc
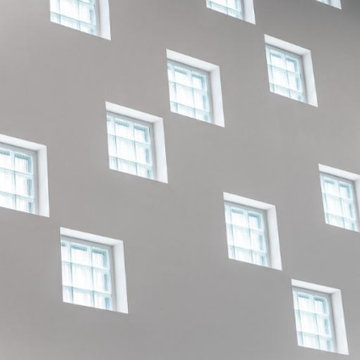
Make a statement! Have a wall of windows that need replacing? Looking for design inspiration for an industrial project that needs some flair without breaking the budget? As you can see, glass block makes for a very dramatic statement! Visit sevesglassblockinc.com for industrial application ideas and more!
 Olde Wood Ltd.
J. Albert Studios
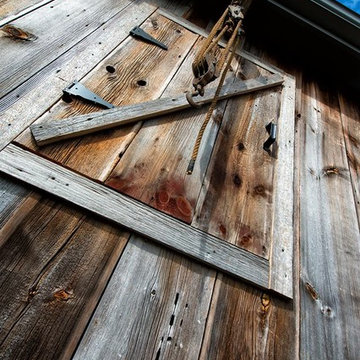
Huge traditional brown two-story wood exterior home idea in Cleveland
Huge traditional brown two-story wood exterior home idea in Cleveland
Sponsored
Columbus, OH
We Design, Build and Renovate

CHC & Family Developments
Industry Leading General Contractors in Franklin County, Ohio


 Blue Hibiscus Gardens
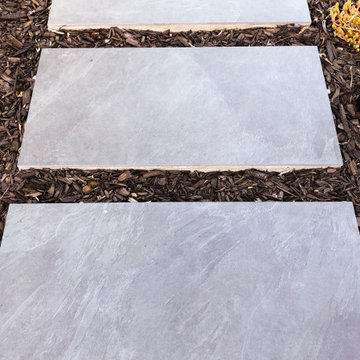
This is an example of a large contemporary drought-tolerant front yard walkway in San Francisco.
 Smart Construction Inc.
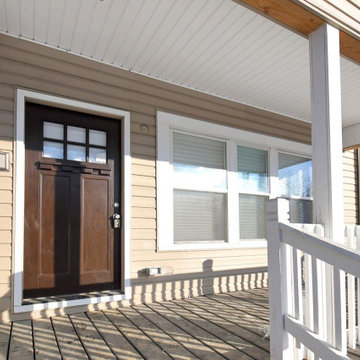
The Tanglewood is a Donald A. Gardner plan with three bedrooms and two bathrooms. This 2,500 square foot home is near completion and custom built in Grey Fox Forest in Shelby, NC. Like the Smart Construction, Inc. Facebook page or follow us on Instagram at scihomes.dream.build.live to follow the progress of other Craftsman Style homes. DREAM. BUILD. LIVE. www.smartconstructionhomes.com
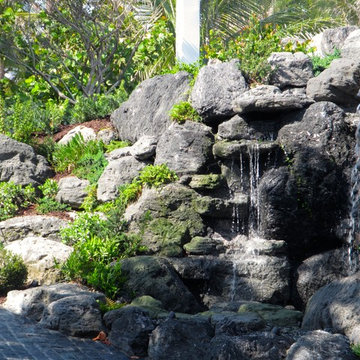
 Matthew Giampietro Garden Design
landscape design outdoor stone in South Florida by Matthew Giampietro
Design ideas for a mid-sized asian front yard stone water fountain landscape in Miami.
Design ideas for a mid-sized asian front yard stone water fountain landscape in Miami.
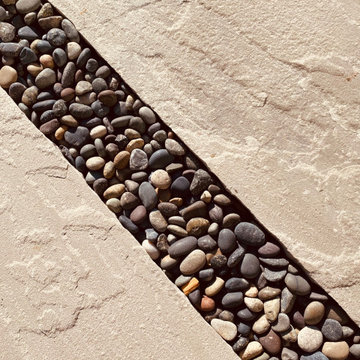
 Wildflower Landscape Design
Design ideas for a mid-sized modern drought-tolerant and partial sun side yard stone and wood fence walkway in San Francisco.
Sponsored
Columbus, OH
We Design, Build and Renovate
CHC & Family Developments
Industry Leading General Contractors in Franklin County, Ohio
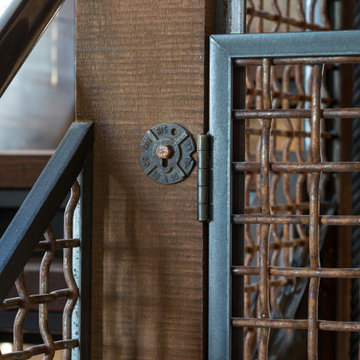
 Artisan Builders LLC
Example of a mid-sized urban wooden u-shaped open and metal railing staircase design in Denver

 King Garden Designs, Inc.
Rare And Unique Japanese Maples
Photo of a partial sun landscaping for summer.
Photo of a partial sun landscaping for summer.

 Industrial Projects
Creating a comfortable outdoor living space is a priority for many homeowners and DIY enthusiasts. With rising summer temperatures, installing a shade tarp in your backyard offers an affordable and effective solution for sun protection. We’ve developed this detailed, step-by-step guide to help you confidently install a shade tarp that not only shields you from the sun but also adds aesthetic appeal to your outdoor area.
Benefits of Installing a Backyard Shade Tarp
Before diving into the installation process, let’s explore the key benefits of having a backyard shade tarp:
Provides UV Protection: Keeps your family and guests safe from harmful sun exposure.
Reduces Outdoor Temperatures: Creates a cooler, more enjoyable outdoor space.
Protects Outdoor Furniture: Extends the life of patio furniture by reducing sun damage.
Enhances Outdoor Aesthetics: Adds a modern, stylish look to your yard.
Budget-Friendly: More affordable compared to permanent structures like pergolas.
Materials and Tools You’ll Need
To begin your DIY backyard shade project, gather the following materials and tools:
Materials:
Shade tarp (UV-resistant and breathable)
Sturdy posts or existing structures (trees, fences, walls)
Mounting hardware (eye bolts, D-rings, turnbuckles, snap hooks)
Nylon or polyester rope, or stainless-steel wire
Concrete (if installing new posts)
Tools:
Power drill
Measuring tape
Level
Ladder
Wrench or adjustable spanner
Post hole digger (if installing new posts)
Step 1: Plan Your Shade Tarp Layout
The first step in installing your backyard shade tarp is careful planning. Take time to assess your outdoor area and answer these key questions:
Where is the sun’s path throughout the day?
What size and shape of tarp best suits your space?
Will you anchor the tarp to existing structures or install new posts?
What height do you want the tarp to sit at for maximum shade and airflow?
Pro Tip: Use string or garden hoses to visualize the tarp layout on the ground before making permanent decisions.
Step 2: Measure and Mark Anchor Points
Once you’ve determined the tarp’s location and orientation:
Measure the tarp dimensions.
Mark the exact points where each corner of the tarp will be anchored.
Ensure that the anchor points are at least 5–10% longer than the tarp size to allow for tensioning and slight adjustments.
Consider slope angles for water runoff. Aim for at least a 20-degree angle to prevent water pooling on the tarp.
Step 3: Install Support Posts (If Necessary)
If your backyard lacks existing anchor points like trees or fences, you’ll need to install sturdy support posts:
Dig post holes at least 24 inches deep and 8-12 inches wide for stability.
Set posts in concrete, making sure they remain plumb and level.
Allow the concrete to cure for at least 24–48 hours before applying tension from the tarp.
We recommend using pressure-treated wood, galvanized steel poles, or aluminum posts for longevity and strength.
Step 4: Install Mounting Hardware
With your anchor points ready, it’s time to install the necessary hardware:
Attach eye bolts or pad eyes securely into walls, posts, or other fixed structures.
For added flexibility and adjustability, install turnbuckles or tensioners to fine-tune the tarp’s tightness.
Connect snap hooks, D-rings, or carabiners to make assembly and disassembly easier.
Make sure all hardware is rated for outdoor use to prevent rust and corrosion.
Step 5: Attach and Tension the Shade Tarp
Now it’s time for the most satisfying part—mounting the shade tarp:
Begin by attaching one corner of the tarp to an anchor point.
Gradually attach the remaining corners, moving diagonally for even tension.
Adjust each connection point using your turnbuckles, ropes, or cables.
Pull the tarp tight enough to avoid sagging, but not so tight that it risks tearing.
Check that the tarp maintains the desired slope for rainwater runoff and adjust tension as needed.
Step 6: Final Adjustments and Safety Check
Before enjoying your new shaded area:
Inspect all anchor points and hardware for stability.
Test the tarp’s tension and make adjustments for even distribution.
Ensure that no sharp edges or loose connections remain that could damage the tarp or pose a safety hazard.
Confirm that the tarp is secure in windy conditions by giving it a gentle tug.
If you live in an area with frequent high winds, consider removing the tarp during storms to prevent damage.
Step 7: Enjoy Your Shaded Backyard Oasis
Once installed, your backyard shade tarp provides a comfortable and protective space for outdoor gatherings, relaxation, or family activities. You can decorate underneath with outdoor furniture, string lights, or potted plants to create a personalized outdoor retreat.
Maintenance Tips for Long-Lasting Shade Tarp Performance
To extend the life of your shade tarp, follow these maintenance guidelines:
Regularly check for wear and tear, especially around anchor points and seams.
Clean the tarp periodically with mild soap and water to prevent mildew buildup.
Store the tarp indoors during harsh weather seasons if it's not designed for year-round use.
Tighten hardware as needed to maintain proper tension and avoid sagging.
By following these simple care steps, your shade tarp will continue to deliver years of sun protection and outdoor comfort.
Conclusion: Upgrade Your Outdoor Space with a DIY Shade Tarp
Installing a shade tarp in your backyard is a cost-effective and rewarding DIY project. With careful planning, quality materials, and proper installation techniques, you’ll enjoy cool, shaded outdoor living all season long. This step-by-step guide ensures your project goes smoothly from start to finish.
 Siding & Windows Group Ltd
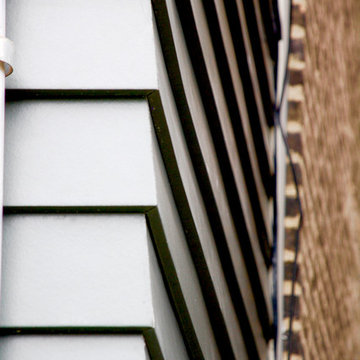
Siding & Windows Group installed James Hardie Premium Artisan Siding in ColorPlus Technology Color Iron Gray and Hardie Artisan Accent Trim in ColorPlus Technology Color Arctic White. Replaced Windows with Marvin Ultimate Wood Windows. Siding and Windows was installed on the rear addition located in Chicago, IL.
Sponsored
Columbus, OH
We Design, Build and Renovate
CHC & Family Developments
Industry Leading General Contractors in Franklin County, Ohio
 OVKO Art & Design
Large Experimental Abstract Art
Piece Titled: "Out of Line"
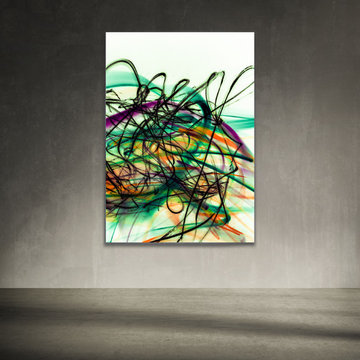
In a chic contemporary loft space with dark grey concrete walls is a large unique, abstract artwork titled, "Out of Line". The artwork is alive with fluid yet chaotic black lines that seem to be in motion. Blends and blurs of deep turquoise, vibrant orange, and seductive purple are mixed thought the piece.
You might imagine this feeling as a 'clean messiness', or a ' luxe grunge style'. It's a eye-catching creative atmosphere for the multicultural urbanite.
Art is mounted to an elegant, matte acrylic glass. Art arrives ready to hang.
Similar styles are available at www.ryanovsienko.com
Sizes available: 48x32, 60x40, 72x48
Quantity Available: Only one total
International Shipping
 Brydges Landscape Architecture
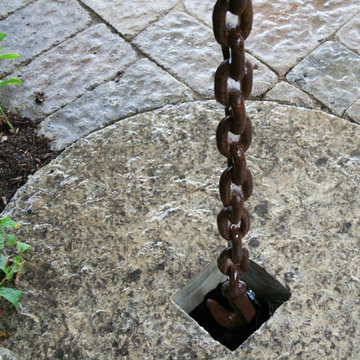
A rain chain is a unique way to incorporate a water feature into your landscape!
Design ideas for a backyard landscaping in Toronto.
Design ideas for a backyard landscaping in Toronto.
 Karen Herrick Design
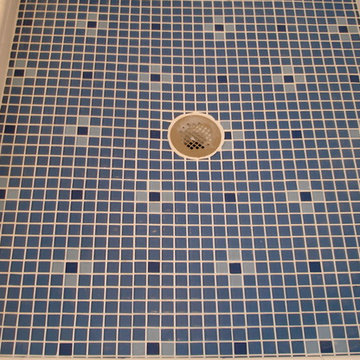
Mid-sized elegant 3/4 blue tile, white tile and subway tile corner shower photo in San Francisco with a one-piece toilet, blue walls, a pedestal sink and a hinged shower door
15