
Search results for "Sandstone deck tiles" in Home Design Ideas
 Elite Tile
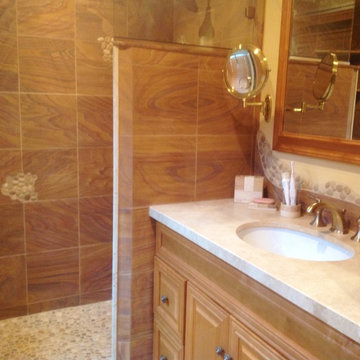
The backsplash over the sink was hand crafted, using a curved shape and topped off with river rocks.
Alcove shower - small transitional master multicolored tile and stone tile mosaic tile floor alcove shower idea in New York with an undermount sink, raised-panel cabinets, medium tone wood cabinets and marble countertops
Alcove shower - small transitional master multicolored tile and stone tile mosaic tile floor alcove shower idea in New York with an undermount sink, raised-panel cabinets, medium tone wood cabinets and marble countertops

 Crystal Pools
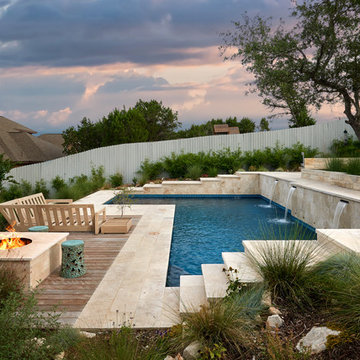
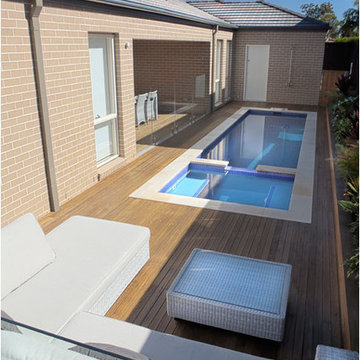
This classic plunge pool with spa is designed to take advantage of a small space and stylistically enhance a contemporary home.
The result is a fine example of clean lines and symmetrical visual appeal. The use of Merbau timber decking and narrow honed Himalayan sandstone surrounds create a fresh and welcoming space.
The pool features blue glass mosaic waterline and step tread tiles, beautiful navy blue pebbled lining and a small spill-over mouth with sandstone coping. The spa component is a reliable and straightforward set-up, with blower and spa jets delivering perfect relaxation at the touch of a button.
There is also a deep and shallow end to the pool, a sandstone skimmer box lid and integrated gas heating for both the swimming pool and spa.
Find the right local pro for your project
 Promise Path Landscaping Inc
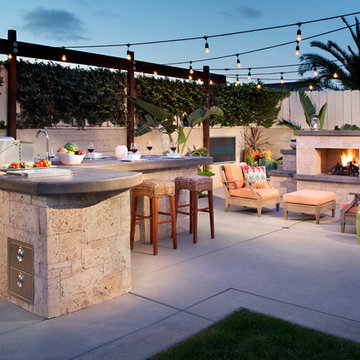
Small backyard with lots of potential. We created the perfect space adding visual interest from inside the house to outside of it. We added a BBQ Island with Grill, sink, and plenty of counter space. BBQ Island was cover with stone veneer stone with a concrete counter top. Opposite side we match the veneer stone and concrete cap on a newly Outdoor fireplace. far side we added some post with bright colors and drought tolerant material and a special touch for the little girl in the family, since we did not wanted to forget about anyone. Photography by Zack Benson
 Denise Quade Design
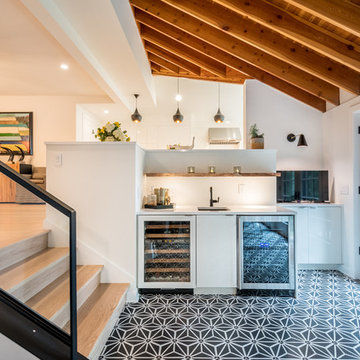
French doors lead out to the lake side deck of this home. A wet bar features an under counter wine refrigerator, a small bar sink, and an under counter beverage center. A reclaimed wood shelf runs the length of the wet bar and offers great storage for glasses, alcohol, etc for parties. The exposed wood beams on the vaulted ceiling add so much texture, warmth, and height.
Photographer: Martin Menocal
 The Design Gallery
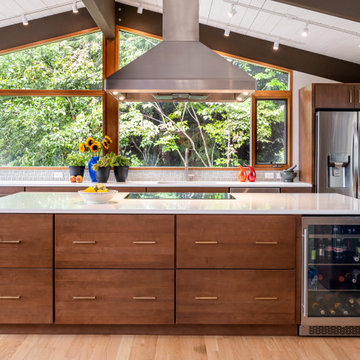
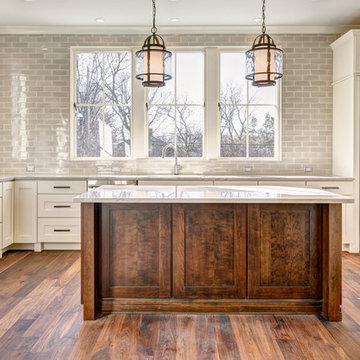
Example of a mid-sized 1960s u-shaped light wood floor, beige floor and exposed beam kitchen design with a single-bowl sink, flat-panel cabinets, medium tone wood cabinets, quartzite countertops, green backsplash, porcelain backsplash, stainless steel appliances, an island and white countertops
 Tile Doctor Ltd
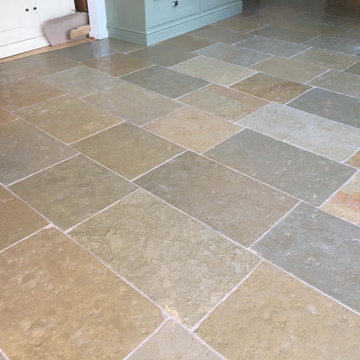
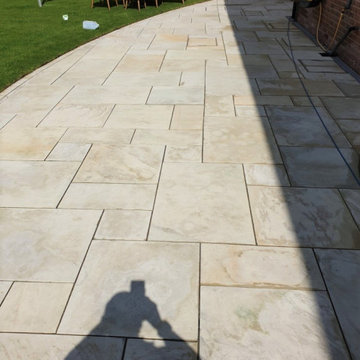
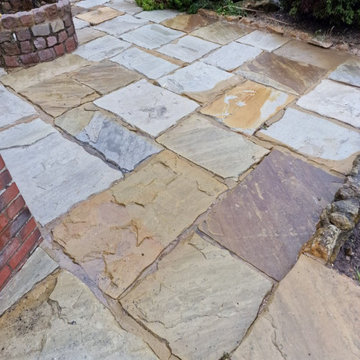
Laid six years ago at a house in Farnham this Sandstone tiled kitchen floor was routinely trampled on by two teenagers, gardening parents and two large dogs. All of this had taken its toll of the sealer which had worn off and without its protection the Sandstone tile and grout had turned an indistinguishable sea of brown.
The floor now needed a deep clean and reseal to restore it appearance and get it looking its best for which I had planned should take two days, the first day for cleaning and drying, the second for sealing and quoted accordingly. My client was happy with the quote and we scheduled a date to do the work.
Farnham is a market town in Surrey and is largest town in the borough of Waverley. It is quite a historic town, with many old buildings, including a number of Georgian houses. With good access links to the A3 and London by train its popular with commuters and I often get requests to work here.
I began by taping up the wooden skirting and the plinths in the kitchen to protect them from splashing during the work. Then armed with Tile Doctor Pro-Clean and a stiff brush I set about cleaning up the grout. The dirt released was removed with a wet vacuum before it had a chance to dry then using more Pro-Clean and a 17” buffing machine fitted with a rotating black nylon pad I cleaned the tiles.
The unamused dogs had been banished to the garden. I love dogs but they were chasing my machine around, so I needed to keep them out of the way. The floor tiles were surprisingly dirty, and the client was quite shocked by the amount of dirt I manged to extract.
Once finished I left the floor to dry off fully overnight, sealing a damp floor is never recommended and can result in a patchy appearance.
Returning the next day, I first checked for areas that needed further attention and then took several moisture readings with a damp meter to check the floor was dry. Satisfied that it was, I was ready to apply the sealer.
We had discussed choice of sealer previously and for this floor I had recommended a Tile Doctor sealer called Seal and Go Extra which would be ideal for her traffic heavy floor. Sealing is an important step as it protects the tiles and grout from dirt becoming ingrained in the stone and improves the look of the stone. Seal and Go Extra is also super tough and should last for years if cleaned with the right product. It sets with a subtle sheen but not a shine which she definitely didn’t want. Three coats of sealer were applied which takes around two hours to be dry to the touch but really needs 24 hours for it to cure.
The sealer brought out the variety of colours in the stone floor and the family were happy with their new floor, now they just had to keep the dogs out of the way for 24 hours!
For aftercare I recommended the use of Tile Doctor Neutral Tile Cleaner to keep the floor in great condition.
Rupert Mcleod
West Surrey Tile Doctor

 BUILD
BUILD@Amber Frederiksen Photography
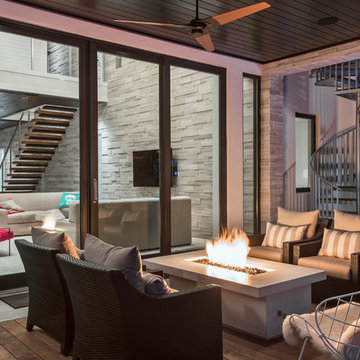
Example of a large trendy backyard patio design in Miami with a fire pit, decking and a roof extension
Example of a large trendy backyard patio design in Miami with a fire pit, decking and a roof extension
 Catherine M. Austin Interior Design
Emily Followill
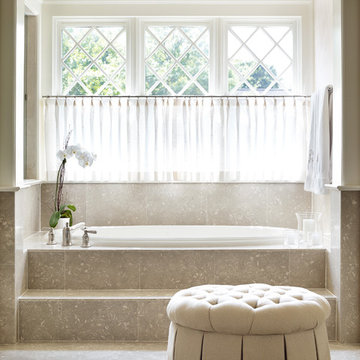
Mid-sized elegant master beige tile and limestone tile limestone floor bathroom photo in Charlotte with beige walls and recessed-panel cabinets
Mid-sized elegant master beige tile and limestone tile limestone floor bathroom photo in Charlotte with beige walls and recessed-panel cabinets
 David Thorne Landscape Architect
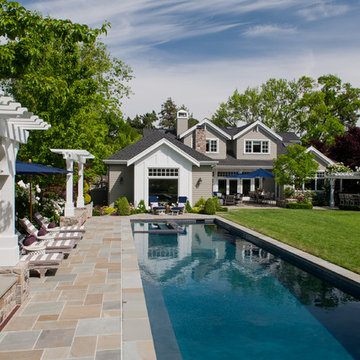
View of the house, main patio, pool and spa area, lawn and seat wall with trellis. Throughout the landscape, we mixed formality with touches of whimsy -- spiral topiary boxwood, bright dashes of colorful flowers, contrasting textures. Poolside trellises frame the greenery and visually link the surrounding area back to the trellised main patio. A set of striped chaise lounges provide outdoor relaxation and a view of the lawn.

 GSW Cabinetry Inc.
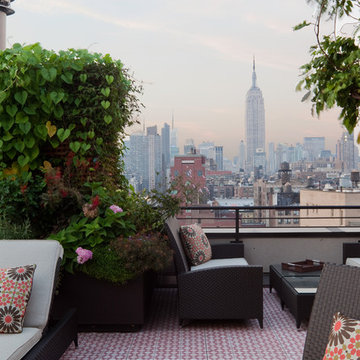
Rooftop Garden Seating and Living
Example of a trendy rooftop rooftop deck container garden design in New York with no cover
Example of a trendy rooftop rooftop deck container garden design in New York with no cover

 Crisp Architects
Rob Karosis, photographer
Inspiration for a mid-sized transitional backyard stone and rectangular pool remodel in New York
Inspiration for a mid-sized transitional backyard stone and rectangular pool remodel in New York
Sponsored
Columbus, OH

Hope Restoration & General Contracting
Columbus Design-Build, Kitchen & Bath Remodeling, Historic Renovations
 The Design Gallery
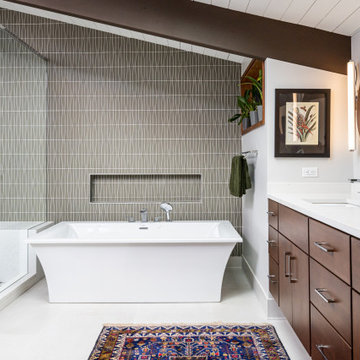
Master Bath with floating vanity streamlines the mid-century modern design.
Inspiration for a mid-sized 1960s master gray tile and glass tile porcelain tile, white floor, double-sink and exposed beam freestanding bathtub remodel with flat-panel cabinets, dark wood cabinets, a one-piece toilet, gray walls, an undermount sink, quartz countertops, a hinged shower door, white countertops and a floating vanity
Inspiration for a mid-sized 1960s master gray tile and glass tile porcelain tile, white floor, double-sink and exposed beam freestanding bathtub remodel with flat-panel cabinets, dark wood cabinets, a one-piece toilet, gray walls, an undermount sink, quartz countertops, a hinged shower door, white countertops and a floating vanity
 All Seasons Maintenance & Design
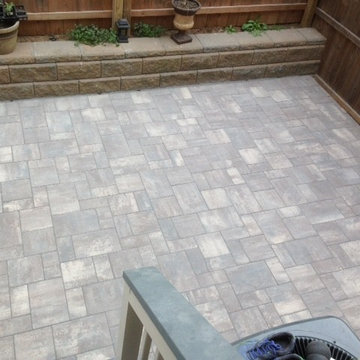
Cambridge patio, in a small backyard with very little access. Installed using Alliance Gator Base.
Mid-sized trendy backyard tile patio photo in Philadelphia with no cover
Mid-sized trendy backyard tile patio photo in Philadelphia with no cover
 Tile Doctor Ltd
This is a large 17.2 m2 Sandstone Floor installed throughout the living and kitchen areas of a property in the beautiful village of Disley close to Lyme Park which is run by the National Trust. The floor had been installed four years ago and my client was unhappy with the original sealer which hadn’t lasted very long. Without the protection of a sealer dirt had become ingrained in the pores of the stone which was now difficult to clean. Another issue was the rough nature of the Sandstone meant it was impossible to mop as it shreds the mop! As a result, the floor was mainly cleaned with a hoover which was not ideal, especially in a kitchen.
I went over to survey the floor and before quoting I ran a small test clean in the kitchen which took the floor back to its natural pale colour and really showed how dirty the floor had become. Test cleans are great as it helps me to formulate an effective cleaning plan and provide an accurate quote. My client was impressed with the result and so I was booked to come back and deep clean and then reseal the whole floor. Due to its size I estimated the floor would take two days to deep clean and a further day to apply a new sealer, so three days in total.
Working in large sections I started by cleaning the floor and stripping off the old sealer with a strong dilution of Tile Doctor Remove and Go which is a coatings remover that is safe to use on stone. The solution was left to soak into the pores of the Sandstone for ten minutes before being worked in with a 200-grit diamond pad fitted to a rotary floor machine. This action not only removed the old sealer and cleaned the floor but the 200-grit pad being vey coarse removed a lot of the roughness from the surface of the Sandstone so it shouldn’t shred any more mops.
After rinsing the floor with water and removing the slurry with a wet vacuum I set about cleaning the grout with Tile Doctor Pro-Clean worked into the grout line with a stiff brush and assisted with steam from a professional steam cleaner with a grout attachment. Once done the floor was rinsed and extracted again to remove the soil from the grouting. There was also an area near one of the doors where the grout had become loose and needed replacing so I made up a batch of matching grout and filled this in. The floor was then left overnight to dry with assistance from a couple of air movers.
I returned the next day to finish the floor by applying a sealer. First, I double checked the floor was dry with the damp meter. The readings confirmed the air movers had done a good job and that the floor was within the accepted parameters, so I was ready to seal. The sealer I chose was Tile Doctor Seal and Go which being water based doesn’t leave a smell as it dries, it really works well on Sandstone and adds a nice subtle sheen to the stone.
Once finished the floor looked much cleaner, lighter in colour overall more inviting, you could even see the fossils in some of the tiles.
The surface was also smoother so the customer should find cleaning with a mop much easier in future. On that subject its worth pointing out that owners of sealed floors should always use a neutral pH tile cleaner on their floors as most supermarket products are simply too strong and will prematurely strip the sealer off a tile if used repeatedly. Tile Doctor sell a product called Tile Doctor Neutral Cleaner which is ideal for cleaning sealed Sandstone floors like this one.
My client was really happy with the results and sent me a message later saying: “the floor looks amazing!”
Kamila Logonzy
East Cheshire Tile Doctor
7