
Search results for "Scratches" in Home Design Ideas
 Shaker Interiors
Green Street Studio
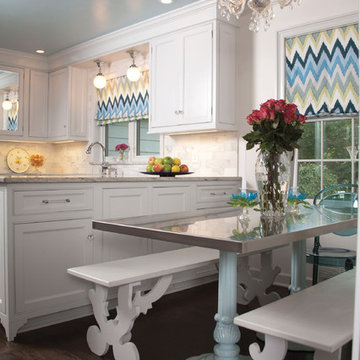
Example of a transitional eat-in kitchen design in Cleveland with beaded inset cabinets, white cabinets, white backsplash and stone tile backsplash
Example of a transitional eat-in kitchen design in Cleveland with beaded inset cabinets, white cabinets, white backsplash and stone tile backsplash
 Studio Designs
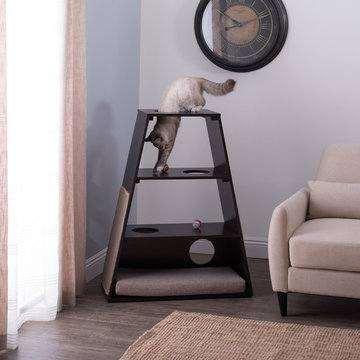
The Paws & Purrs Cat Pyramid lets your cat or kitten climb, perch, scratch, and of course, rest on its multi-tiered surfaces. This cat pyramid is a complete jungle gym with climbing steps and 5.75-inch diameter holes that offer easy entry to each level. The lower-level cat bed features a 27-inch wide mattress with a removeable, machine-washable cover. The 2-foot long carpeted sides are purrfect for scratching and stretching. The sleek, modern shape and contemporary colors make it a great addition to your home. Say goodbye to dealing with dusty, dirty cat trees and start anew with this stylish, multifunctional piece of pet furniture in your home.

Find the right local pro for your project
 NEOLITH by TheSize
Neolith Kitchen Lounge
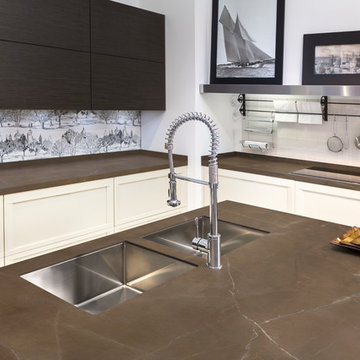
Kitchen Countertop and Island (encimera de cocina e isla): PULPIS (Classtone Collection).
Transitional kitchen photo in Other
Transitional kitchen photo in Other
 Kahrs
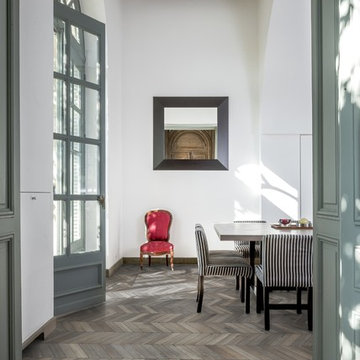
KahrsNew Kährs Chevron – chic, classic looks with a modern twist.
Kährs has introduced a new patterned wood floor collection for Spring 2016. Offered in four on-trend colour tones, new Chevron creates a classical parquet-look with speed and ease. Matching frameboards can then be used around the edge of a room, to create a border for the stunning design.
Unlike traditional parquet staves which are glued down piece-by-piece, Kährs’ Chevron has a modern, plank format – measuring 1848x300x15mm - which is fast to install. The angled chevron pattern and ingenious ‘parallelogram’ short ends create the continuous V-shaped design, which is further emphasized by a bevelled edge. All boards are brushed to create a tactile lived-in look, which complements the warm white, weathered grey, classic brown and dark brown colour tones and the lively oak graining.
Kährs Chevron has a multi-layered construction, made up of a sustainable oak surface layer and a plywood core. This eco-friendly, engineered format makes the floor more stable and ideal for installation over underfloor heating.
 Stone Action
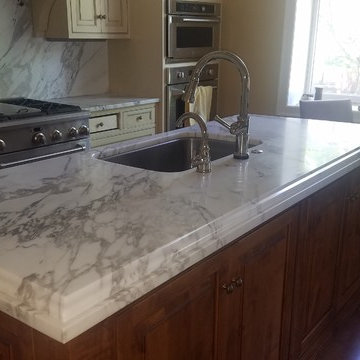
This kitchen was fabricated by The Beveled Edge! Check out their work: http://bevelededge.net/
To see variations of calacatta marble, simply search "calacatta" on our site of over 6,000 stone options: http://www.stoneaction.com
Understanding Marble:
Marble is a porous, high-maintenance surface.
Be prepared to see some scratches. Marble is a softer stone. However, marble is still so beautiful with the scratches! If you’ve ever gone to Italy, you can see the beautiful marble on floors and many restaurants. It’s a classic lasting look. Even with scratches.
If you don't mind the extra work, they are a beautiful addition. Marble has a multifaceted ability to work with so many different design styles. If you're a homeowner looking for a wipe-and-go countertop, though, you'll probably want to skip this one.
It's cost-effective, depending on the type of marble you buy. Carrara marble (a grayer version with softer veins from Carrara, Italy) is one of the least expensive natural countertop materials on the market, mainly because it's readily available. Calacatta marble, which offers a whiter surface and more dramatic veining, and the price tag goes up.
Marble is heat-resistant — which is great — but you still need to be careful. Marble is heat resistant. Despite its ability to withstand high temps, you never want to place a piping hot pot on for risk of discoloring or burning the surface. We recommend always using a pot holder anyways.
We don’t want to dissuade you from using marble. In fact, I personally have a marble island in my kitchen. Stone Action solely wants you to be informed so that you’re choosing the right material for your project.
We hope you personally come check out our marble or other stone selection!
See more marble or other types of Stone Action’s stone selection:
http://www.stoneaction.com
 User
UserJacqui Blanchard
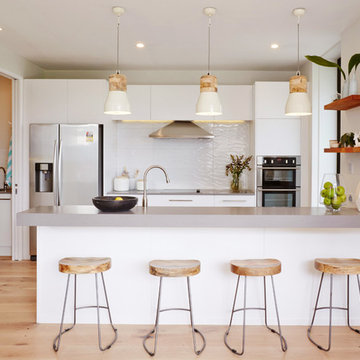
Kitchen - scandinavian galley light wood floor kitchen idea in Auckland with flat-panel cabinets, white cabinets, white backsplash, stainless steel appliances and a peninsula
Kitchen - scandinavian galley light wood floor kitchen idea in Auckland with flat-panel cabinets, white cabinets, white backsplash, stainless steel appliances and a peninsula
 Moriq
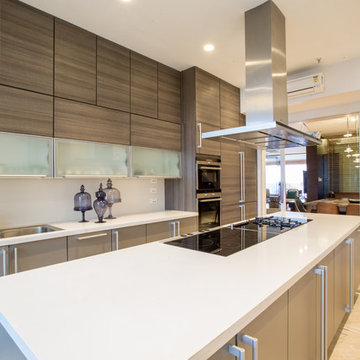
MoriqInspiration for a mid-sized contemporary galley kitchen remodel in Hyderabad with flat-panel cabinets, beige cabinets, solid surface countertops, stainless steel appliances and an island
 Moriq
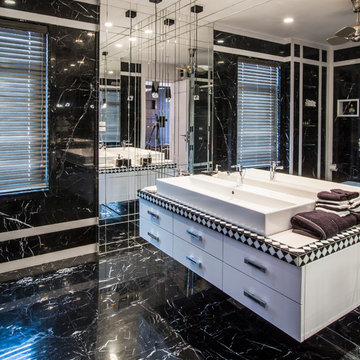
MoriqInspiration for a large contemporary stone tile marble floor bathroom remodel in Hyderabad with white cabinets and a vessel sink
 Quick-Step
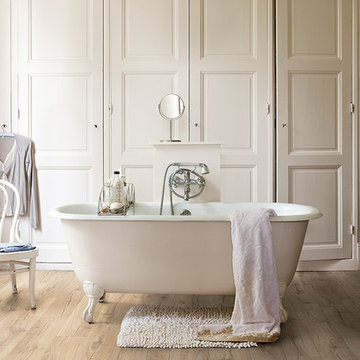
A waterproof surface, an elegant look and a soft touch… this laminate bathroom flooring has it all.
Flooring: Quick-Step Laminate - Impressive 'Classic oak beige' (IM1847)
 blackStones
Brandajs
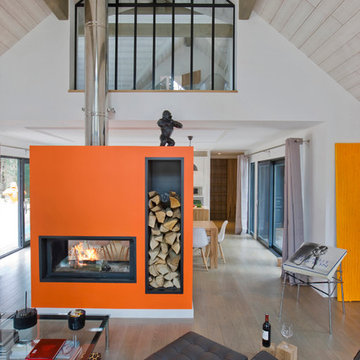
Inspiration for a mid-sized contemporary open concept medium tone wood floor living room remodel in Paris with orange walls, a two-sided fireplace and no tv
Inspiration for a mid-sized contemporary open concept medium tone wood floor living room remodel in Paris with orange walls, a two-sided fireplace and no tv
 Hibou Design & Co.
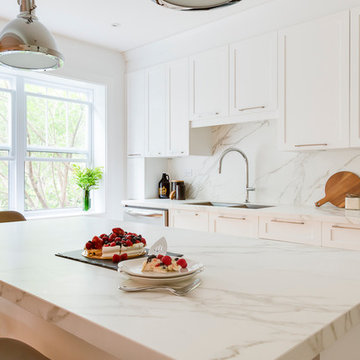
Example of a mid-sized transitional l-shaped light wood floor eat-in kitchen design in Montreal with a double-bowl sink, shaker cabinets, white cabinets, marble countertops, white backsplash, stone slab backsplash, an island and stainless steel appliances
 Chloe Warner
Photographed by Laure Joilet
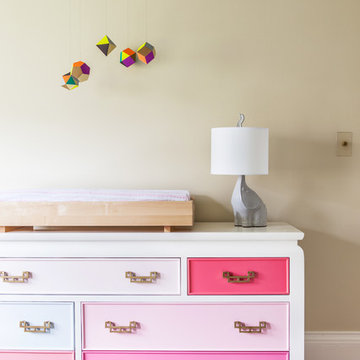
Inspiration for a transitional girl light wood floor nursery remodel in Other with beige walls
Inspiration for a transitional girl light wood floor nursery remodel in Other with beige walls
 Troico
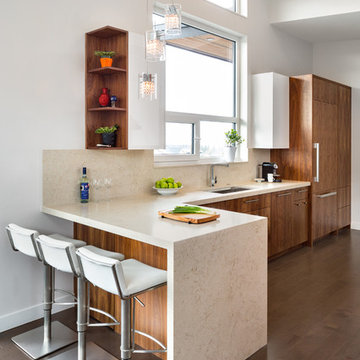
his modern new build located in the heart of Burnaby received an entire millwork and countertop package of the utmost quality. The kitchen features book matched walnut, paired with white upper cabinets to add a touch of light in the kitchen. Miele appliances surround the cabinetry.
The home’s front entrance has matching built in walnut book matched cabinetry that ties the kitchen in with the front entrance. Walnut built-in cabinetry in the basement showcase nicely as open sightlines in the basement and main floor allow for the matching cabinetry to been seen through the open staircase.
Fun red and white high gloss acrylics pop in the modern, yet functional laundry room. This home is truly a work of art!
 MXMA Architecture & Design
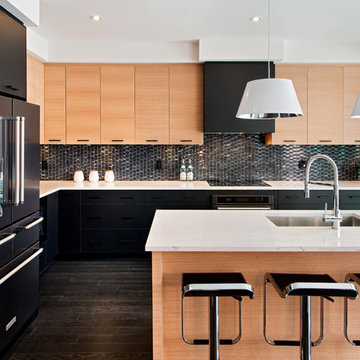
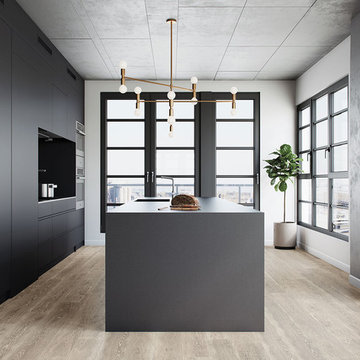
The kitchen has shades of dark grey, charcoal for its countertops, kithchen island, and cabinets. The charcoal glass backsplash completes the dark look. Equipments, devices and food products are ingeniously hidden behind the charcoal lacquered panels. All the appliances are integrated and the fridge is panel-ready. The countertop wraps the kitchen island, creating one distinctive element in the middle of the space.
Image credits: Francis Raymond

 Samsung Canada
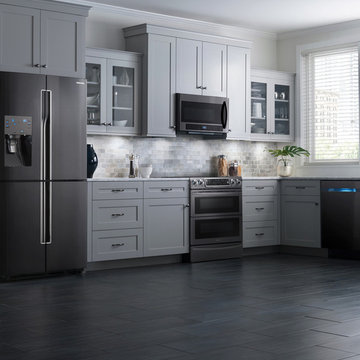
Where fashion meets function. Where style meets substance. Where the kitchen is not just the heart, but also the highlight, of the modern home. Black Stainless easily pairs with different aesthetics and surfaces: perfectly harmonizes with todays’ materials and colours, from sleek granites and composites to organic glass and wood; it’s an elegant alternative to rugged industrial look of conventional stainless steel.
 Tile Doctor Ltd
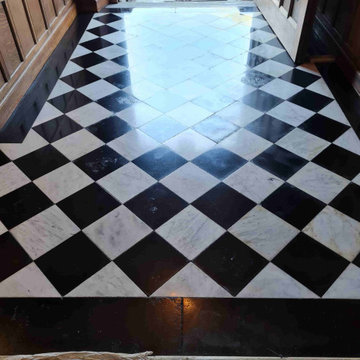
This Black and White Marble tiled hallway floor at a Grade II listed property in the village of Tattenhall has quite a history. The building was constructed in 1865 and at one time it has been the home to the high sheriff of Cheshire, and the family home of Edith Wignall the daughter of Sir Henry Tate the founder of the sugar company Tate and Lyle.
In more recent years the property had been used as a council building and even a nursing home for the elderly. After a long history of decline it has now been restored to a lavish family mansion however the marble floor had suffered over the years and still need attention. The current owner had been in touch as they wanted it restoring and basically brought back to life.
As it turns out I had already planned to go to Tattenhall the following week to work on another listed building which was formerly the village bank. After discussing the Marble floor over the phone, I agreed a date and time to pop over from the bank and inspect the floor in detail. I can provide a rough quote from photographs, which has been especially useful recently, but it’s far better for all concerned if I’m able to properly survey the floor first.
The Marble floor consisted of Black and White Mable tiles laid in a diamond pattern, it wasn’t a very large area perhaps 9 square metres in total. The tiles were well worn as described but also stained and scratched. I would see they would need a deep burnish and polish to bring them back to life and then protected with a fresh sealer. Following on from that visit I was able to provide an accurate quote which was accepted, and a date agreed for my return.
The first job was to protect the surrounding heavy wooden panelling with masking film. The floor was very heavily stained yellow with deep scratches, to remove these I would have to grind the marble back until a clean fresh tile was left. To start I used a 200-grit coarse pad fitted to a weighted buffing machine, the abrasive action of the pad was lubricated with water. After inspection I found that the staining and scratches were still there, so I needed to use stronger pads, so I worked my way through a set of very coarse milling pads starting at a 50, 100 and finishing with a 200-grit pad. Again, water was used to lubricate, and the resultant slurry was removed by a powerful wet vacuum and washed down between each pad.
The milling pads had the desired effect, and I was then able to bring back the polished appearance of the Marble surface using a set of finer burnishing pads with the same process. The 400 and 800-grit pads helped to clean and remove the fine scratches left by the milling pads and then the next 1500-grit pad started to build the shine back on the marble tile.
After finishing with 1500-grit pad I washed the Marble with Tile Doctor Stone Soap and vacuumed up the residue with the wet vacuum. I left an industrial blower in place overnight to dry out the floor ready for the next morning when it would be sealed.
The next morning, I used the last of the four burnishing pads which is a very fine 3000-grit to polish the floor further. This last pad is applied dry with just a spray of water to create a high gloss finish.
When I was happy, I sealed the floor with two coats of Tile Doctor Colour Grow which is an impregnating sealer that soaks into the fine pores of the Marble to protect it from within. This product also improves colour and after application it was left to soak into the tile for five minutes before polishing off and then leaving it to dry.
The last step was to I buff the floor with a white pad. The finish was impressive, and the family were very happy with the work we had carried out. For aftercare I recommended they use Stone Soap as its designed for the regular cleaning of sealed and polished stone, as well as cleaning it also helps build the patina.
Alastair Robb
West Cheshire TIle Doctor
9