

3 Spheres in progress
18 years ago
Sort by:Oldest
Comments (2)
Related Stories
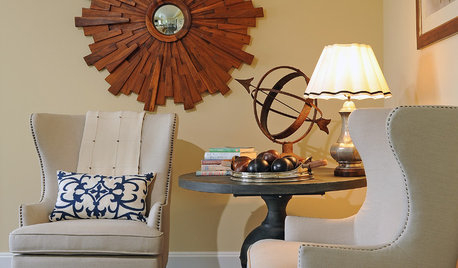
DECORATING GUIDESArmillary Spheres Set Rooms in Motion
Armi ... what? These classic astronomy models may have an unfamiliar name, but the energy and history they bring to rooms are unmistakable
Full Story
LANDSCAPE DESIGNDiscover the Music of the (Garden) Spheres
Add pleasing familiarity, rhythm and meaning to your landscape with globe-shaped plants, sculptures and accessories
Full Story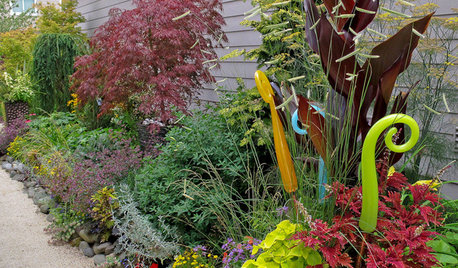
GARDENING AND LANDSCAPINGMake Your Garden Sparkle With Glass Art
Bring color, shine and even delightful sounds to your garden with glass sculptures, chimes and gazing spheres
Full Story
RANCH HOMESHouzz Tour: An Eclectic Ranch Revival in Washington, D.C.
Well-considered renovations, clever art and treasures from family make their mark on an architect’s never-ending work in progress
Full Story
ARCHITECTUREWhat the Future Holds for 3D Printing in Architecture and Design
Designers worldwide are creating 3D-printed buildings, furnishings and materials. Will we be seeing this trend in our homes?
Full Story
WORKING WITH AN ARCHITECTWho Needs 3D Design? 5 Reasons You Do
Whether you're remodeling or building new, 3D renderings can help you save money and get exactly what you want on your home project
Full Story
LIFE3 Ways to Get Unstuck — About Organizing, Decorating, Whatever
Break out of the do-nothing rut to accomplish your goals, whether at home or in other parts of your life
Full Story
GARDENING GUIDESGreat Garden Combo: 3 Wonderful Plants for a Deer-Resistant Screen
Protect your privacy and keep deer at bay with a planting trio that turns a problem garden area into a highlight
Full Story
HOME TECHWhy Google Just Paid $3.2 Billion for a Company That Makes Thermostats
Smart home technology just got a new champion — and everyone is speculating about the reasons
Full Story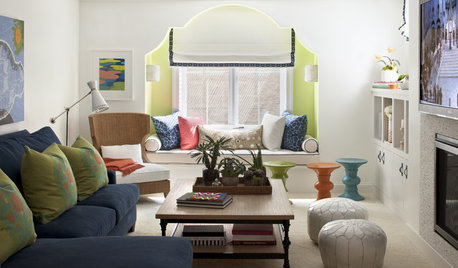
HOUZZ TOURSHouzz Tour: 3 Design Styles, 1 Minnesota Tudor
Color, tradition and playful design meet in a Tudor family home near Minneapolis, and everyone is happy
Full Story
klinger
elephantearOriginal Author
Related Professionals
Lincoln Landscape Architects & Landscape Designers · Janesville Landscape Architects & Landscape Designers · Chula Vista Landscape Architects & Landscape Designers · Sarnia Landscape Architects & Landscape Designers · Galveston Landscape Contractors · Victoria Landscape Contractors · Danbury Landscape Contractors · Amarillo Landscape Contractors · Tuscaloosa Tile and Stone Contractors · Wichita Falls Tile and Stone Contractors · North Adams Tile and Stone Contractors · Oneonta Tile and Stone Contractors · Toledo Tile and Stone Contractors · Marinette Tile and Stone Contractors · Farmington Tile and Stone Contractors