

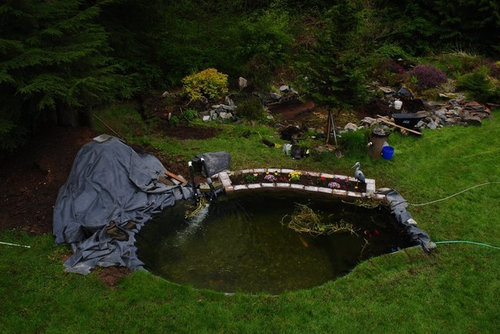
moving pond
12 years ago
Featured Answer
Sort by:Oldest
Comments (32)
 12 years ago
- 12 years ago
Related Professionals
Saint Joseph Landscape Architects & Landscape Designers · San Jose Landscape Architects & Landscape Designers · Lubbock Landscape Architects & Landscape Designers · Montréal Landscape Architects & Landscape Designers · Birmingham Landscape Contractors · Pittsburg Landscape Contractors · Anderson Landscape Contractors · Hempstead Landscape Contractors · Kalispell Landscape Contractors · Mobile Design-Build Firms · Gulfport Design-Build Firms · New London Design-Build Firms · Plainfield Design-Build Firms · Everett Design-Build Firms · Leamington Design-Build Firms- 12 years ago
- 12 years ago
- 12 years ago
- 12 years ago
- 12 years ago
- 12 years ago
- 12 years ago
- 12 years ago
- 12 years ago
- 12 years ago
- 12 years ago
- 12 years ago
- 12 years ago
- 12 years ago
- 12 years ago
- 12 years ago
- 12 years ago
- 12 years ago
- 12 years ago
- 12 years ago
- 12 years ago
- 11 years ago
- 11 years ago
- 11 years ago
- 11 years ago
- 11 years ago
 11 years ago
- 11 years ago
- 11 years ago

Related Stories
LANDSCAPE DESIGNHow to Move Water Through Your Landscape
Swales, underground pipes or a mix of both: There’s more than one way to distribute water in the garden
Full Story
LIFERetirement Reinvention: Boomers Plot Their Next Big Move
Choosing a place to settle in for the golden years? You're not alone. Where boomers are going and what it might look like
Full Story
URBAN GARDENSPlant a Garden That Can Move With You
Think mobile when planning your outdoor space and you can enjoy it wherever you move next
Full Story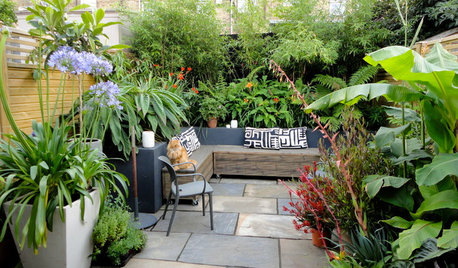
GARDENING AND LANDSCAPING10 Great Design Moves for a Small Courtyard
These beautiful enclosed yards show how to get the most from a relatively small outdoor living area
Full Story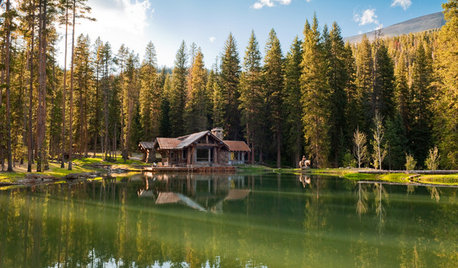
HOUZZ TOURSHouzz Tour: Rustic Cabin With Dive-In Pond
Set on 22 acres and with as many modern comforts as rugged trails, this Montana home is an outdoor lover's paradise
Full Story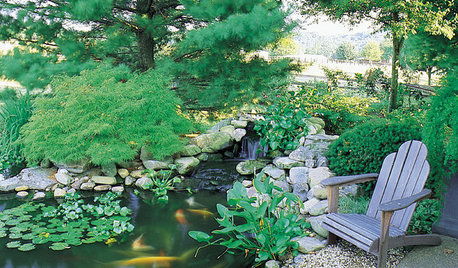
GARDENING AND LANDSCAPINGHow to Make a Pond
You can make an outdoor fish paradise of your own, for less than you might think. But you'll need this expert design wisdom
Full Story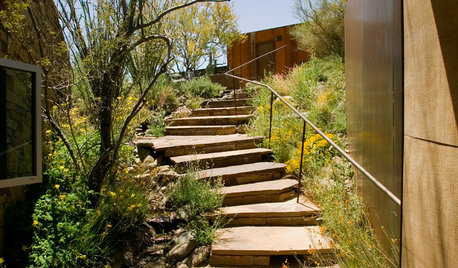
ARCHITECTUREHouzz Tour: A Pond House in the Arizona Desert
With water in the back and a descent to get in, this skillfully designed modern home keeps its cool in the Southwestern sun
Full Story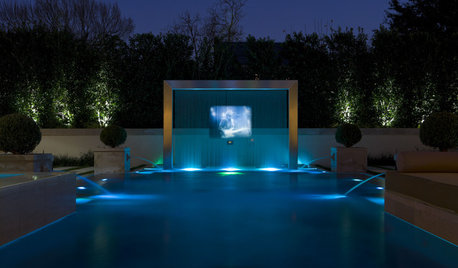
GARDENING AND LANDSCAPING8 Pool Water Features That Venture Into Fantasy
Mimic a mermaid in a secret grotto, wade near a waterfall or pose by a pond. These pool designs let imagination take the lead
Full Story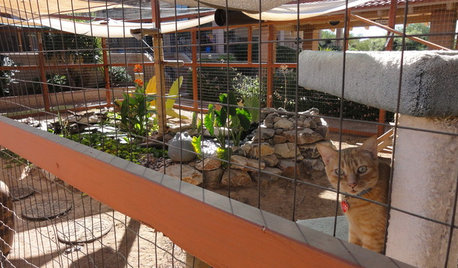
PETSSee a Deluxe 'Catio' Built for Feline Fun
Sixteen lucky cats get the run of a protected outdoor patio with ramps, steps and even a koi pond
Full Story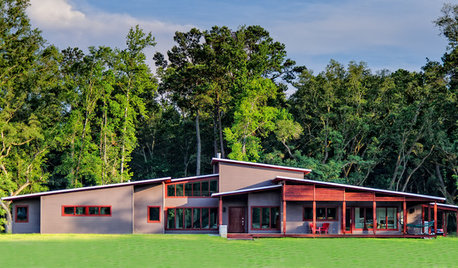
HOUZZ TOURSHouzz Tour: Earthiness Grounds a Contemporary Louisiana Home
Generous wood and thoughtful design on a 32-acre site, pond included, make for a warm-looking home that naturally fits its owners
Full Story
mossybertOriginal Author