

questions about my soil
19 years ago
Sort by:Oldest
Comments (3)
Related Stories

GARDENING GUIDESHow to Pick a Mulch — and Why Your Soil Wants It
There's more to topdressing than shredded wood. Learn about mulch types, costs and design considerations here
Full Story
LANDSCAPE DESIGNFlood-Tolerant Native Trees for Soggy Soil
Swampy sites, floodplains, even standing water ... if you've got a soggy landscape, these trees are for you
Full Story
GARDENING GUIDESGardening Solutions for Heavy Clay Soils
What’s a gardener to do with soil that’s easily compacted and has poor drainage? Find out here
Full Story
FARM YOUR YARDHow to Get Good Soil for Your Edible Garden
The nutrients in your soil feed the plants that feed you. Here are tips on getting it right — just in time for planting season
Full Story
GARDENING GUIDESHow to Stop Worrying and Start Loving Clay Soil
Clay has many more benefits than you might imagine
Full Story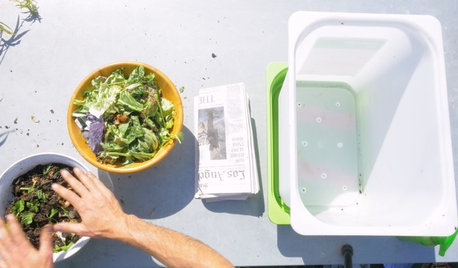
GARDENING GUIDESHouzz TV: Make a Worm Bin for Rich Soil and Happy Plants
A worm-powered compost bin that can fit under a sink turns food scraps into a powerful amendment for your garden. Here’s how to make one
Full Story
GARDENING GUIDESGardening Solutions for Dry, Sandy Soils
Has your desert or beachy site withered your gardening creativity? Try these ideas for a beautiful, easy-care landscape
Full Story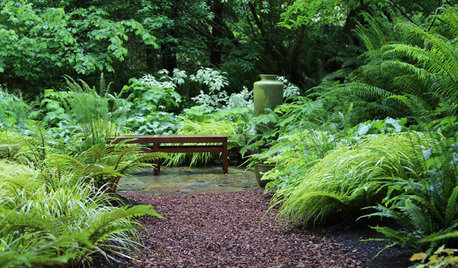
GARDENING GUIDES10 Solutions for Soggy Soil
If a too-wet garden is raining on your parade, try these water-loving plants and other ideas for handling all of that H2O
Full Story
REMODELING GUIDESConsidering a Fixer-Upper? 15 Questions to Ask First
Learn about the hidden costs and treasures of older homes to avoid budget surprises and accidentally tossing valuable features
Full Story
GARDENING GUIDESNew Ways to Think About All That Mulch in the Garden
Before you go making a mountain out of a mulch hill, learn the facts about what your plants and soil really want
Full Story
donn_
carriedawayOriginal Author
Related Professionals
Chicago Landscape Architects & Landscape Designers · Coldwater Landscape Architects & Landscape Designers · Worthington Landscape Architects & Landscape Designers · Allentown Landscape Architects & Landscape Designers · Lake City Landscape Contractors · Sebring Landscape Contractors · San Marcos Landscape Contractors · Fergus Falls Landscape Contractors · Worthington Landscape Contractors · Fargo Landscape Contractors · Omaha Landscape Contractors · Athens Stone, Pavers & Concrete · Plattsburgh Stone, Pavers & Concrete · San Jose Stone, Pavers & Concrete · Magog Stone, Pavers & ConcreteKimmsr