

Switch replacement on GE Profile gas range
15 years ago
Sort by:Oldest
Comments (3)
Related Stories
LIGHTINGWhat to Know About Switching to LED Lightbulbs
If you’ve been thinking about changing over to LEDs but aren't sure how to do it and which to buy, this story is for you
Full Story
GREAT HOME PROJECTSHow to Switch to a Tankless Water Heater
New project for a new year: Swap your conventional heater for an energy-saving model — and don’t be fooled by misinformation
Full Story
KITCHEN DESIGNHow to Find the Right Range for Your Kitchen
Range style is mostly a matter of personal taste. This full course of possibilities can help you find the right appliance to match yours
Full Story
LIVING ROOMSHow to Convert Your Wood-Burning Fireplace
Learn about inserts and other options for switching your fireplace from wood to gas or electric
Full Story
HOUSEKEEPINGHow to Clean Your Range and Oven
Experts serve up advice on caring for these kitchen appliances, which work extra hard during the holidays
Full Story
KITCHEN APPLIANCESWhat to Consider When Adding a Range Hood
Get to know the types, styles and why you may want to skip a hood altogether
Full Story
5 Stunning Modern Range Hoods
Today's kitchen range hoods can look like sleek sculptures. Here's what to look for when you go shopping for one
Full Story
KITCHEN APPLIANCESFind the Right Cooktop for Your Kitchen
For a kitchen setup with sizzle, deciding between gas and electric is only the first hurdle. This guide can help
Full StoryFIREPLACESRibbons of Fire: 10 Artfully Minimalist Fireplaces
Long and lean and sleek to the core, these gas-burning fireplaces make a powerful contemporary statement
Full Story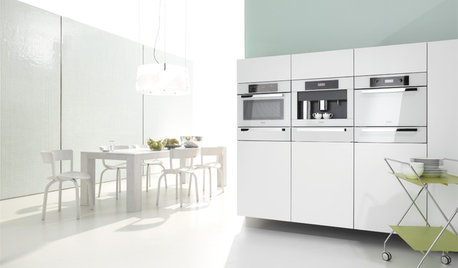
KITCHEN DESIGNWhite Appliances Find the Limelight
White is becoming a clear star across a broad range of kitchen styles and with all manner of appliances
Full Story
mojavean
kokomo61Original Author
Related Professionals
Clarksburg Kitchen & Bathroom Designers · Augusta Kitchen & Bathroom Designers · Alpena Kitchen & Bathroom Designers · Wheeling Kitchen & Bathroom Designers · Bainbridge Bathroom Remodelers · Spring Bathroom Remodelers · Watertown Bathroom Remodelers · San Francisco Bathroom Remodelers · Amherstburg Bathroom Remodelers · Hays Kitchen Remodelers · Rolla Kitchen Remodelers · Springfield Kitchen Remodelers · Utica Kitchen Remodelers · San Angelo Kitchen Remodelers · Wenatchee Kitchen Remodelersllaatt22