

Need to talk about E-Z BOWMAKER
20 years ago
Sort by:Oldest
Comments (7)
Related Stories
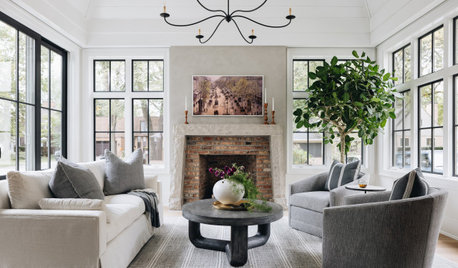
FURNITUREHow to Buy a Quality Sofa That Will Last
Learn about foam versus feathers, seat depth, springs, fabric and more for a couch that will work for years to come
Full Story
BUDGETING YOUR PROJECTConstruction Contracts: What to Know About Estimates vs. Bids
Understanding how contractors bill for services can help you keep costs down and your project on track
Full Story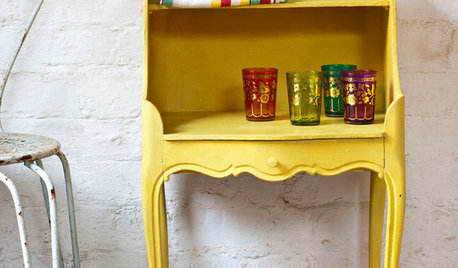
PAINTINGWhat to Know About Milk Paint and Chalk Paint — and How to Use Them
Learn the pros, cons, cost and more for these two easy-to-use paints that are great for giving furniture a vintage look
Full Story
ARCHITECTUREThe Truth About 'Simple' Modern Details
They may look less costly and easier to create, but modern reveals, slab doors and more require an exacting hand
Full Story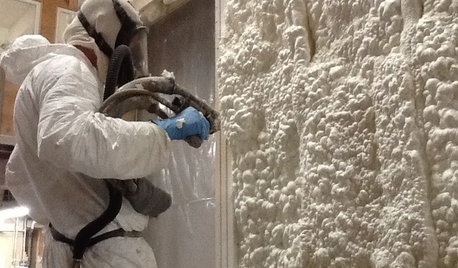
MATERIALSInsulation Basics: What to Know About Spray Foam
Learn what exactly spray foam is, the pros and cons of using it and why you shouldn’t mess around with installation
Full Story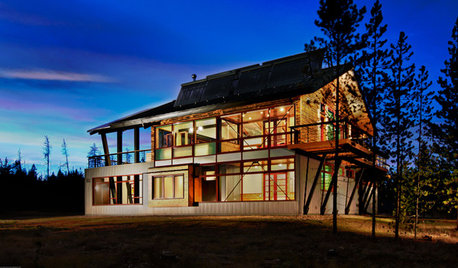
GREEN BUILDINGZero Net Energy: A Hardworking-House Term to Know
Homes that consume only as much energy as they produce by renewable means are a goal for builders. Learn what ZNE means for you
Full Story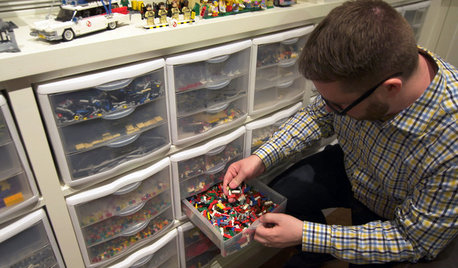
BASEMENTSHouzz TV: This Guy’s Giant Lego Collection Proves Everything Is Awesome
You may have seen our story about this architect’s Lego-filled basement. Now watch the video to see just how he organizes all 250,000 pieces
Full Story
GARDENING GUIDESWe Bust 4 More Native Plant Myths
Have you been taken in by these fallacies about gardening with native plants?
Full Story
MOVING10 Rooms That Show You Don’t Need to Move to Get More Space
Daydreaming about moving or expanding but not sure if it’s practical right now? Consider these alternatives
Full Story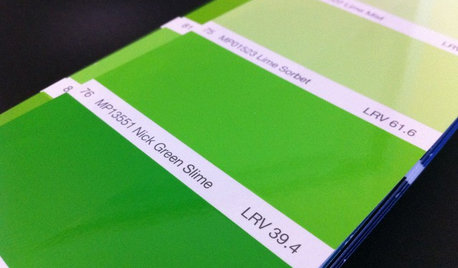
DECORATING GUIDESFrom Queasy Colors to Killer Tables: Your Worst Decorating Mistakes
Houzzers spill the beans about buying blunders, painting problems and DIY disasters
Full Story
Sponsored
CandyWA
lisb
Related Professionals
Corpus Christi Furniture & Accessories · Flagstaff Furniture & Accessories · Lake Havasu City Furniture & Accessories · Wenatchee Furniture & Accessories · Orlando Interior Designers & Decorators · Panama City Interior Designers & Decorators · Dayton Interior Designers & Decorators · Yuma Interior Designers & Decorators · Evanston Interior Designers & Decorators · Jonesboro Custom Countertops · Florence Custom Countertops · Charleston Custom Countertops · Albany Custom Countertops · Marinette Custom Countertops · Amarillo Custom CountertopsTnflower_lover
chriscrafter
chery2Original Author
aggiewife
CandyWA