

Quick dumb ipe installation question
19 years ago
Sort by:Oldest
Comments (5)
Related Stories
REMODELING GUIDESConsidering a Fixer-Upper? 15 Questions to Ask First
Learn about the hidden costs and treasures of older homes to avoid budget surprises and accidentally tossing valuable features
Full Story
REMODELING GUIDESContractor Tips: Advice for Laundry Room Design
Thinking ahead when installing or moving a washer and dryer can prevent frustration and damage down the road
Full Story
HOME TECHThe Future of Home Automation: Cheap, Wearable and Mobile!
Look for smart watches and glasses that can control your smart-phone apps, which in turn automate your home equipment
Full Story
KITCHEN DESIGNHouzzers Say: Top Dream Kitchen Must-Haves
Tricked-out cabinets, clean countertops and convenience top the list
Full Story
GARDENING AND LANDSCAPINGChoosing a Deck: Plastic or Wood?
Get the pros and cons of wood, plastic, composite and more decking materials, plus a basic price comparison
Full Story
DECKSDecking Materials Beyond Basic Lumber
Learn about softwoods, tropical hardwoods, composites and more for decks, including pros, cons and costs
Full Story
MOST POPULAR8 Great Kitchen Cabinet Color Palettes
Make your kitchen uniquely yours with painted cabinetry. Here's how (and what) to paint them
Full Story
KITCHEN DESIGN7 Ways to Save on Your Kitchen Remodel
Discover key areas where you can economize and still get the kitchen of your dreams
Full Story
GREEN BUILDINGWhat's LEED All About, Anyway?
If you're looking for a sustainable, energy-efficient home, look into LEED certification. Learn about the program and its rating system here
Full Story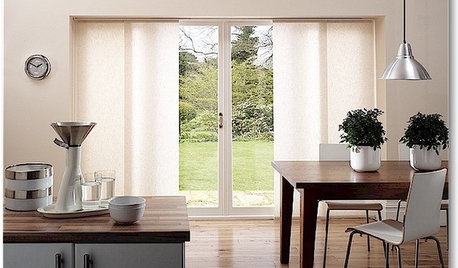
DOORSThe Art of the Window: 12 Ways to Cover Glass Doors
Learn how to use drapes, shutters, screens, shades and more to decorate French doors, sliding doors and Dutch doors
Full Story
john_hyatt
sfgormanOriginal Author
Related Professionals
Tallahassee Decks, Patios & Outdoor Enclosures · Champaign Decks, Patios & Outdoor Enclosures · Pittsburg Home Builders · Lexington Home Builders · Shreveport Home Builders · Muskogee Home Builders · Virginia Beach Home Builders · Parkersburg Home Builders · Mankato Home Builders · Salinas Home Builders · Ottawa Home Builders · Pensacola Home Additions · Taunton Home Additions · Olympia Home Additions · Evanston Home Additionsjohn_hyatt
sfgormanOriginal Author
john_hyatt