

Corners cut on 45degrees
21 years ago
Sort by:Oldest
Comments (6)
Related Stories
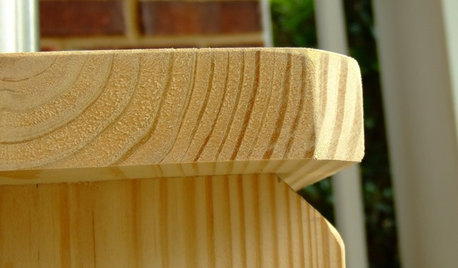
DIY PROJECTSCutting Corners: Miters Spruce Up Woodworking Projects
These basic woodworking cuts add another dimension to simple corners
Full Story
FURNITURECutting Corners with Sectional Sofas
Manage most of your seating needs in one fell swoop with this surprisingly manageable furniture style
Full Story
HOME OFFICESQuiet, Please! How to Cut Noise Pollution at Home
Leaf blowers, trucks or noisy neighbors driving you berserk? These sound-reduction strategies can help you hush things up
Full Story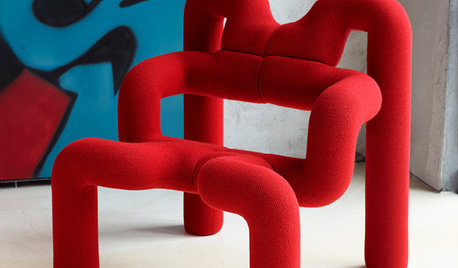
DECORATING GUIDESOn Trend: Cut It Out With Norwegian Seating
You may find these nipped-out chairs extra full of modern style and comfort, thanks to their savvy designs
Full Story
HOLIDAYSHow to Care for Your Christmas Tree
Keep your tree looking lush until the last ornament is packed away with these tips for watering, using stands and more
Full Story
GARDENING GUIDES7 Ecofriendly Gardening Ideas That Also Cut Chore Time
Spend less time weeding, less money watering and more moments just sitting back and enjoying your healthy garden
Full Story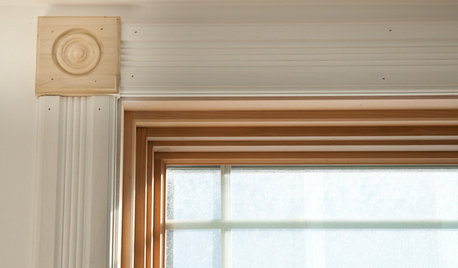
DESIGN DICTIONARYCorner Block
Adding classical style to the casing of a door or window, the corner block is easy to install and easy to look at
Full Story0
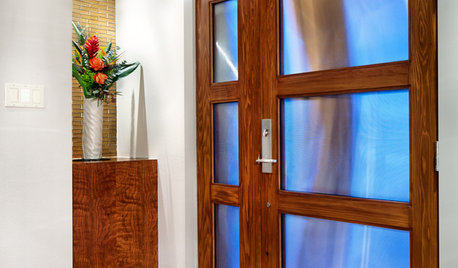
ENTRYWAYS17 Ways to Make Better Use of Entryway Corners
Open up to the possibilities for improved entryway storage, seating and architectural interest by considering the corners
Full Story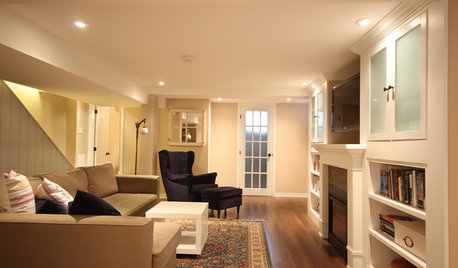
BASEMENTSBasement of the Week: Smart Cost Cutting, Beautiful Results
A stylish multipurpose basement for less than half the usual cost? See the budget-saving tricks that helped this underground space
Full Story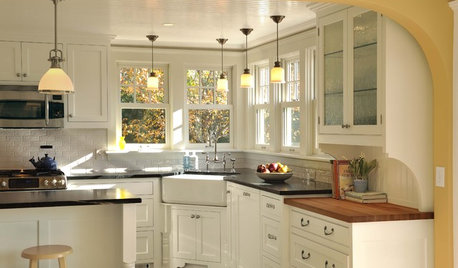
KITCHEN DESIGNIs a Kitchen Corner Sink Right for You?
We cover all the angles of the kitchen corner, from savvy storage to traffic issues, so you can make a smart decision about your sink
Full Story
Sponsored

carolb_w_fl_coastal_9/10
hoerlel
Related Professionals
Aberdeen Furniture & Accessories · Jackson Furniture & Accessories · Colorado Springs Furniture & Accessories · Bend Furniture & Accessories · Victoria Furniture & Accessories · Meridian Interior Designers & Decorators · Miami Interior Designers & Decorators · Charleston Interior Designers & Decorators · Plainfield Interior Designers & Decorators · Bennington Interior Designers & Decorators · Ontario Interior Designers & Decorators · Westminster Furniture & Accessories · Vicksburg Furniture & Accessories · Spartanburg Furniture & Accessories · Logan Furniture & AccessoriesTennesseeOriginal Author
hoerlel
missliz1943
cmc_97