

Need help staining alder dresser
11 years ago
Sort by:Oldest
Comments (3)
Related Stories
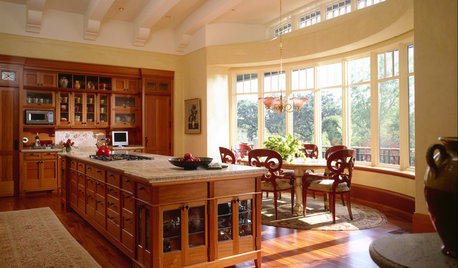
MATERIALSWoodipedia: Is It Cherry or Is It Alder?
Learn the differences between these two wood types, as well as costs, sustainability and a caution about finishing
Full Story
REMODELING GUIDESKey Measurements for a Dream Bedroom
Learn the dimensions that will help your bed, nightstands and other furnishings fit neatly and comfortably in the space
Full Story
KITCHEN DESIGNKey Measurements for Your Kitchen Design
Get the ideal kitchen setup by understanding spatial relationships, dimensions and work zones
Full Story
MOVINGRelocating Help: 8 Tips for a Happier Long-Distance Move
Trash bags, houseplants and a good cry all have their role when it comes to this major life change
Full Story
SELLING YOUR HOUSE10 Low-Cost Tweaks to Help Your Home Sell
Put these inexpensive but invaluable fixes on your to-do list before you put your home on the market
Full Story
ORGANIZING7 Habits to Help a Tidy Closet Stay That Way
Cut the closet clutter for a lifetime — and save money too — by learning how to bring home only clothes you love and need
Full Story
SMALL SPACESDownsizing Help: Where to Put Your Overnight Guests
Lack of space needn’t mean lack of visitors, thanks to sleep sofas, trundle beds and imaginative sleeping options
Full Story
LIFEReluctant DIYer’s Diary of a Dresser Makeover
Weekend project: Glossy new black-and-white dresser, hold the sandpaper
Full Story
VINTAGE STYLEFlea Market Find: Vintage Dressers
Think beyond the bedroom when searching for your next dresser
Full Story
DECORATING GUIDESDecorating With Antiques: Chests, Dressers and Buffets
Pretty, practical and versatile, antique chests add history and character along with storage
Full Story
salex
casseybugOriginal Author
Related Professionals
Columbia Cabinets & Cabinetry · Concord Cabinets & Cabinetry · Platteville Cabinets & Cabinetry · Sheboygan Cabinets & Cabinetry · Sierra Vista Cabinets & Cabinetry · Amherstburg Cabinets & Cabinetry · Victoria Cabinets & Cabinetry · Hopkinsville Carpenters · Oxford Carpenters · Springfield Carpenters · Toledo Carpenters · Charlotte Flooring Contractors · Rochester Flooring Contractors · Twin Falls Flooring Contractors · Rapid City Flooring Contractorssalex