Software
Houzz Logo Print
splinter1804

A hybrid I made a few years back

10 years ago
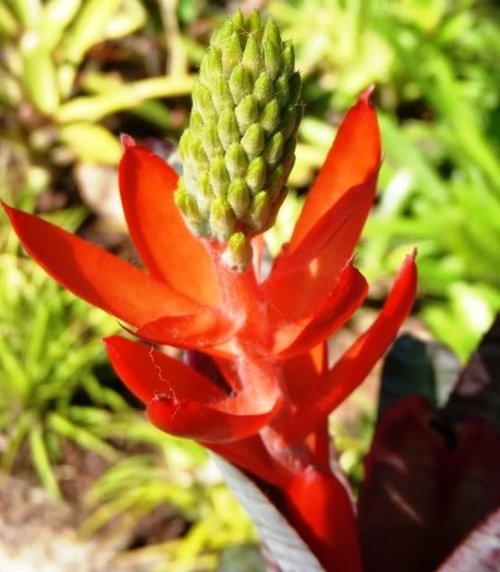
Hi everyone - Here's a few (not very good) pictures of a cross I made a few years back. They're nothing special but the colour range is what surprised me.

The seed parent was Ae. nudicaulis var. aequalis and the pollen parent was Ae. gamosepla.

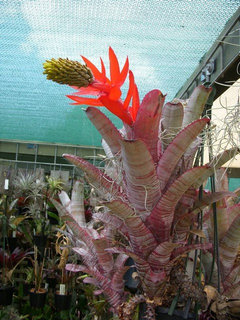
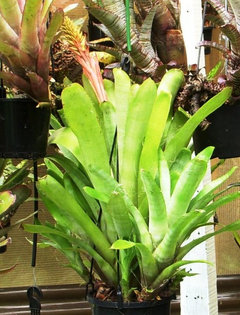
Ae. nudicaulis var. aequalis (Seed parent)

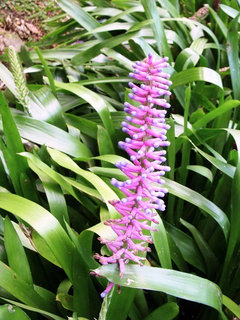
Ae. gamosepala (Pollen parent)

..... and the offspring

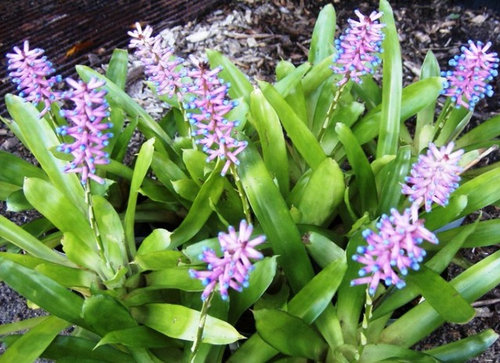
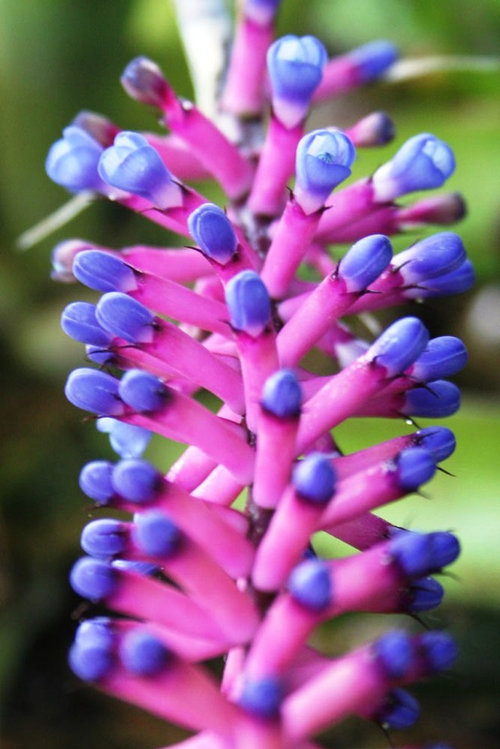
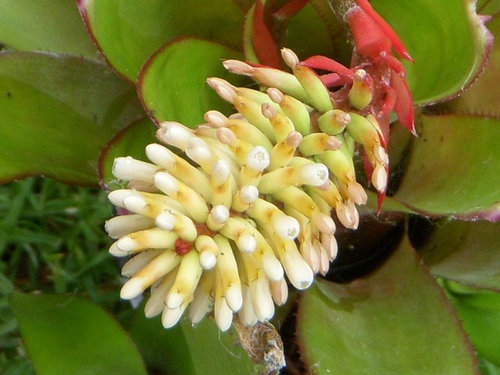
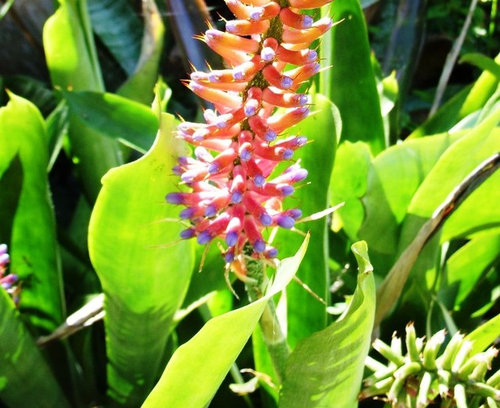
No.1 - Similar to the pollen parent but much more compact and brighter colours Blue flowers - lolly pink bracts

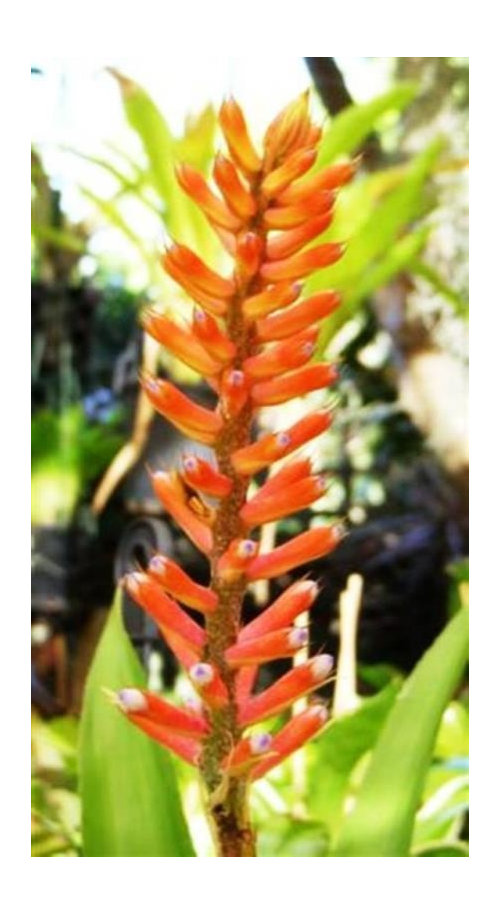
No.2 - Mauve flowers- light orange bracts

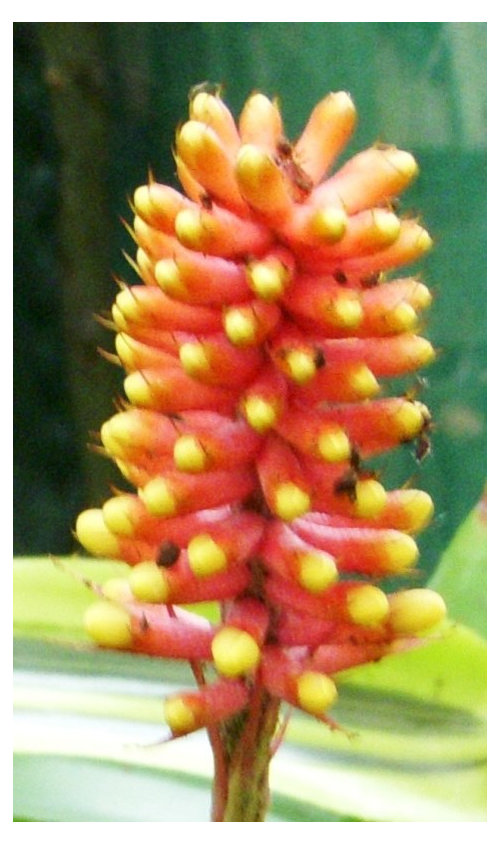
No.3 Cream flowers- light orange bracts

No.4 Unusual grey/white flowers and pale green bracts

No.5 Light purple flowers with light orange bracts

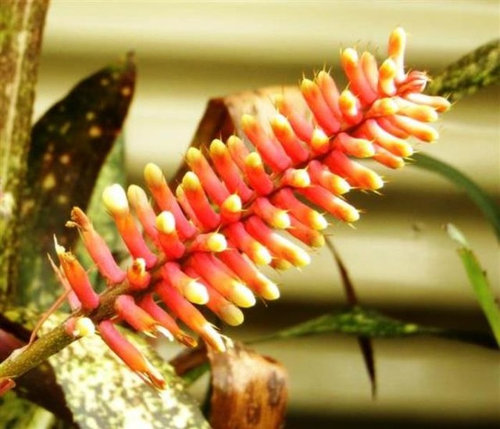
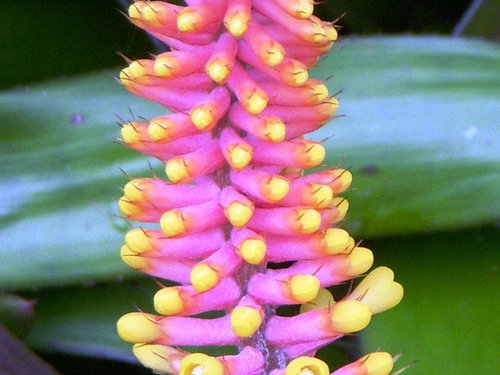
No.6 Light yellow flowers and pink bracts

No.7 Similar colour to No.3 with cream flowers - light orange bracts but flowers more compact

As I said above, nothing special but an interesting colour range.

All the best, Nev.


Comments (17)

  • 10 years ago

    That ranging colour alone is really special. Thanks for sharing, Nev.

  • 10 years ago
    last modified: 10 years ago

    #6 hands down Nev.

  • 10 years ago

    Thanks for the tour around the color wheel.

    tj

  • 10 years ago

    Thumbs up. Creating something new is always a step up in this hobby.

  • 10 years ago

    Nice!

  • 10 years ago

    Hi Nev,

    Nice crosses.

    Cheers,

    Rick

  • 10 years ago

    Hi everyone - Thanks for the compliments but these results weren't planned by any stretch of the imagination. The cross was just something that was done on the spur of the moment because both plants were in flower at the same time and I have an inquisitive nature and wondered what this cross would produce.

    For any members who aren't familiar with these two plants, let me say that although they are both Aechmeas, that's where the similarity ends as both plants are structurally so very different as the pictures below will show.

    Ae. nudicaulis var. aequalis (Seed parent)


    Ae. gamosepala (Pollen parent)


    All the b est, Nev.


  • 10 years ago

    Hi Nev,

    I've read before that growing out Ae gamosepala has a reasonable chance of producing different coloured flowers, it's interesting that that trait followed when used as a pollen parent.

    Rick

  • 10 years ago

    Hi everyone.

    Rick
    - Although the gamosepalas in our garden are always full of seed capsules I've
    never tried growing any seed as I find they are almost feral and terribly invasive when planted in
    the garden and they take over everything. I have enough trouble with weeds without adding to the problem and at
    least every month there's a green bin with several gamosepala plants going to
    the council mulcher.

    The
    interesting thing about this cross was when I mentioned it on another forum, I
    was told by the "experts" that Ae. nudicaulis var. aequalis was a
    prolific "selfer" and the entire grex would be the same or very
    similar to it. As I like that particular plant that didn't bother
    me and I decided to grow them anyway and had intended putting them on a Golden
    Robinia tree I have in the front yard.

    Mother
    Nature however had other ideas, and there wasn't a single plant that looked
    anything like Ae. nudicaulis var. aequalis. They were all vigorous growers and the only thing they had resembling the nudicaulis parent was that they followed the
    nudicaulis habit of growing out of the pot and about 50% had the nudicaulis
    thumb print.

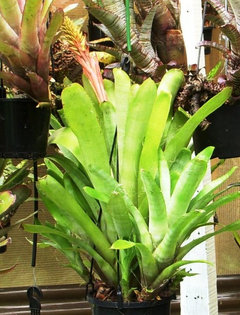
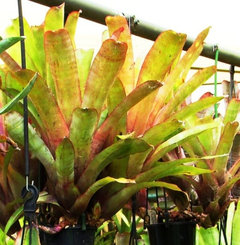
    The next four pictures give an idea of the foliage colour


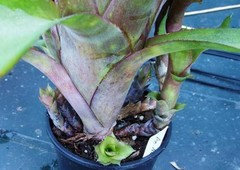
    This picture below demonstrates the vigour of these plants with six pups visible and two more around the rear; also it shows the typical nudicaulis "thumb print"


    All he best, Nev.

  • 10 years ago

    I really enjoy reading thru all these hybridizing experiments and great photos as well. With everything growing so well, you must soon run out of room. The two parents look so different.

  • 10 years ago

    Hi everyone.

    Dave
    - You've just hit the nail on the head when you say, "you must soon run
    out of room" as that's exactly what happened to me.

    When
    I first started growing bromeliad seed I never thought it could get out of hand
    like it did; in fact if I had followed the advice I was given when I started, it
    wouldn’t have gotten out of hand.

    I
    had been told by a well-known hybridist to “cull ruthlessly” and this was where
    I made my big mistake. You see I couldn’t bring myself to toss out healthy
    looking little plants and it was always a case of “grow it a bit longer and see
    how it develops”. The fact is, I forgot that little seedling eventually grow
    into adult plants which need to be accommodated.

    To
    asses the true worth of these seedling you really need to grow them to
    maturity and that’s where I came unstuck, as I didn’t have the growing area to
    do this. In our normal size suburban back yard I quickly ran out of space and
    plants became overcrowded which of course isn’t the best recipe for successful
    growing. Plants become overcrowded and compete with each other for light and
    before long all you can see are unattractive plants with long gangly leaves
    devoid of colour.

    To
    overcome this I had to cull anyway, there was no other answer, so I selected
    some that looked like they could have a bit of potential and tossed the rest
    (about 75%). The remaining plants all had leaves about twice as long as they
    should be, and were very soft and droopy. I
    realised that these plants wouldn’t improve, and any chance I had was with
    future pups, so to hurry up pup production I decided to stress the plants to
    initiate pups more quickly. To do this I shortened the leaf length by half which
    meant in most cases cutting off about ten to twelve inches of each leaf.

    I
    now had a bench full of sorry looking excuses for plants, but at least they did
    have space to grow and I reckoned that now the plants didn’t have to provide
    nourishment for all of the excess foliage this nourishment could be directed to
    any new pups. It was only a month or two before the new pups started to poke
    their heads out from the base of the plants and in many cases it was two pups,
    one on each side. As they grew, the original plant declined and when the pups
    were three quarters the size of the original plant, I cut the original out
    which made more space for the pups to grow unrestricted.

    When
    spring time came I had a lot of nice healthy pups which unfortunately didn’t look
    the best as they were all growing to one side of the pot. This was due to the
    fact the original plants had been in the centre of the pot, so they were all
    re-potted and have now grown into nice healthy almost adult plants.

    It’s
    been a lesson well learned and a mistake I’ll never make again.

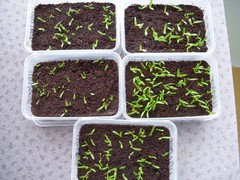
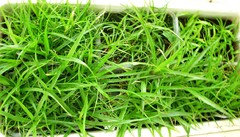
    This is where it all started.

    ....and they grew

    .......and grew

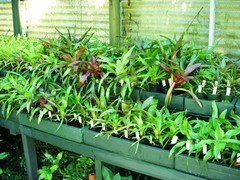
    Then they were potted up into small pots and move to the baby section of the shade house.

    ......as they got bigger they were potted on and moved to the seedling shade house

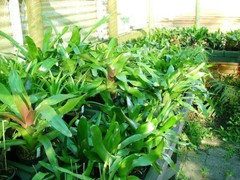
    where they just got bigger and bigger

    until they stared to get out of control.

    The following year they were all twice as large as what you see here and that's when the culling took place and things are now back under control again.

    So yes Dave, I did soon run out of room.

    All the best, Nev.


  • 10 years ago

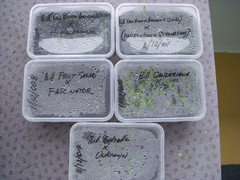
    Nev, how do you get the "snot" off your fingers to place the seed so evenly?

  • 10 years ago

    Hi everyone.

    Gonz - First let me say
    that I previously used to sow my seed direct from the berries by just squeezing
    it onto the growing medium as this avoids the possible contamination you often get from
    airborne fungi spores that you get with dry seed.

    The big drawback was that
    the seed was stuck together by the mucilage (or "seed snot" as it has
    been called). To help overcome this I would give each group of seed a firm
    squirt from a hand held spray bottle and "blast" the seed apart.


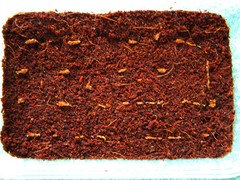
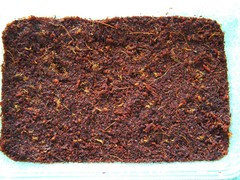
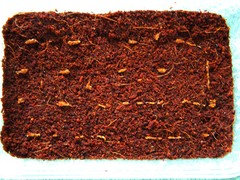
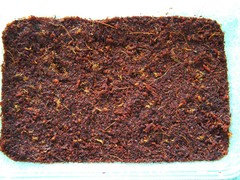
    Immediately after sowing


    This
    helped to disperse it to a certain degree but there were always the stubborn
    groups of seed that wouldn’t break up.

    After a blast from the water spray


    I remembered when I grew
    orchid seed I used to mix them with a small amount of sterile water and suck
    the seed and water up into a sterile eye dropper and drop the mix on the agar
    growing medium in the bottom of the flask and then swirl it around a bit to disperse the seed.

    As brom. seed is much
    larger than orchid seed I thought I'd try the same thing but using a large 20ml
    syringe. Because it was going onto a rough surface I knew I couldn't swirl the
    seed around like I had done with the orchid seed, so I needed to be able to
    place it where it was to grow and I thought this was the answer, but the
    syringe kept getting blocked up with the seed as it settled to the bottom.

    Eventually I worked out a
    system whereby I gave the syringe a good shake every couple of seconds to keep
    the seed suspended in the water. Although not a perfect solution, it did separate
    the seed much better than my previous method and after a bit of practice it
    becomes easier.

    With small seed like Neoregelias
    and the smaller Aechmeas it works fine but with seed larger than this I widen
    the opening in the syringe if possible or get a larger syringe to suit the seed.

    What’s more, I don’t get any “snot” on my
    fingers.

    All the best, Nev.

  • 10 years ago

    Hi everyone.

    Gonz - First let me say
    that I previously used to sow my seed direct from the berries by just squeezing
    it onto the growing medium as this avoids the possible contamination you often get from
    airborne fungi spores that you get with dry seed.

    The big drawback was that
    the seed was stuck together by the mucilage (or "seed snot" as it has
    been called). To help overcome this I would give each group of seed a firm
    squirt from a hand held spray bottle and "blast" the seed apart.


    Immediately after sowing


    This
    helped to disperse it to a certain degree but there were always the stubborn
    groups of seed that wouldn’t break up.

    After a blast from the water spray


    I remembered when I grew
    orchid seed I used to mix them with a small amount of sterile water and suck
    the seed and water up into a sterile eye dropper and drop the mix on the agar
    growing medium in the bottom of the flask and then swirl it around a bit to disperse the seed.

    As brom. seed is much
    larger than orchid seed I thought I'd try the same thing but using a large 20ml
    syringe. Because it was going onto a rough surface I knew I couldn't swirl the
    seed around like I had done with the orchid seed, so I needed to be able to
    place it where it was to grow and I thought this was the answer, but the
    syringe kept getting blocked up with the seed as it settled to the bottom.

    Eventually I worked out a
    system whereby I gave the syringe a good shake every couple of seconds to keep
    the seed suspended in the water. Although not a perfect solution, it did separate
    the seed much better than my previous method and after a bit of practice it
    becomes easier.

    With small seed like Neoregelias
    and the smaller Aechmeas it works fine but with seed larger than this I widen
    the opening in the syringe if possible or get a larger syringe to suit the seed.

    What’s more, I don’t get any “snot” on my
    fingers.

    All the best, Nev.

  • 10 years ago

    Excellent tutorial Nev. Thanks.

    tj

  • 10 years ago

    Wow! Sounds like a catch 22. You have to let plants get to blooming size before you can evaluate, but at that size you'll soon run out of room. Too difficult to cull at small sizes. You are rolling the dice as to what might be the next best thing. You must give away lots of plants?

Sponsored
Peabody Landscape Group
Average rating: 3.5 out of 5 stars8 Reviews
Franklin County's Reliable Landscape Design & Contracting