

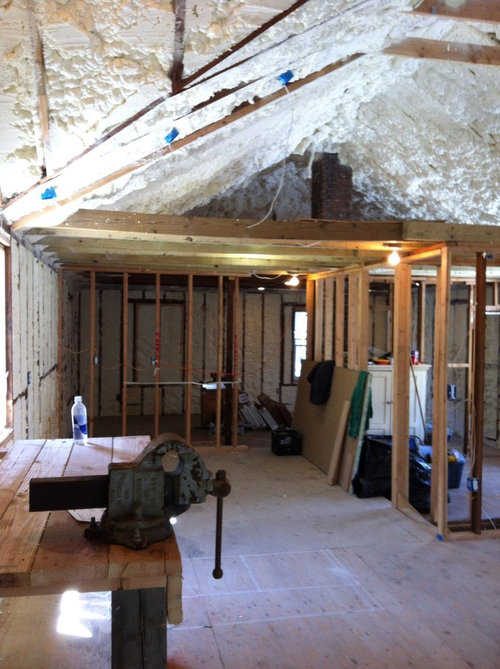
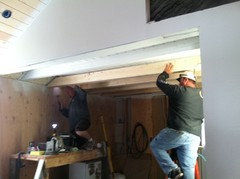
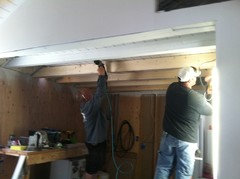
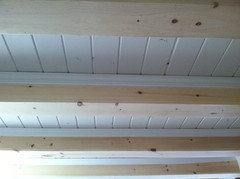
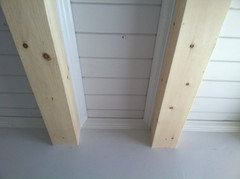
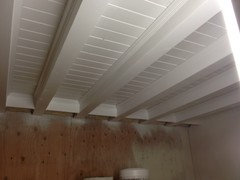
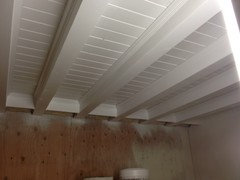
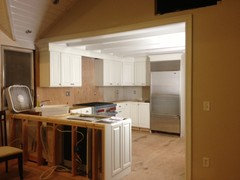
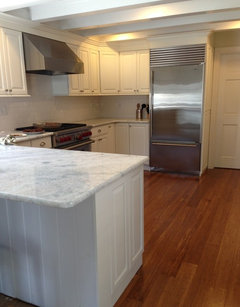
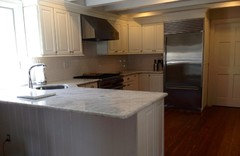
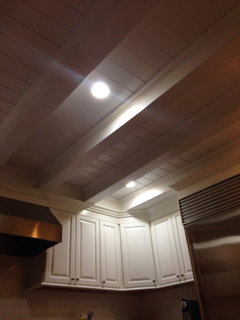
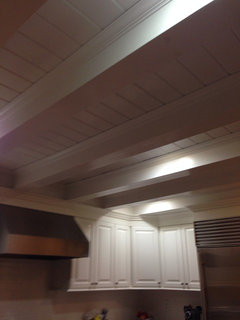
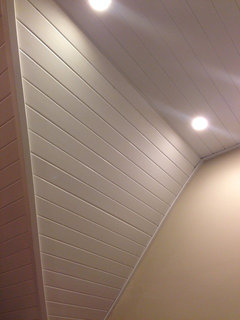
Shall we replace these beams?
13 years ago
Featured Answer
Sort by:Oldest
Comments (39)
 PRO13 years ago
- 13 years ago
Related Professionals
Indianapolis Interior Designers & Decorators · Georgetown Interior Designers & Decorators · Sterling Interior Designers & Decorators · Kennewick Interior Designers & Decorators · Bowling Green Architects & Building Designers · Houston Architects & Building Designers · Chillicothe Architects & Building Designers · Salt Lake City Architects & Building Designers · Little Rock Kitchen & Bathroom Designers · Evansville Kitchen & Bathroom Designers · Winston-Salem Kitchen & Bathroom Designers · Cincinnati Kitchen & Bathroom Designers · Charleston Kitchen & Bathroom Designers · Fargo Kitchen & Bathroom Designers · Vernal Kitchen & Bathroom Designers- 13 years ago
- 13 years ago
- 13 years ago
- 13 years ago
 13 years ago
 PRO13 years ago
- 13 years ago
- 13 years ago
- 13 years ago
- 13 years ago
- 13 years ago
- 13 years ago
- 13 years ago
- 13 years ago
- 13 years ago
- 13 years ago
- 13 years ago
- 13 years ago
- 13 years ago
- 13 years ago
- 13 years ago
- 13 years ago
- 13 years ago
- 13 years ago
- 13 years ago
- 13 years ago
- 13 years ago
 13 years ago
- 13 years ago
- 13 years ago
- 13 years ago
- 13 years ago
- 12 years ago
- PRO12 years ago
- 12 years ago
- 12 years ago

Related Stories
Replace Your Windows and Save Money — a How-to Guide
Reduce drafts to lower heating bills by swapping out old panes for new, in this DIY project for handy homeowners
Full Story
HOUSEKEEPINGHow to Tackle Your Home To-Dos
Make quick work of minor repairs and replacements with this thorough, step-by-step approach
Full Story
ARCHITECTURELearn the Language of Trusses in Design
If figuring out all those intersecting beam configurations under roofs makes your eyes cross, here's help
Full Story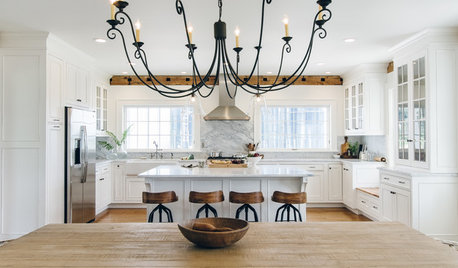
WHITE KITCHENS4 Dreamy White-and-Wood Kitchens to Learn From
White too bright in your kitchen? Introduce wood beams, countertops, furniture and more
Full Story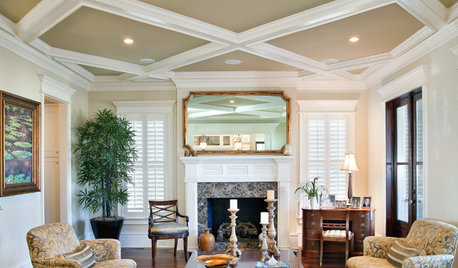
ARCHITECTURECeiling Treatments Worth a Look
Add beams, boards and other embellishments to that blank expanse for a room that looks dressed from head to toe
Full Story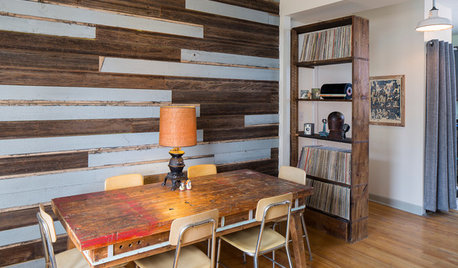
HOUZZ TVHouzz TV: Cool Reclaimed Wood Projects Fill a Craftsman’s Home
Using barn wood, beadboard and beams, this homeowner has crafted furnishings and features for his family’s Chicago home
Full Story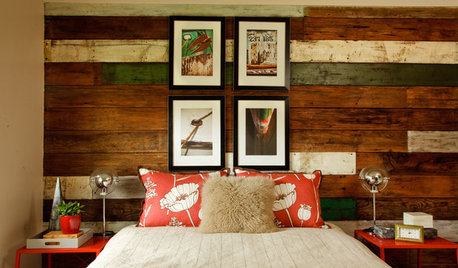
REMODELING GUIDESDesign Elements: Beautiful Reclaimed Wood
Weathered boards and beams add character and a sense of history to interior spaces
Full Story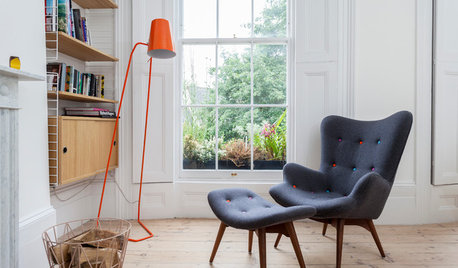
FLOORS10 Ways to Make the Most of Your Home’s Original Floors
Save yourself the cost of replacing your old floorboards with these tips for a new finish
Full Story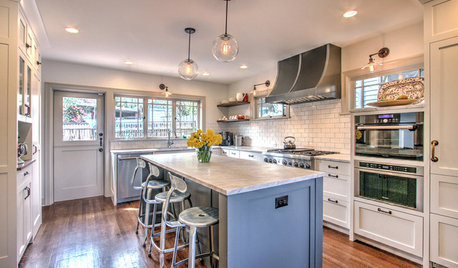
BEFORE AND AFTERSMore Storage and Light for a Seattle Kitchen
Removing walls and replacing dysfunctional features give a kitchen a bright look and better function
Full Story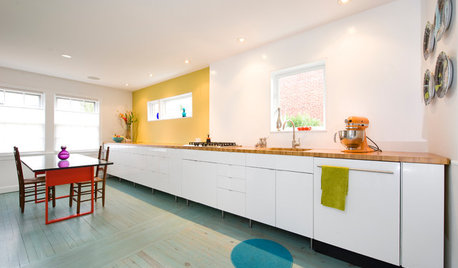
KITCHEN DESIGNKitchen of the Week: Grandma's Kitchen Gets a Modern Twist
Colorful, modern styling replaces old linoleum and an inefficient layout in this architect's inherited house in Washington, D.C.
Full Story


joannpb