

Does popcorn removal stain walls?
8 years ago
Featured Answer
Sort by:Oldest
Comments (15)
 8 years ago
- 8 years ago
Related Professionals
Mountain Home Kitchen & Bathroom Designers · Tampa Kitchen & Bathroom Designers · Evansville Kitchen & Bathroom Designers · York Kitchen & Bathroom Designers · Saint Cloud Custom Countertops · Peoria Home Remodeling · South Sioux City Home Remodeling · Cincinnati Kitchen Remodelers · Kankakee Bathroom Remodelers · Fayetteville Interior Designers & Decorators · Kearney Interior Designers & Decorators · Newport Interior Designers & Decorators · Greenville Kitchen & Bathroom Designers · Aiken Kitchen & Bathroom Designers · Washington Furniture & Accessories- 8 years ago
- 8 years ago
- 8 years ago
- 8 years ago
 8 years ago
- 8 years ago
- 8 years ago
- 8 years ago
 8 years ago
 8 years ago
- 8 years ago
- 8 years ago
Related Stories

HOUSEKEEPINGTips for Removing Carpet Stains
Know the right solutions and when to use them to handle stains from coffee, pets, chocolate, ink and more
Full Story
CEILINGSHow to Remove, Hide and Play Down a Popcorn Ceiling
When it comes to dealing with stucco overhead, you’ve got options
Full Story
REMODELING GUIDES11 Reasons to Love Wall-to-Wall Carpeting Again
Is it time to kick the hard stuff? Your feet, wallet and downstairs neighbors may be nodding
Full Story
INSIDE HOUZZHow Much Does a Remodel Cost, and How Long Does It Take?
The 2016 Houzz & Home survey asked 120,000 Houzzers about their renovation projects. Here’s what they said
Full Story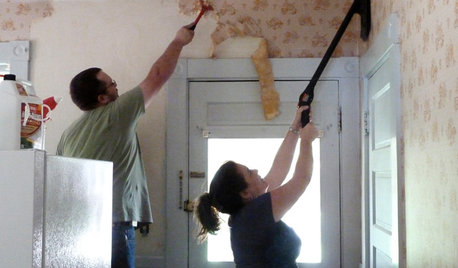
DECORATING GUIDESHow to Remove Wallpaper in 4 Steps
Learn the best way to remove wallpaper with only water (and elbow grease) so your next wall treatment will look great
Full Story
REMODELING GUIDESWhat to Know Before You Tear Down That Wall
Great Home Projects: Opening up a room? Learn who to hire, what it’ll cost and how long it will take
Full Story
REMODELING GUIDESDesign Dilemma: How Do I Modernize My Cedar Walls?
8 Ways to Give Wood Walls a More Contemporary Look
Full Story
HOUSEKEEPINGDon't Touch Another Stain Before You Read This
Even an innocent swipe with water may cause permanent damage. Here's what to know about how rugs and fabrics react
Full Story
GREAT HOME PROJECTSWhat to Know About Adding a Reclaimed-Wood Wall
Here’s advice on where to put it, how to find and select wood, what it might cost and how to get it done
Full Story
DECORATING GUIDESThe Case for the Anti-Accent Wall
Go ahead, paint everything the same color (even the trim)
Full Story





THOR, Son of ODIN