

How to install cork underlayment beneath floating cork flooring
6 years ago
Sort by:Oldest
Comments (2)
Related Stories
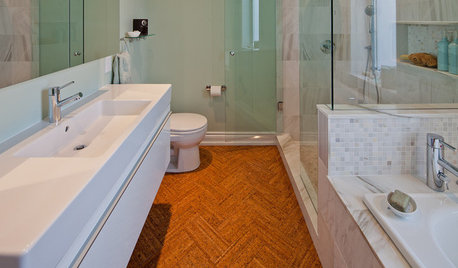
FLOORSWill Cork Float for Your Bathroom Floor?
Get the facts on advantages, disadvantages, costs and installation to see if a cork bathroom floor is right for you
Full Story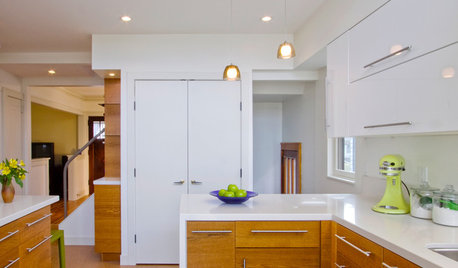
REMODELING GUIDESCork Flooring 101: Warm Up to a Natural Wonder
Comfortable, sustainable and easy on the eye, cork has a lot going for it. Use our guide to get familiar with this natural flooring material
Full Story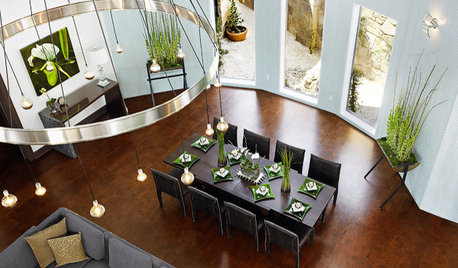
DECORATING GUIDESDiscover the Unstoppable Advantages of Cork for the Home
Look beyond wine stoppers to see cork's ecofriendliness, durability, fire resistance and antimicrobial nature for all kinds of home products
Full Story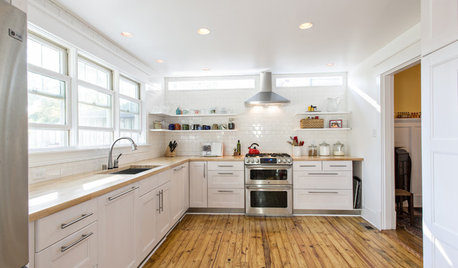
REMODELING GUIDESWhat Lies Beneath That Old Linoleum Kitchen Floor?
Antique wood subfloors are finding new life as finished floors. Learn more about exposing, restoring and enjoying them
Full Story
PRODUCT PICKSGuest Picks: Put a Cork in It
Buoyant, fire-resistant cork is popping up everywhere these days. Check it out on furnishings, finishes, accessories and more
Full Story
FLOORS6 Alternative Flooring Ideas to Kick Up Your Style
Rubber, cork, concrete and other materials are worthy options in lieu of hardwood or tile
Full Story
KITCHEN DESIGNKitchen Flooring 101: Find Your Material Match
From cork to concrete, our guide will help you pick the perfect surface for your kitchen floor
Full Story
MATERIALSWhat to Ask Before Choosing a Hardwood Floor
We give you the details on cost, installation, wood varieties and more to help you pick the right hardwood flooring
Full Story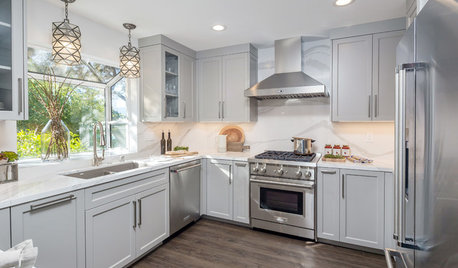
MATERIALSWhat to Know About Luxury Vinyl Flooring
The flooring material has become increasingly popular. Here’s how to determine its quality and get it installed
Full Story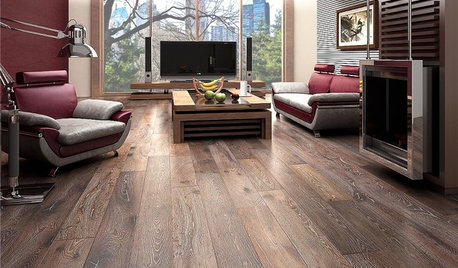
REMODELING GUIDESWhen to Use Engineered Wood Floors
See why an engineered wood floor could be your best choice (and no one will know but you)
Full Story
SJ McCarthy
SarahOriginal Author
Related Professionals
Huntsville Flooring Contractors · Belleville Flooring Contractors · Owensboro Flooring Contractors · Natchitoches Flooring Contractors · College Station Flooring Contractors · Huron Flooring Contractors · Denver Flooring Contractors · La Grande Flooring Contractors · Wenatchee Flooring Contractors · Brunswick Tile and Stone Contractors · Galveston Tile and Stone Contractors · Charleston Tile and Stone Contractors · Monroe Tile and Stone Contractors · Kahului Tile and Stone Contractors · Fayetteville Kitchen Remodelers